Adding adapters to projects
Apama provides standard adapters that communicate with third-party messaging systems, transforming incoming messages into Apama events and, in the opposite direction, transforming Apama events into the proprietary representations required by third-party messaging systems. In addition, the adapter for the Apama Database Connector (ADBC) allows an application to connect to standard ODBC and JDBC data sources as well as Apama Sim data sources. You can add these adapters to an Apama Studio project by the adding the corresponding adapter bundle to the project.
To add an adapter to a project:
1. There are several ways of adding an adapter to a project.
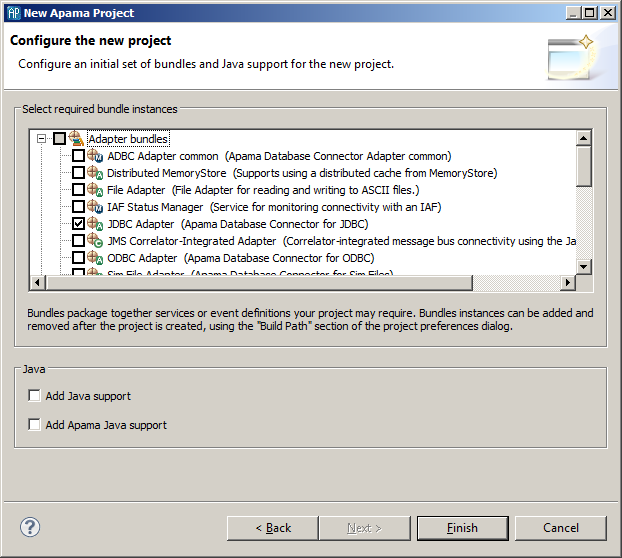
 If you are creating a new Apama project
, select
File >
Project >
New >
Apama, give it a name, and click
Next.
New Apama Project dialog opens.
 If you are adding an adapter to an existing project
:
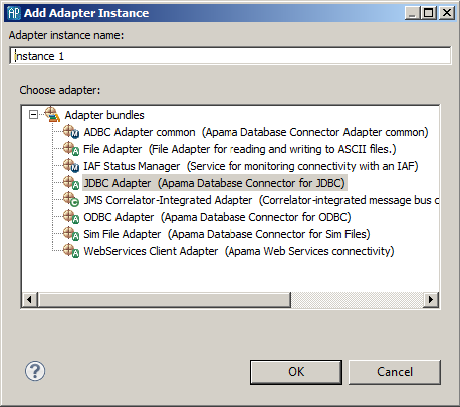
a. In the Project Explorer right-click the project and select Apama > Add Adapter. The Add Adapter Instance dialog opens.
b. If desired, in the Add Adapter Instance dialog, create a new name for the adapter instance or accept the default instance name. Apama Studio prevents you from using a name that is already in use.
2. Select the adapter bundle that is appropriate for your application. Click Finish or OK.
Apama Studio adds an instance of the adapter to the Adapters folder in your project along with the supporting monitors such as IAFStatusManager.mon and the associated service monitors. Reference to bundled files associated with the adapters, such as IAF Status Manager and Status Support are listed in the adapter’s Dependent Bundles folder
You can add multiple instances of a given adapter to a project. This allows you create different configurations of the adapter, for example if your application needs to run with different data providers.
For more information on configuring Apama standard adapters, see
Using Standard Adapters as well as
Using the Apama Database Connector.

