Using the layout configuration forms
These forms allow you to enter information about each section of each dashboard’s layout, including the visualization object to use in that section, and how to attach the object to scenario variables.
For each section of each dashboard (main, create, edit, or details), the wizard includes a form with the following editable elements:
 Choose content
: Select an object to appear in the current section of the layout. The current section of the layout is indicated by the check mark in the layout diagram to the left of this field.

Scenario variables table: Use the buttons to ensure that the
Selected variables column contains those variables that you want attached to the object specified in the
Choose content field. Select an item or items in the
Available variables column to activate the
Add button; select an item or items in the
Selected variables column to activate the
Remove button.
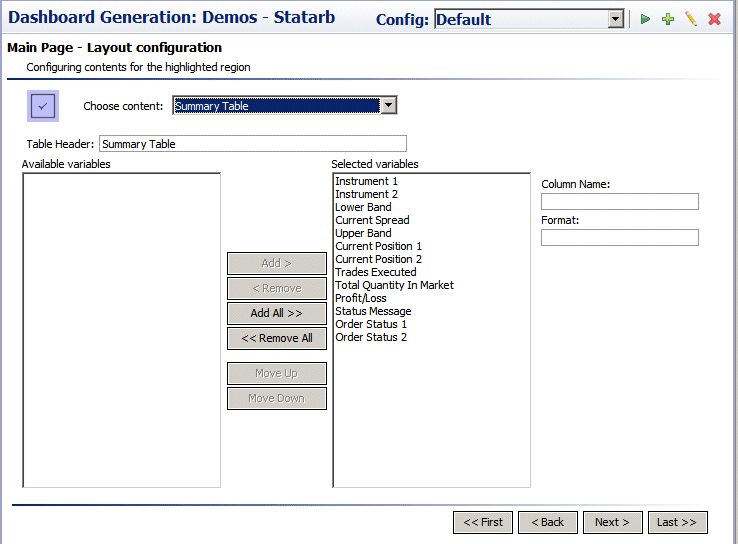
Summary tables contain one row for each scenario instance, and one column for each variable that is included in the Selected variables column. A cell in a given column and row contains the value of the column’s corresponding variable for the row’s corresponding scenario instance.
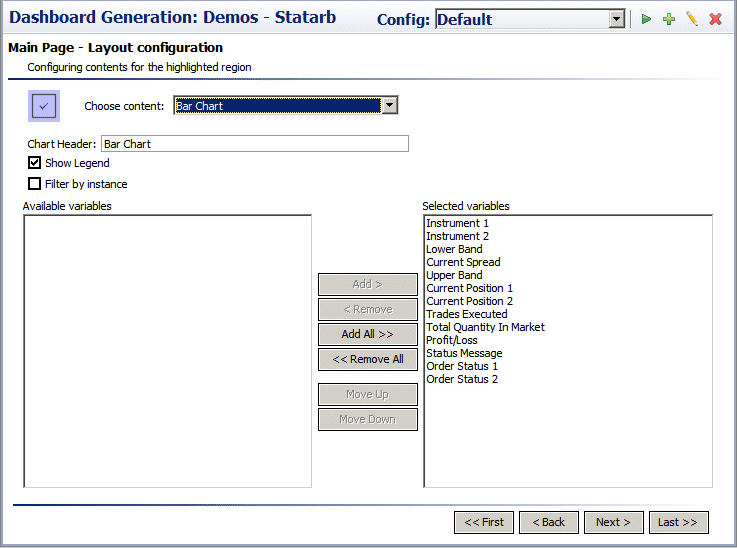
Bar charts contain one group of bars for each numeric variable that is included in the Selected variables column. Within each group, there is one bar for each scenario instance. The size of a given bar in a given group is proportional to the value of the group’s corresponding numeric variable for the bar’s corresponding scenario instance.
Pie charts contain one slice for each scenario instance. The size of a given slice is proportional to the value of the first included, numeric variable for the slice’s corresponding scenario instance.
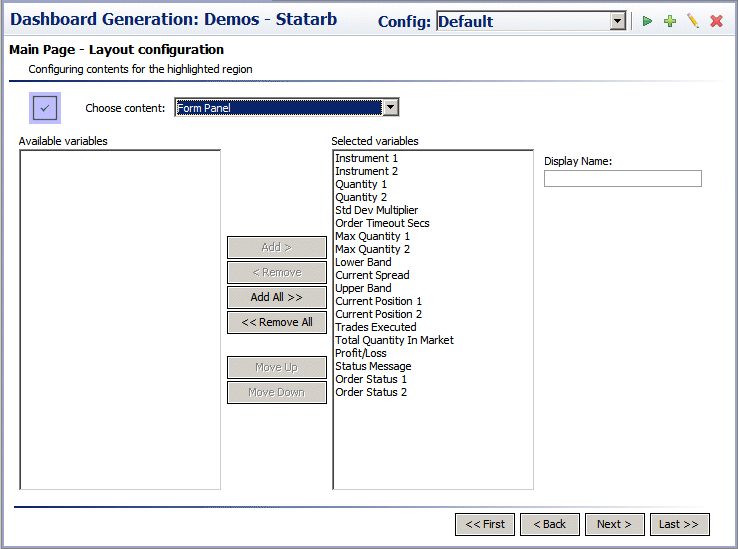
Form panels contain one text-entry field for each scenario variable that is included in the Selected variables column. Create and Edit dashboards use entered values in order to initialize or update the variables.
If you select Summary Table for the Choose content field, the following elements are also included:
 Table header
: Enter a label for the table
 Column name
: Select a variable in the
Selected variables column of the scenario variables table. Enter the header for the selected variable’s corresponding table column. Leave this field blank to use the variable name as the column header.
 Format
: Select a variable in the
Selected variables column of the scenario variables table. Enter a format string for the selected variable’s corresponding table column. Specify numerical formats based on the Java format specification, or with the following shorthand:
 $
$ for US dollar money values
 $$
$$ for US dollar money values with additional formatting,
( ) for non-money values, formatted similar to money
 #
# for positive or negative whole values
Specify date formats based on the Java date specification.
If you select Form Panel for the Choose content field, the following element is also included:
 Display name
: Select a variable in the
Selected variables column of the scenario variables table. Enter a label for the selected variable’s corresponding text-entry field. Leave the
Display name field blank to use the variable name as the field label.
If you select Bar Chart or Pie Chart for the Choose content field, the following elements are also included:
 Chart header
: Enter a heading for the chart.
 Show legend
: Select to show a legend for the chart. The legend indicates the mapping from bar or pie-slice color to value of the scenario’s first non-numeric variable for the bar or slice’s corresponding scenario instance.
 Filter by instance
: Select to filter out all scenario instances except the one that corresponds to the selected row in a summary table on the current dashboard. This allows the end user (the user of the generated dashboard) to select the scenario instance to be visualized. In this case, the bar chart has only a single bar for each numeric variable, rather than a group of bars for each numeric variable.


