Adding the File adapter to an Apama Studio project
If you are developing an application in Apama Studio, add the File adapter as follows:
1. In the Project Explorer, right-click name of the project and select Apama > Add Adapter. The Add Adapter Instance dialog is displayed.
2. Select File Adapter (File adapter for reading and writing to ASCII files). Apama Studio adds a default name to the Adapter instance name field that ensures this instance of this adapter will be uniquely identified. You can change the default name, for example, to indicate what type of external system the adapter will connect to. Apama Studio prevents you from using a name already in use.
3. Click OK.
Apama Studio adds a File adapter entry that contains the new instance to the project’s
Adapters node and opens the instance’s configuration file in the Apama Studio adapter editor as shown in the following illustration.
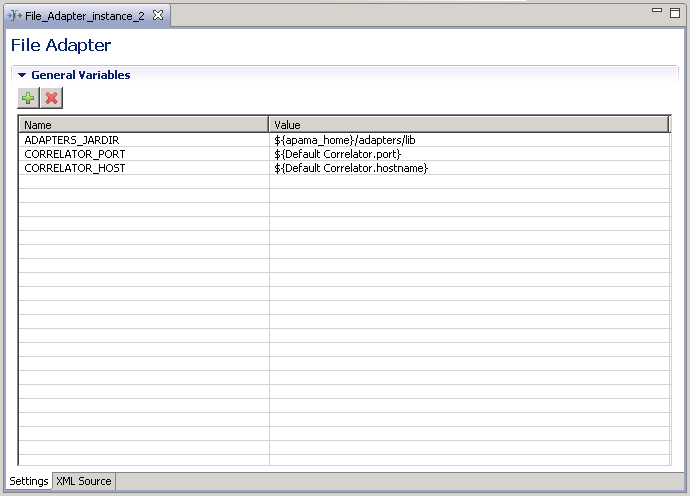
For the File adapter, the adapter editor’s Settings tab displays a listing of General Variables. When first created it lists variables that are used in the Apama Studio project’s default launch configuration. You can add variables by clicking the Add button and filling in the variable’s name and value.
For editing other configuration properties for the File adapter, display the adapter editor’s XML Source tab and add the appropriate information.
Copyright © 2013
Software AG, Darmstadt, Germany and/or Software AG USA Inc., Reston, VA, USA, and/or Terracotta Inc., San Francisco, CA, USA, and/or Software AG (Canada) Inc., Cambridge, Ontario, Canada, and/or, Software AG (UK) Ltd., Derby, United Kingdom, and/or Software A.G. (Israel) Ltd., Or-Yehuda, Israel and/or their licensors.