Getting started - creating an application with simple JMS messaging
This section describes the steps for creating an Apama application that uses correlator-integrated JMS messaging where guaranteed delivery is not required. Apama Studio provides an example application that illustrates a simple use of JMS messaging in the apama_dir\samples\correlator_jms\simple-send-receive directory.
To make correlator-integrated JMS messaging available to an Apama project:
1. Select File > New > Apama Project from the Apama Studio menu. This launches the New Apama Project wizard.
2. In the New Apama Project wizard, give the project a name, and click Next. The second page of the wizard is displayed, listing the available Apama resource bundles. 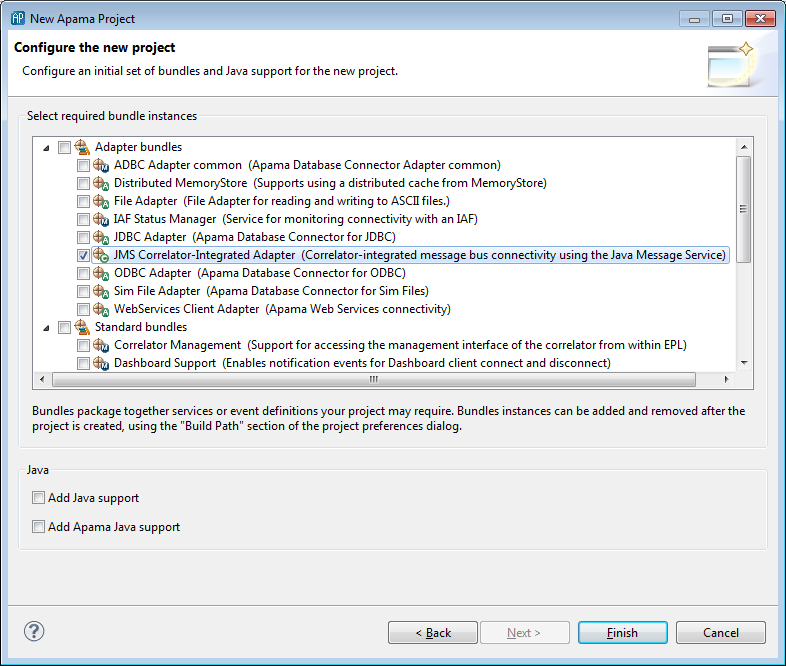
3. Apama's correlator-integrated JMS messaging makes use of the Apama JMS Correlator-Integrated adapter. In the New Apama Project wizard, from the Select required bundle instances field, select the JMS Correlator-Integrated Adapter bundle.
4. Click Finish.
Apama Studio adds the JMS Correlator-Integrated adapter to the project's Adapters node. In addition, Apama Studio generates all the necessary resources to support correlator-integrated JMS messaging. Note, you can only add a single instance of the JMS Correlator-Integrated adapter to an Apama project.
After you add the JMS Correlator-Integrated adapter, you need to configure connections to a JMS broker and configure senders and receivers.
Copyright © 2013
Software AG, Darmstadt, Germany and/or Software AG USA Inc., Reston, VA, USA, and/or Terracotta Inc., San Francisco, CA, USA, and/or Software AG (Canada) Inc., Cambridge, Ontario, Canada, and/or, Software AG (UK) Ltd., Derby, United Kingdom, and/or Software A.G. (Israel) Ltd., Or-Yehuda, Israel and/or their licensors.