Using the tutorial application
This guide contains numerous examples that are bundled as a tutorial with your Apama installation. Use this tutorial in the Dashboard Builder while you read this guide. Many sections in this guide instruct you to create or modify dashboards. This “learning by doing” approach is the philosophy behind this guide.
The Dashboard Builder connects to one or more correlators in order to discover the scenarios and DataViews that the correlators have loaded. Information about these scenarios and DataViews is then made available for use in the design of the dashboard.
Follow these steps to run the tutorial:
1. Start a correlator, if one is not already running. An easy way to start a correlator is with the Start menu, by selecting Start > All Programs > Software AG > Apama 5.1 > Runtime > Correlator .
Make sure you have a license file in the license directory under your apama work directory.
2. Bring up an Apama command prompt, by selecting Start > All Programs > Software AG > Apama 5.1 > Apama Command Prompt
3. Change the current directory to samples\dashboard_studio\tutorial under your Apama installation directory.
For example, enter the following:
cd %APAMA_HOME%\samples\dashboard_studio\tutorial
(The environment variable APAMA_HOME is set automatically in the environment of the Apama command prompt.)
4. Run the script editDemo.bat by entering editDemo.
This script injects the necessary MonitorScript and tutorial scenario into the correlator. In addition, it creates instances of the scenario. The instances of the scenario running in the correlator provide event data that is displayed in the dashboard.
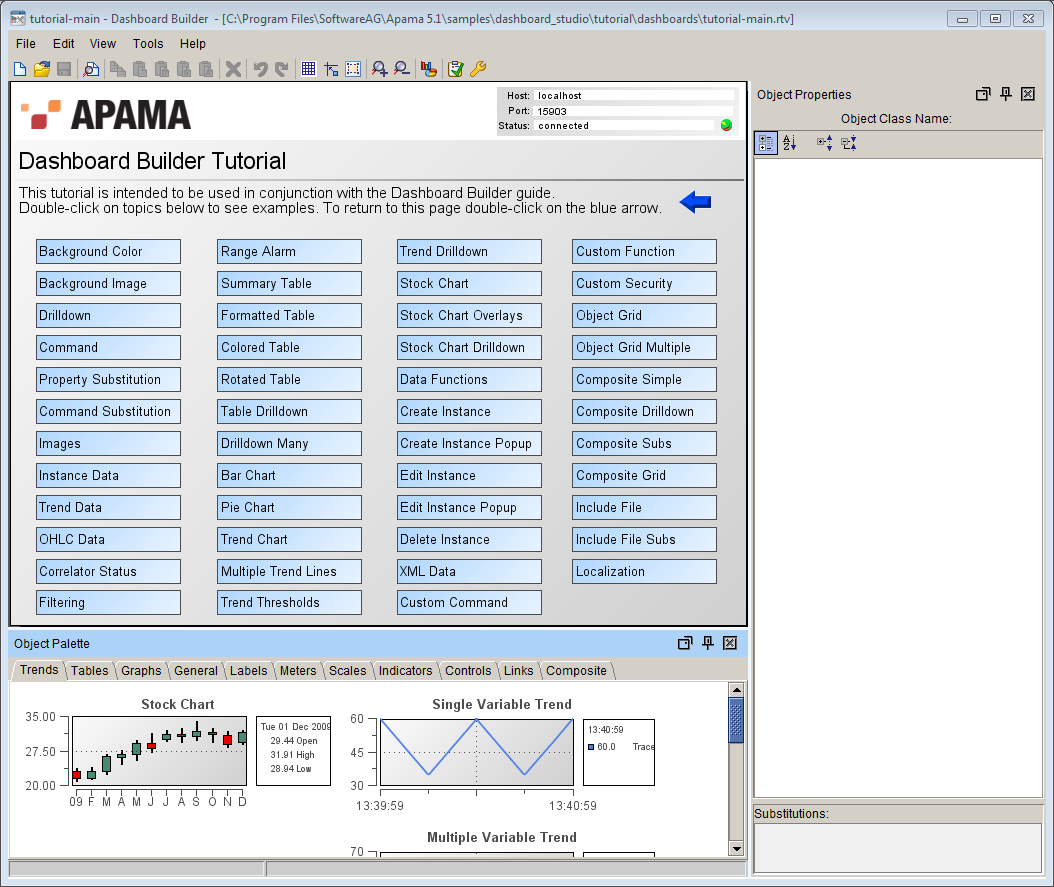
Once the necessary correlator setup has occurred, the Dashboard Builder is displayed (this can take a few moments). The tutorial is configured to automatically open the tutorial main page, which is defined in the file tutorial-main.rtv in samples\dashboard_studio\tutorial\dashboards under your Apama installation directory.
Tutorial main page in Dashboard Builder
Double clicking a topic displayed on the tutorial main page displays a page providing an example of the topic.
The tutorial uses the tutorial scenario located in the monitors folder in the tutorial directory. This is a very simple scenario designed for with this guide.
Instances of the scenario are created by specifying values for the input variables Instrument and Clip Size. The scenario uses a simulated market feed to drive changes in the price of the instrument. The scenario tracks the Velocity of the Price and issues a simulated trade every second based on the Velocity being positive or negative. On each trade the number of shares specified as the Clip Size are bought or sold.
The scenario has six variables.
 Instrument
: The name of the instrument being traded
Clip Size: The number of shared to trade on each order
Price: The current price of the instrument
Velocity: The current velocity on the instrument’s price
Shares: The number of shares currently held of the instrument
Position: The total position in the instrument.
Dashboard Builder provides a large set of objects with a wide range of configurable properties. This variety enables you to create visually rich and flexible dashboards which best meet the needs of your applications and users. This guide does not detail every object and every property. Rather, it presents the most commonly used objects and how they are used.
The information presented in this guide enables you to create dashboards for your scenarios and DataViews. You should experiment with the objects and properties not presented in this guide to gain even greater flexibility in your dashboard design.
Do not save your changes to the tutorial as changes might make it impossible to use it as a tutorial in subsequent sections of this guide. If you have saved it by mistake, you can restore it from your distribution by re-running the installer.
You can run the tutorial application and view the tutorial examples with the Dashboard Viewer instead of the Dashboard Builder by running the script viewDemo.bat instead of editDemo.bat. Follow steps 1-3 above, and then enter the following: viewDemo.
Copyright © 2013
Software AG, Darmstadt, Germany and/or Software AG USA Inc., Reston, VA, USA, and/or Terracotta Inc., San Francisco, CA, USA, and/or Software AG (Canada) Inc., Cambridge, Ontario, Canada, and/or, Software AG (UK) Ltd., Derby, United Kingdom, and/or Software A.G. (Israel) Ltd., Or-Yehuda, Israel and/or their licensors.