
To test CONNX connectivity, edit member CNXADAJ, change the job card parameters to match your installation standards, and submit the job to a batch execution queue. Verify that the CONNX Listener Program CNXRUNA successfully binds to the specified =CNXRUNPORT value.
From the Windows Start menu, point to All Programs, point to CONNX Solutions, point to CONNX, and then click CONNX Data Dictionary.
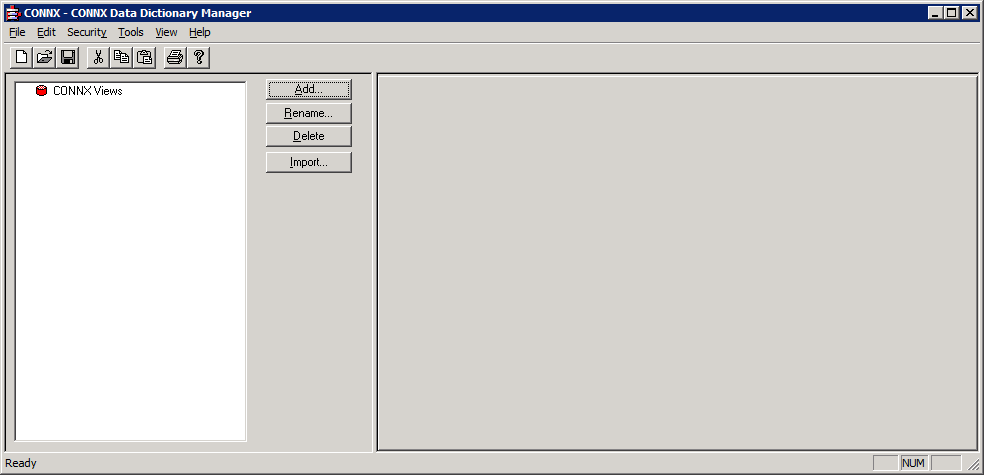
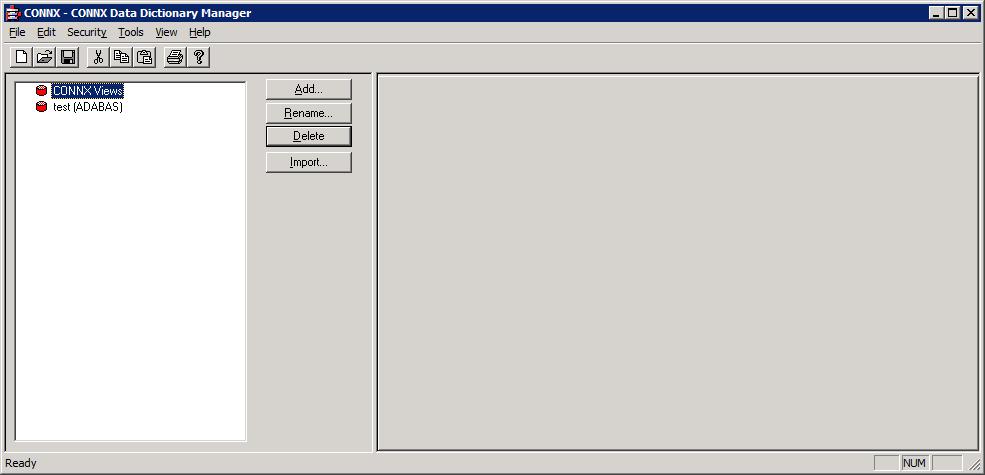
The CONNX Data Dictionary
Manager window and the Open dialog box appear. Select Cancel from
this dialog box.

The CONNX Data Dictionary
can be used to create a test connection..
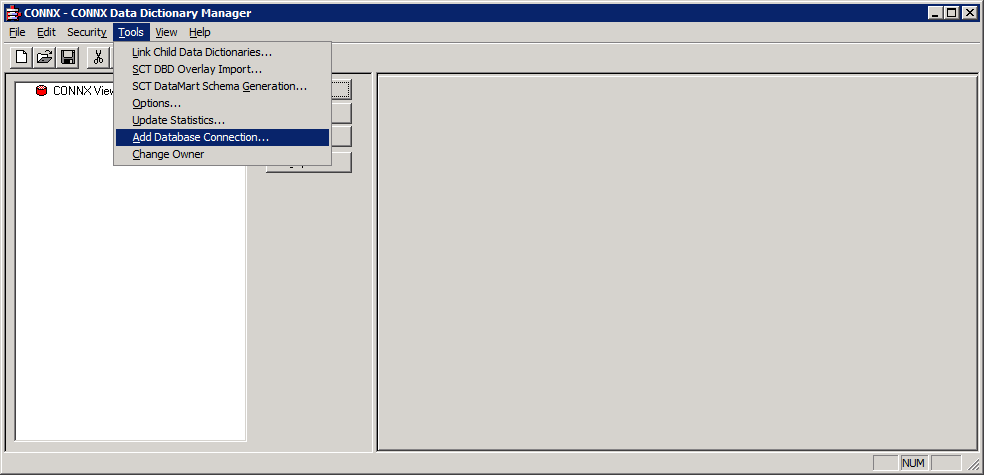
From the Tools menu, select
Add Database Connection....
Enter a Database Name
for this connection. For this example, use test. Select
ADABAS in the Database Type drop down. The Server Name is the name
(or IP address) of the mainframe where the Adabas listener was installed
and the Databas ID is the DBID of a started Adabas nucleus.
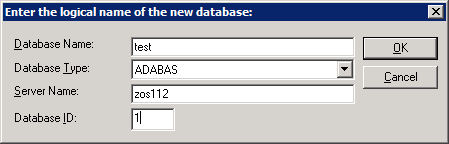
Press OK when all the fields have been filled in.
The CONNX Databas Logon
dialog will be displayed
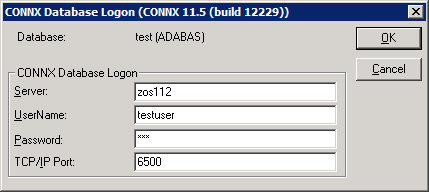
The Server name will be filled in from the previous dialog.
Enter a valid RACF User Name and password.
In the TCP/IP port text box, enter the numeric TCP/IP port on which
the CONNX for Adabas TCP/IP listener program is currently listening.
This entry must match the =CNXRUNPORT=nnnn
entry in the CONNX.ADABAS.CNTL(CNXPARMS), where nnnn is a numeric
TCP/IP port. The default value for the TCP/IP port is 6500.
Press the OK button. If everything is correct, you will return
to the CONNX Data Dictionary main screen and see an entry named Test.
Pressing OK from the CONNX Database Logon screen makes a connection
to the listener on the mainframe and verifies the user id and password.
If the user id or password is incorrect or if the listener is
not running on the specified port, the connection will fail.
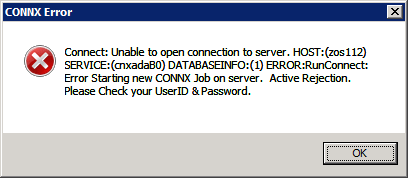
After successfully connecting
via the Add Database Connection option, repeat Steps5-7, but specify
a non-existent user ID/password combination. In this case, an Active
Rejection error will be displayed. Note:
Prior to repeating Steps 5-7, select the database named test
and then press the Delete button.
If you do not see the above Active Rejection error message when using
an incorrect User ID/Password combination, check to make sure that
the parameter CNXNOPREAUTHORIZE is not set to 1 in CONNX.ADABAS.CNTL(CNXPARMS)
on the mainframe.
Exit the CONNX Data Dictionary
application. There is no need to save the changes to the CDD
that was created for this process..
Optional
installation step:
After verifying the JCL procedure CNXADA executes correctly as a batch
job, you can copy it to a system started procedure partitioned data
set, for example, SYS1.PROCLIB. As a final installation step, ask
your security administrator or systems programmer to create a RACF
user ID for the CNXADA procedure.
Note: There are many advantages
to creating CONNX started procedures, but this step can be bypassed
if the alternative of running CONNX as one or more batch jobs provides
adequate response time and security.