
This tutorial manipulates replication data by:
Filtering data
Combining multiple fields
Excluding data fields
Applying mathematical formulas
Extracting a portion of a field
Renaming fields
Prerequisites:
Install Adabas version 6.1.4 or above.
Install ConnecX SQL Engine 1.1.2 or above
Install the Open Systems Event Replicator
Create an Adabas database with a DBID of 1 using the Adabas sample tables. For this example, we will use the Adabas sample table EMPLOYEES-NAT (File11)
Start the Adabas database.
An available SQL Server database. For this tutorial, we recommend that you create a database named SQLDatabase. Otherwise, you can use any existing SQL Server database.
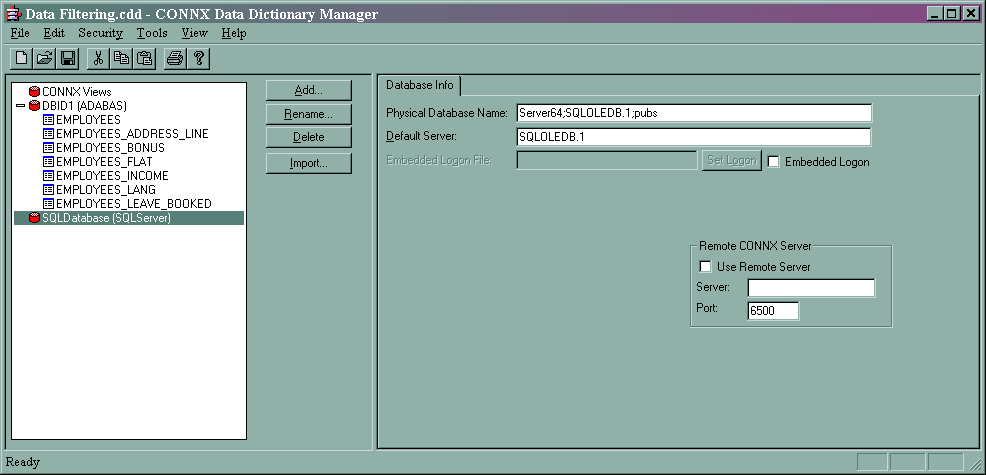
Create a CDD containing the source and target databases. For this example, we will use the CDD Adabas to Relational Replication (our last opened CDD) that was created in the Performing a Simple Replication - Adabas to Relational Database tutorial.
In this example, we will copy a table view, filtering out a portion of the original table during the copying process.
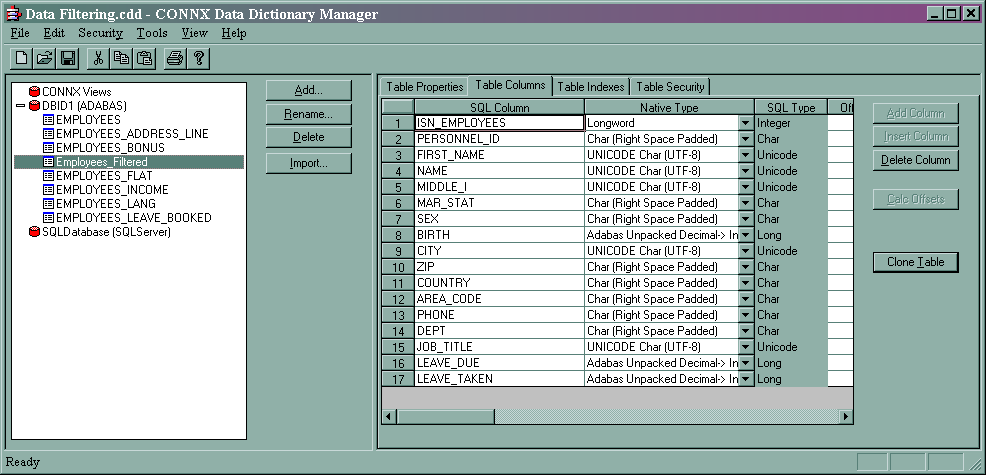
On the Start menu, click Programs, click CONNX Driver and then click CONNX Data Dictionary. The CONNX Data Dictionary Manager window appears.
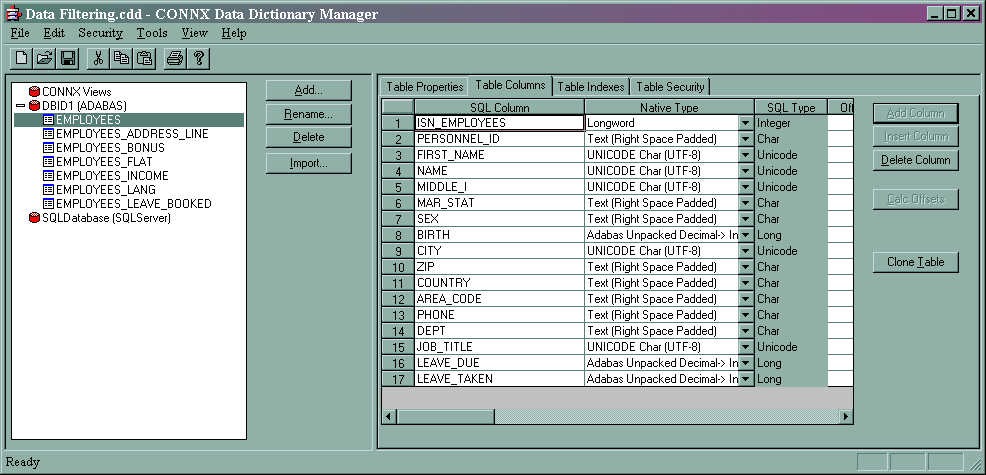
Select the EMPLOYEES table and click the Table Columns tab.
Click Clone Table. The Clone Table Assistant appears.
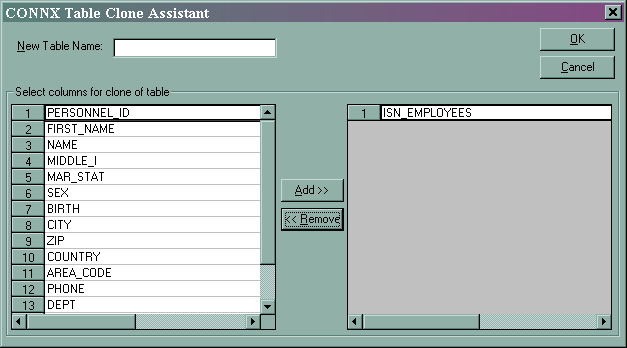
In New Table Name, enter Employees_Filtered. Select all the columns and click Add>>. All the columns move from the left side to the right.
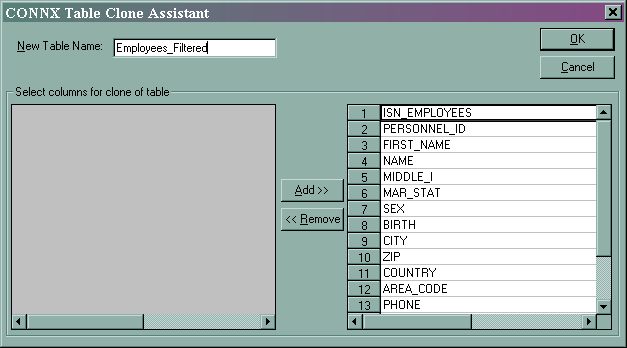
Click OK. The CONNX Data Dictionary Manager window appears. Employees_Filtered has been added to the CDD and the Table Columns tab contains the SQL Table column information.
Click the Table Properties tab. We use the SQL View Clause field to filter data for replication. In this example, we only want the employees who have a phone number with area code 1033. Enter AREA_CODE=1033 in SQL View Clause.
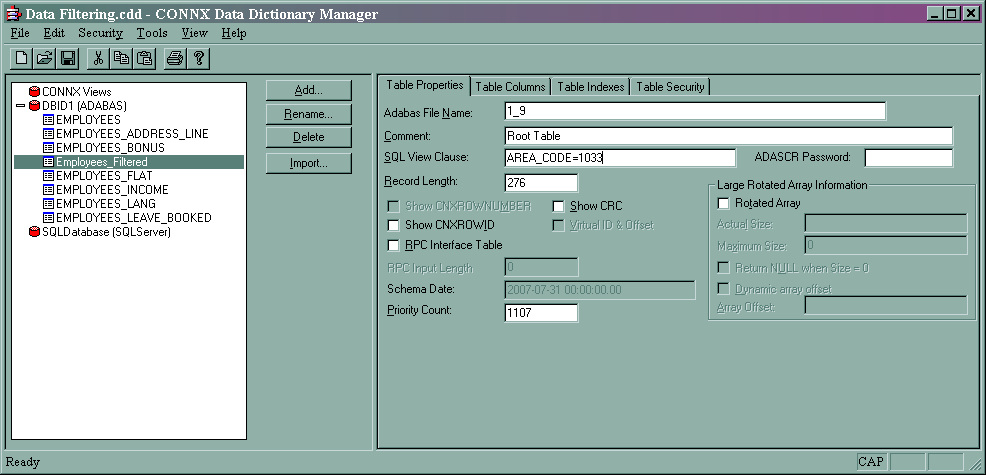
In the File menu, select Save.
Employees_Filtered is now a clone of the view of the Employees table. Employees and Employees_Filtered are the same physical table. The Employees view shows the entire table's data; the Employees_Filtered view shows only the records for employees with AREA_CODE=1033. The filter will be applied when queries are applied to the Employees_Filtered table.
Close the CONNX Data Dictionary Manager window and on the Start menu, click Programs, click CONNX Solutions, click Open Systems Event Replicator and then click Replication Administrator. If the Configure Servers window appears, click Cancel. The No Data Dictionary selected window appears.
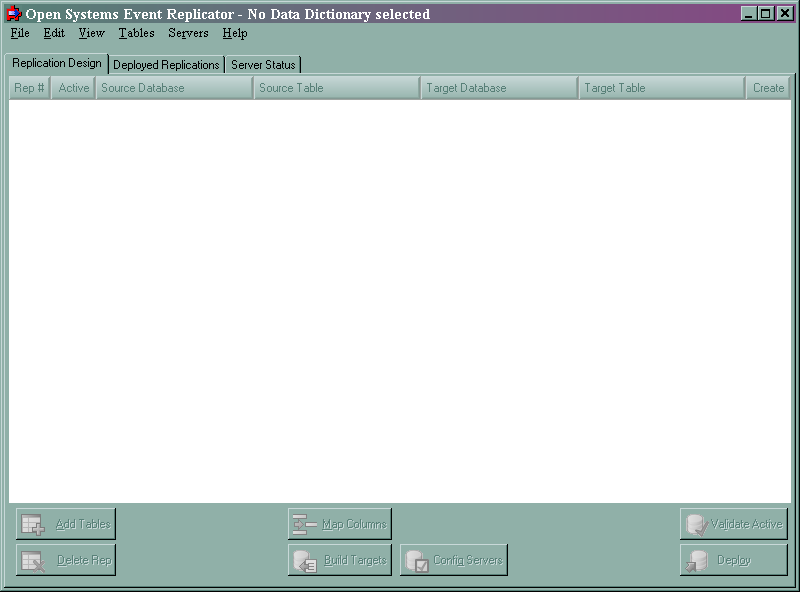
In the File menu, select OpenCDD. Select Data Filtering.cdd and click Open. The Configure Servers window appears.
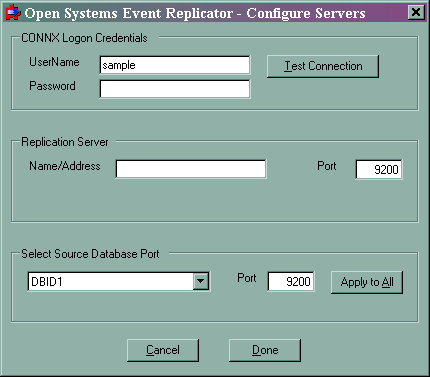
In CONNX Logon Credentials enter Sample in UserName and leave Password blank. Click Test Connection. The CONNX Integrated Logon window appears.
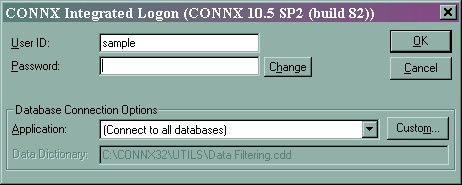
Leave Password blank and click OK.
You will be prompted to create a user in the CDD. Press OK. The User ID sample will be created with a blank password.
When the connection succeeds, enter localhost in Name/Address and 9200 in Port.
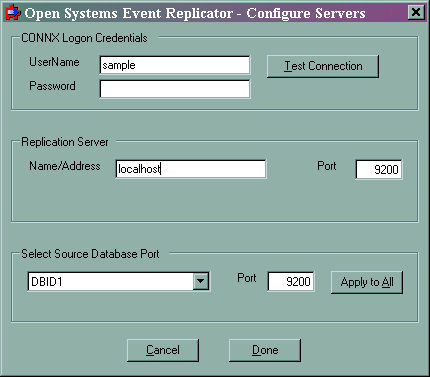
Click Done. The Add Tables window appears.
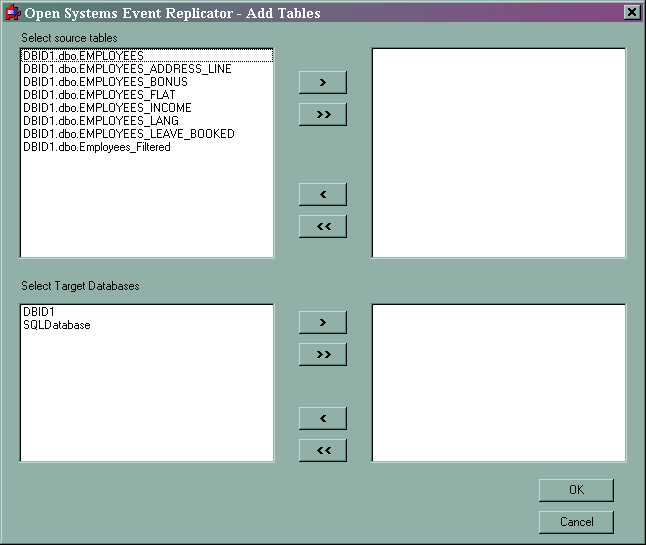
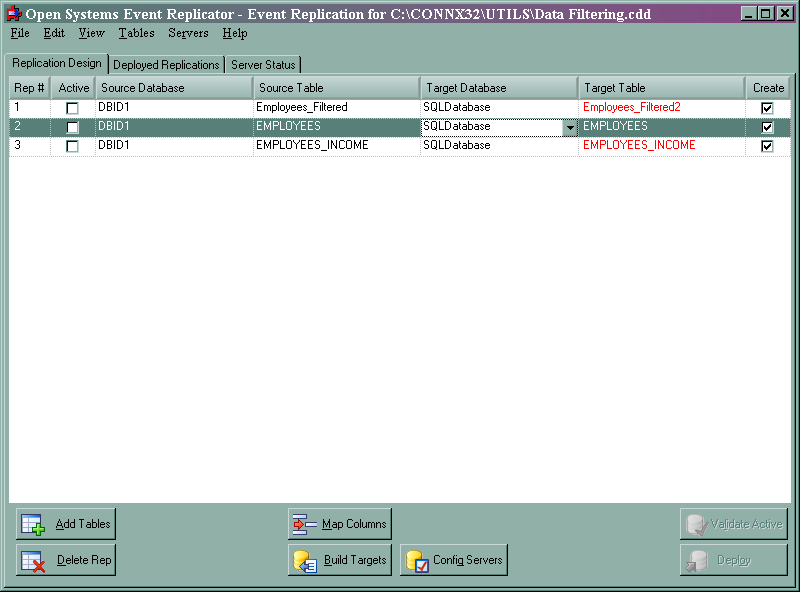
From Select source tables, select DBID1.dbo.Employees_Filtered. From Select Target Databases, select SQLDatabase.
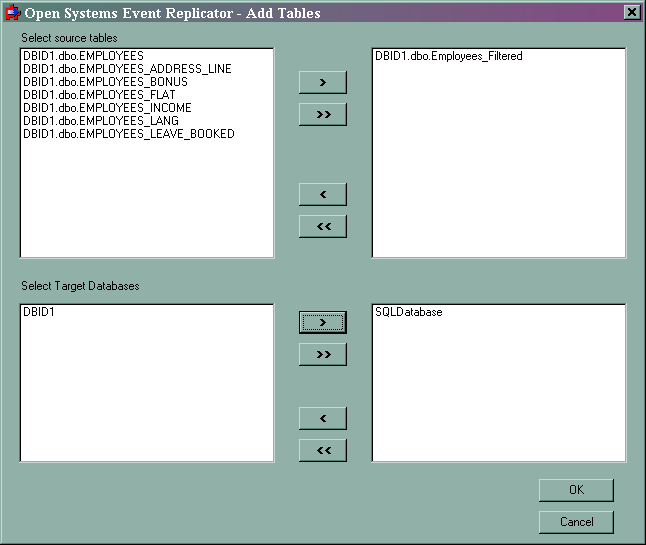
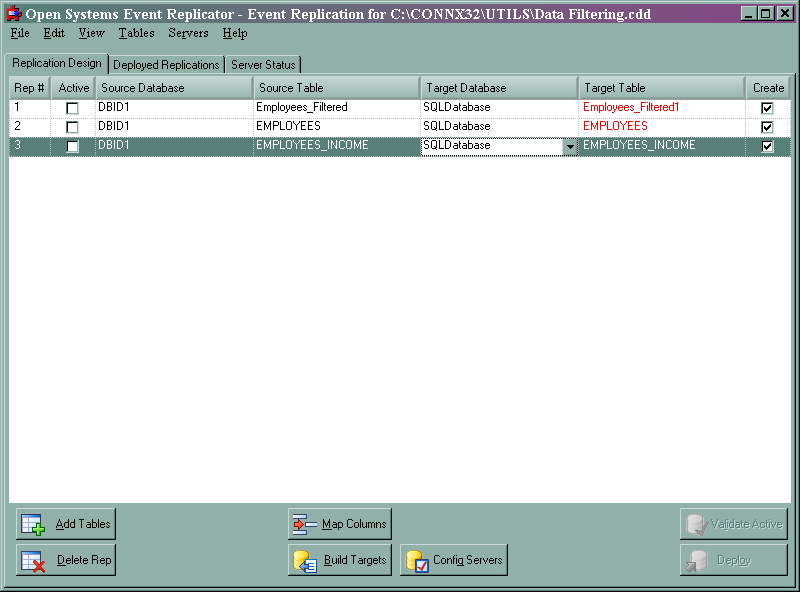
Click OK. The Open Systems Event Replication window appears.
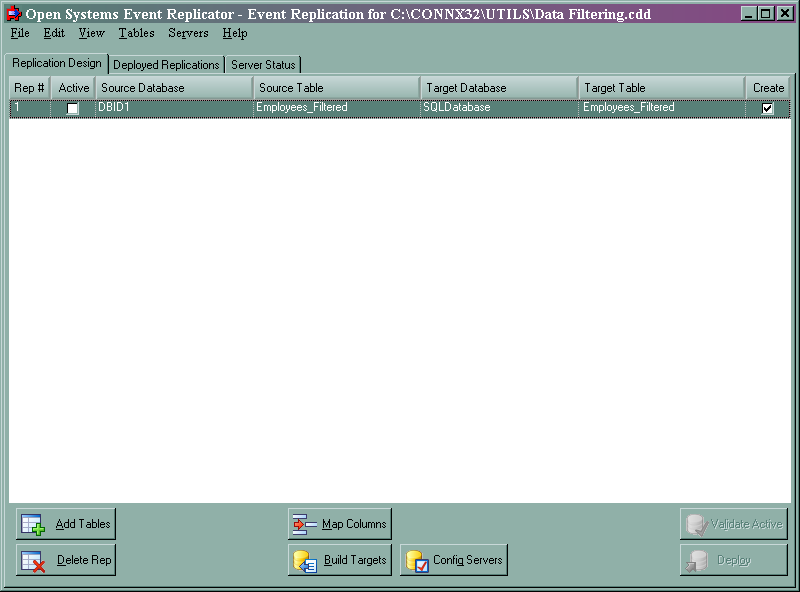
This completes filtering replication data.
In this example, we will combine the first name, middle initial and last name fields in the copy of the Employees table into one field (FULL_NAME) so it's easier to read the contents.
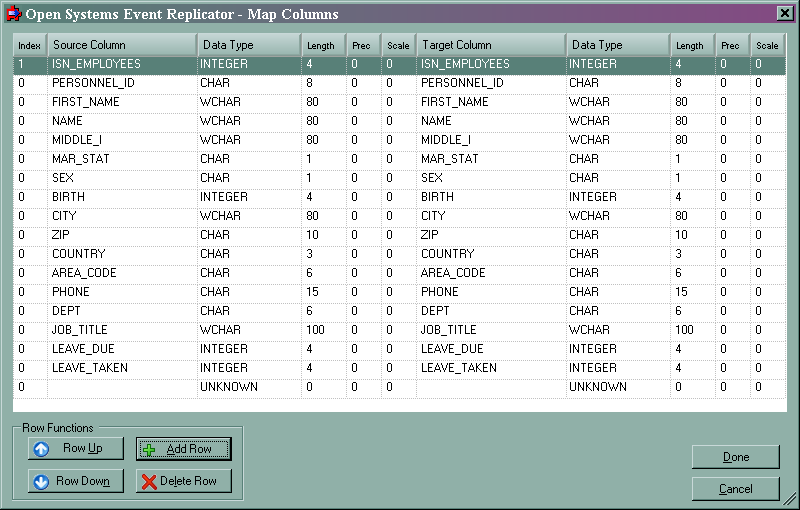
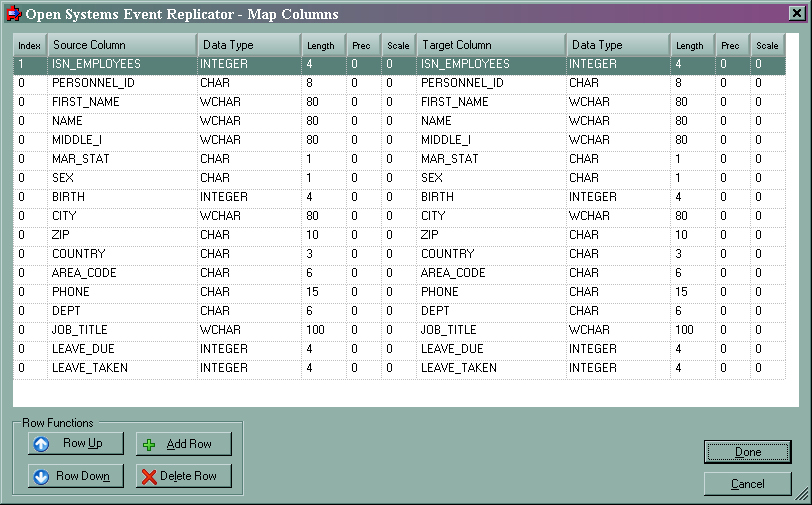
Using the Employees_Filtered table created in Filtering Replication Data, click Map Columns. The Map Columns window appears.

Click Add Row. A new row appears at the end of the table description. Note: This example illustrates column mapping on a table that does not already exist on the target database. The Add Row, Delete Row, Row Up and Row Down buttons are only available when mapping to a new target table. If you are mapping to an existing target table and wish to change the structure of that table, you will need to press the "Drop Target Table" button (available when mapping to an existing table). This will drop the target table and allow you to re-create it with the new structure. Warning: Only do this if you intend to physically drop and re-create the target table. All data in the existing table will be lost.
In Source Column enter the SQL expression FIRST_NAME + ' ' + MIDDLE_I + ' ' + NAME
This concatenates the first, last and middle initial into one field with a space between each name.
In Target Column enter FULL_NAME.
In the target column Data Type select CHAR.
In the target column Length enter 240.
Since each of the three columns that are being concatenated into FULL_NAME has an 80 characters length, FULL_NAME's length is 240.
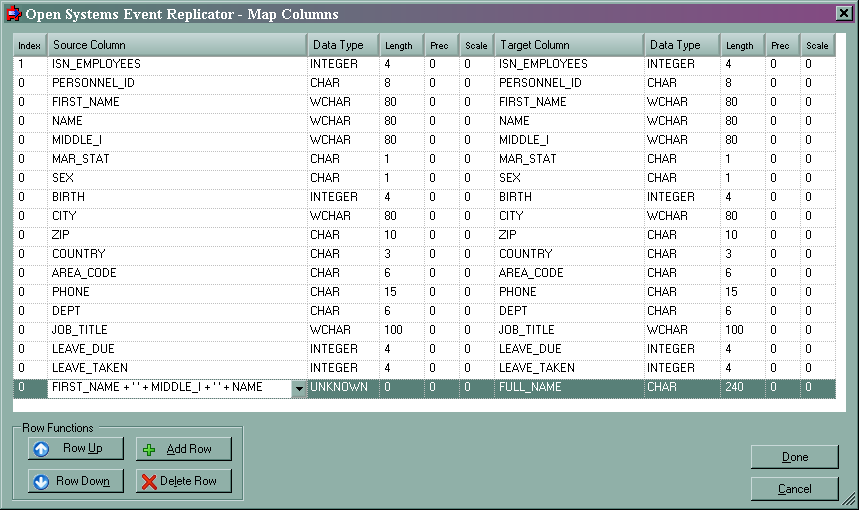
Click Done. This completes concatenating multiple data columns.
In this example, we will exclude all the name data from a replication table so the information can be anonymously analyzed by a demographic program.
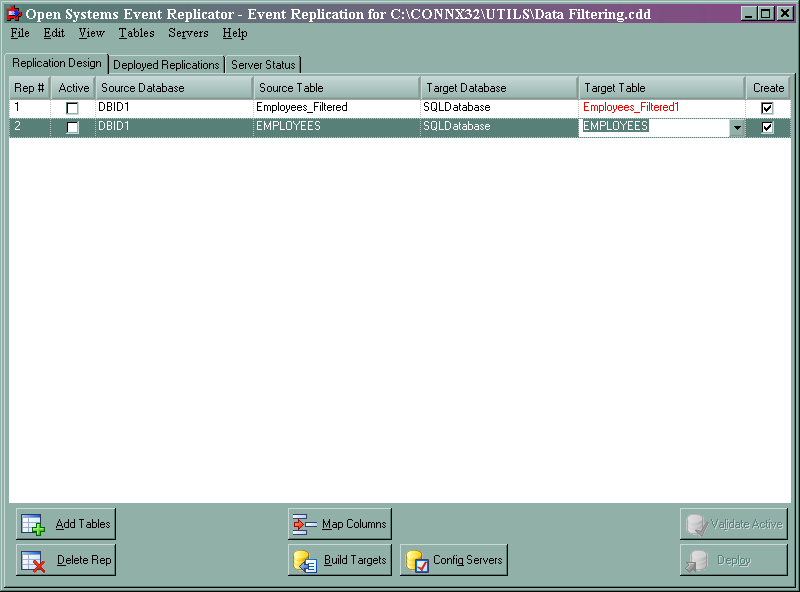
From the CONNX Data Dictionary Manager window, click the Replication Design tab. Click Add Tables. The Add Tables window appears.
From Select source tables, select DBID1.dbo.EMPLOYEES. From Select Target Databases, select SQLDatabase.

Click OK. The Open Systems Event Replication window appears. Select the Employees table.
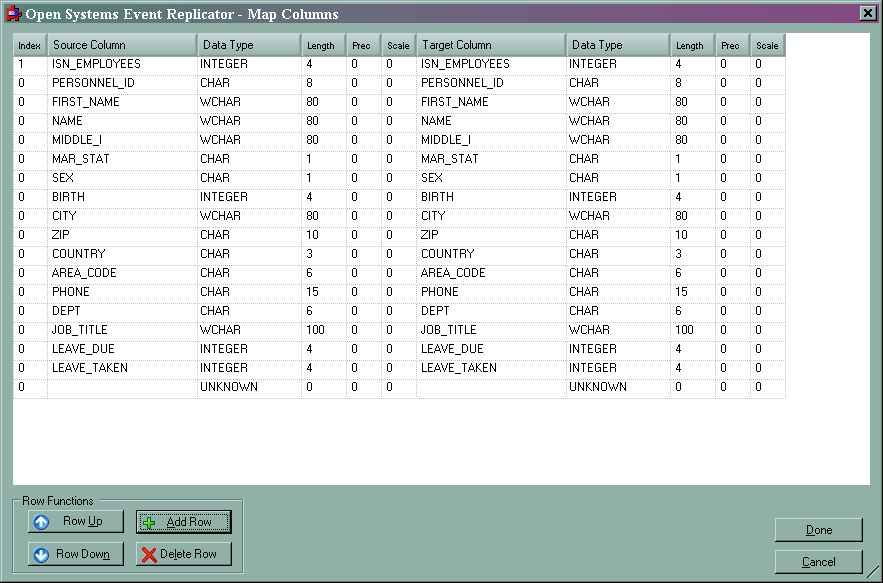
Click Map Columns. The Map Columns window appears.
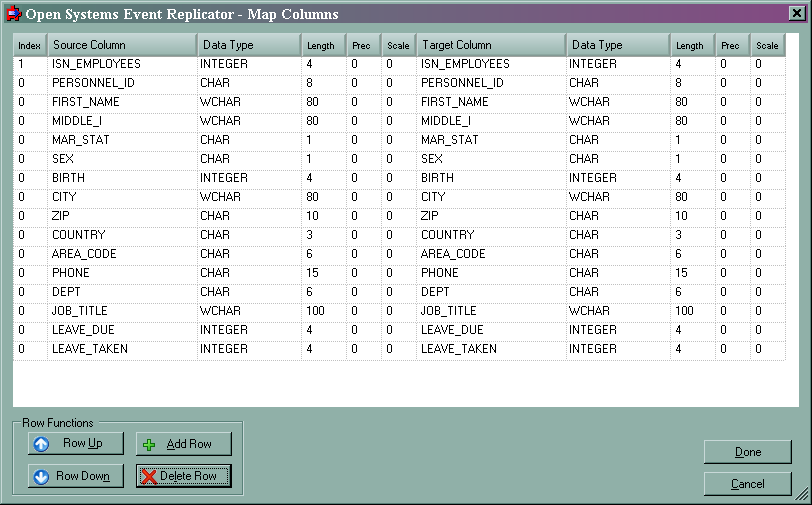
Select the Name column

Click Delete Row. A message appears asking if you want to delete a single row. Click Yes. The Map Column window now looks like this:
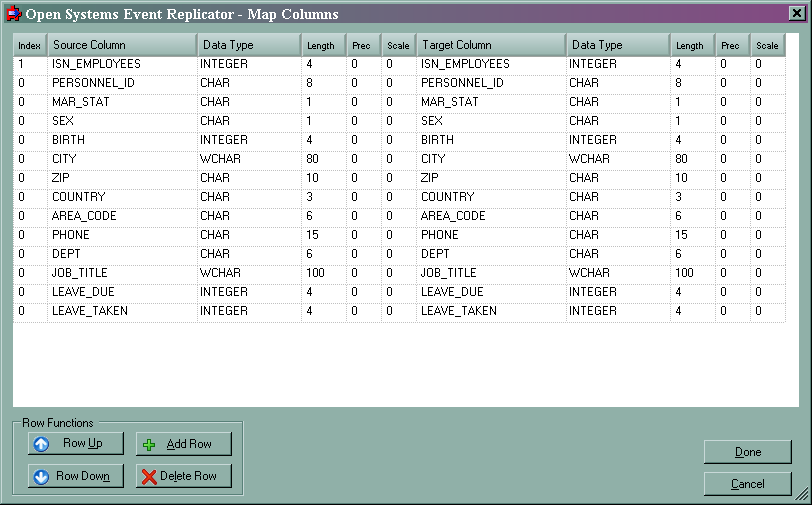
Delete the MIDDLE_I and FIRST_NAME rows the same way you deleted the NAME row. The Map Column window will look like this:
Click Done. This completes excluding data columns.
In this example, we will calculate the maximum amount of money an employee can contribute to a special savings plan.
From the CONNX Data Dictionary Manager window, click the Replication Design tab. Click Add Tables. The Add Tables window appears.
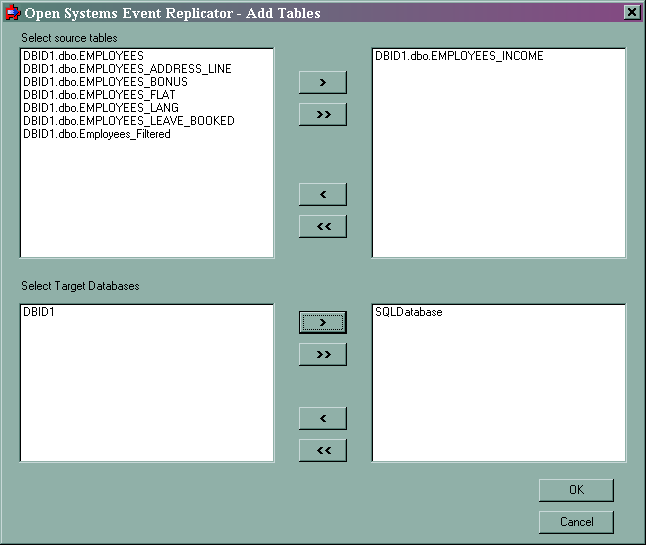
From Select source tables, select DBID1.dbo.EMPLOYEES_INCOME. From Select Target Databases, select SQLDatabase.
.
Click OK. The Open Systems Event Replication window appears. Select the EMPLOYEES_INCOME table.
Click Map Columns. The Map Columns window appears.
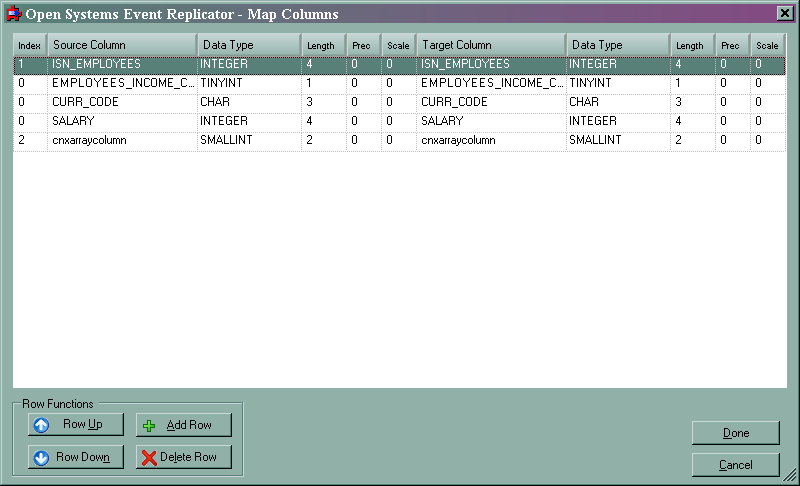
Click Add Row to create a new entry in the column map.
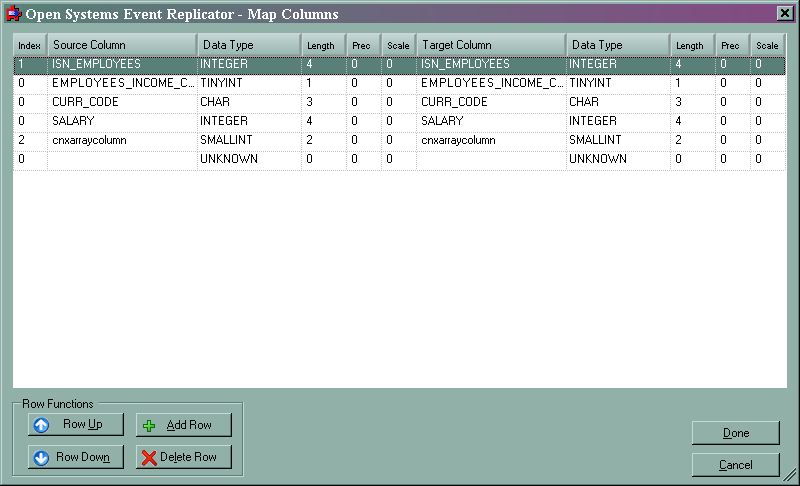
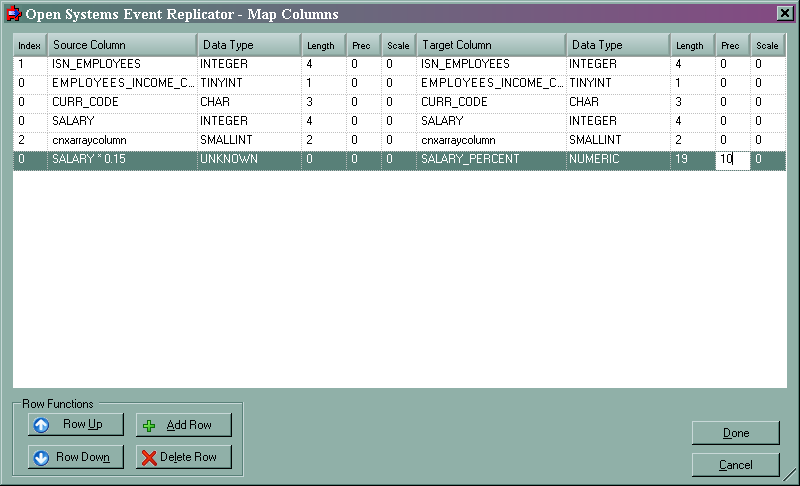
In Source Column enter "SALARY * 0.15"; this will calculate15% of the value in SALARY and place it into a new column in the Target table
In Target Column enter SALARY_PERCENT.
In the target column Data Type select NUMERIC.
In the target column Length enter 19.
In the target column Prec enter 10.
.
Click Done. This completes performing math operations on replication data.
In this example, we will use CITY to create a two-letter City name abbreviation.
From the Open Systems Event Replication window select the EMPLOYEES table.
Click Map Columns. The Map Columns window appears.
Click Add Row to create a new entry in the column map.
In Source Column enter "LEFT (CITY, 2)"; this will take the leftmost two characters in CITY and place them into a new column in the Target table
In Target Column enter CITY_ABBR.
In the target column Data Type select CHAR .
In the target column Length enter 2.
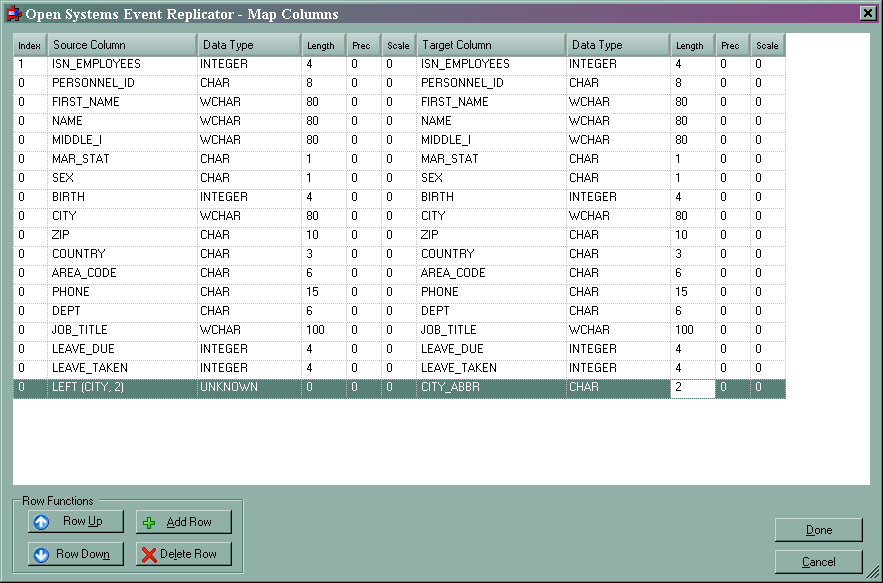
Click Done. This completes using SQL expressions to split a column.
In this example, we will rename the MAR_STAT column to Marital_Status so the column name more clearly reflects its contents.
From the Open Systems Event Replication window select the EMPLOYEES table.
Click Map Columns. The Map Columns window appears.
In the target column MAR_STAT field enter "Marital_Status".
In the target column Data Type select CHAR.
In the target column Length enter 1.

Click Done. This completes renaming a target column
.