
|
Creating a CDD for Event Replication using the CONNX SQL Engine is the first step in getting data replicated. This includes:
Create a CDD for Event Replication using the CONNX SQL Engine if:
After you create a CDD for Event Replication using the CONNX SQL Engine you will be ready to:
|
The Open Systems Event Replicator needs a CONNX Data Dictionary (CDD) to replicate. Create a new CDD if you do not have an existing CDD that contains both the source tables to be replicated and the target database.
On the Start menu, click Programs, click CONNX Driver and then click CONNX Data Dictionary. The Open window appears.
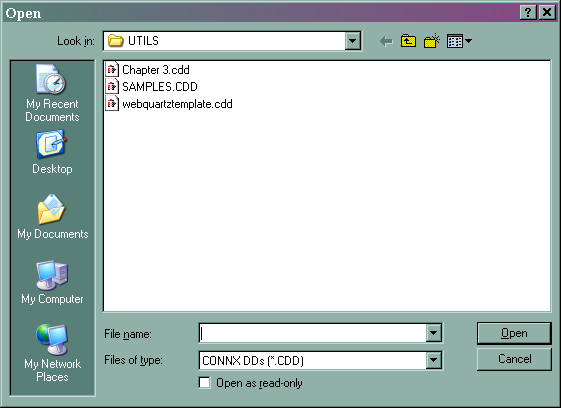
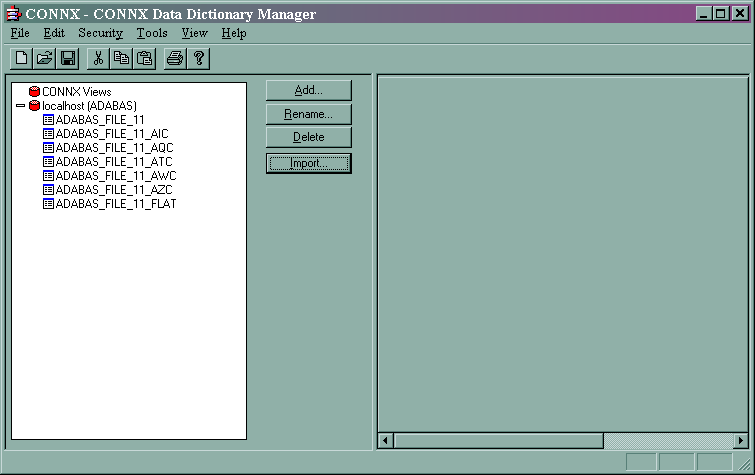
Click Cancel. The CONNX Data Dictionary Manager window appears.
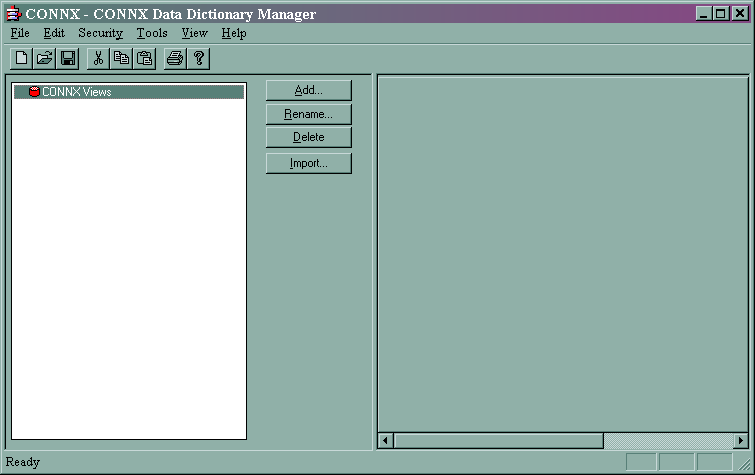
Click Import. The Import CDD window appears.
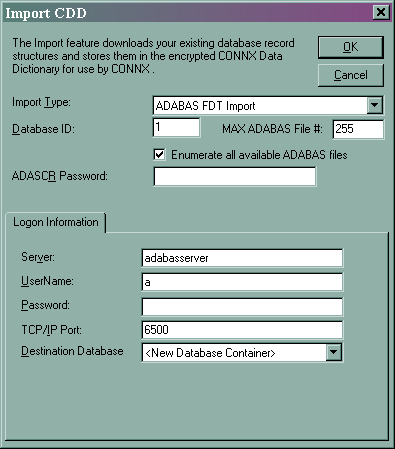
In Import Type, select the correct Adabas Import. Type (the example shows FDT Import). Type the Adabas Database ID for the Adabas source tables in Database ID. Type 255 in MAX ADABAS File #. Type in the logon information.
Warning: Do not use localhost as the server name for the Adabas Source or Target tables. In certain instances using localhost as the server name may cause you to lose all your source table records during an initial state.
Click OK. The CONNX Import Table Selection window appears.
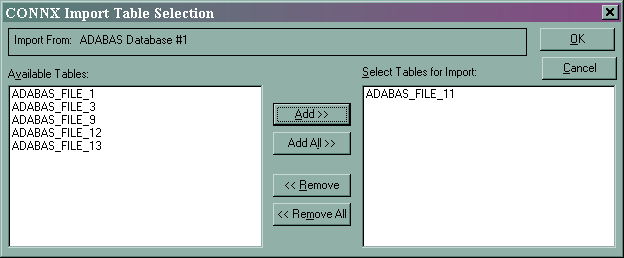
Add the source tables to be replicated to the target database and click OK. The ADABAS Count Selection window for the source table appears.
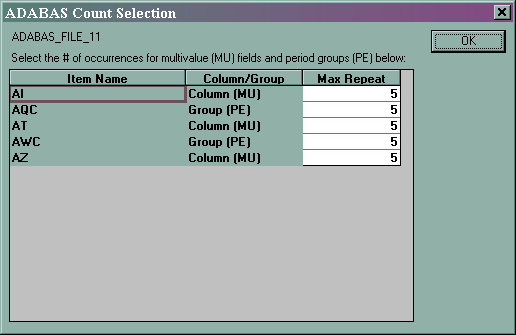
If the default values are incorrect, change them. Click OK. The CONNX Data Dictionary Manager window containing the source table information appears.
You have imported the Adabas source tables into the CDD.
If the target database is an Adabas database, follow the Importing the Adabas Source Tables instructions above and import the target database and its tables.
Warning: The Event Replicator cannot create Adabas target tables. Adabas target tables must be created using Adabas, not the Event Replicator.
If your target database is on UNIX, follow the special configuration instructions found in CONNX Configuration Settings in the CONNX User Guide.
Warning: If your UNIX target database is not correctly configured on both the ConnecX SQL Engine administrative machine and the Open Systems Event Replicator Administrator machine, you will not be able to use the Open Systems Event Replicator to replicate to those target tables.
For non-Adabas target databases on Windows:
Click Import. The Import CDD window appears.
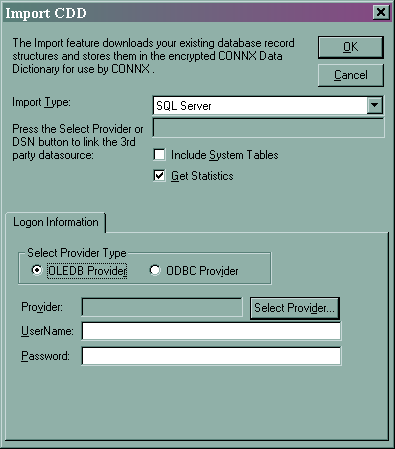
In Import Type, select the target database type.
Note: Different target databases will have Import CDD windows with different required information. The example shows SQL Server.
In Select Provider Type, click OLEDBC Provider. Click Select Provider and supply the required information. Click OK.
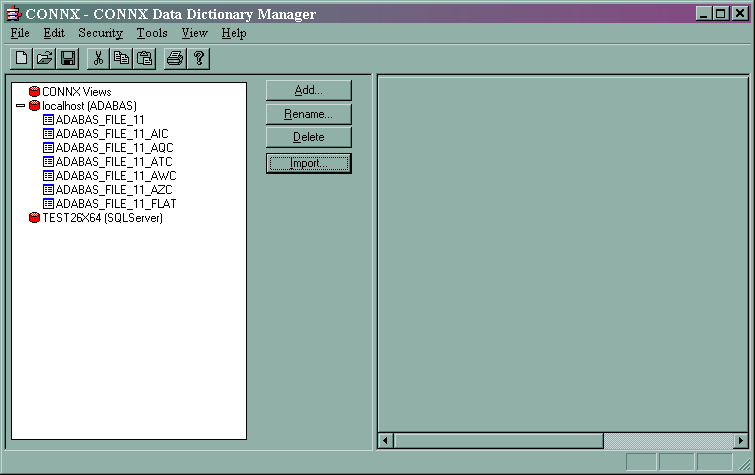
The CONNX Import Table Selection window appears. If there are any tables in the target database, they will appear in Available Tables.
If any of the existing tables will be used as target tables, select them and click Add. After enabling a CDD for Event Replication, map the source columns to the target table.
If none of the existing tables will be target tables, do not select anything. You will create the new target table in the Event Replicator.
To avoid future table name conflicts, click Add All to import all available tables.
Click OK. The CONNX Data Dictionary Manager window appears.
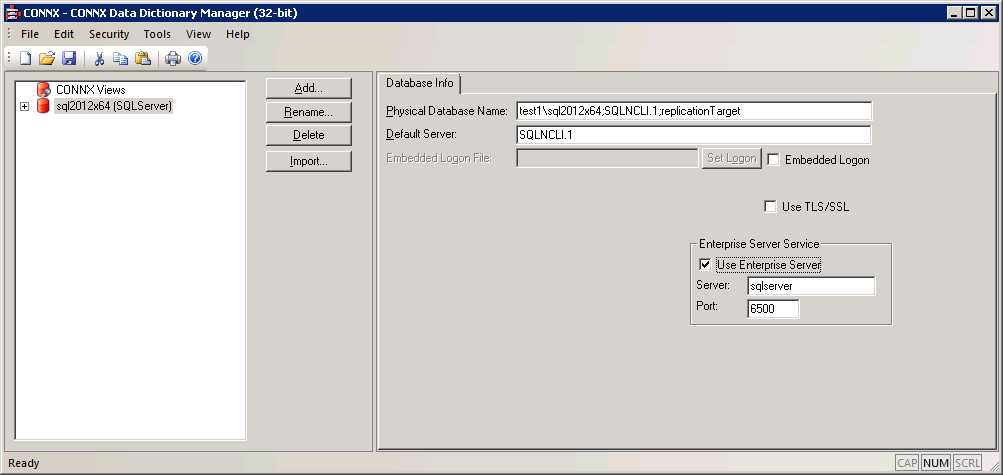
Note: When the target datbase is SQL Server, it is recommended that the Enterprise Server Service be installed on either the SQL Server machine or a Windows machine in the same network as the SQL Server machine. The CDD should then be configured to connect to the Enterprise Server Service by checking the Enterprise Server Service checkbox and specifying the server the Enterprise Server Service is running on.
Note 2: When the Replication
Server is running inside a docker container, the Enterprise Server Service
must be used when
the target is SQL Server.
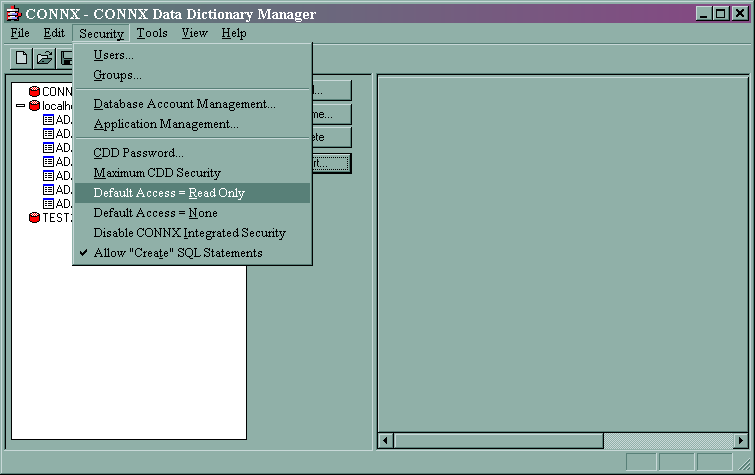
In the Security menu, clear Default Access = Read Only.
In the File menu, select Save As.
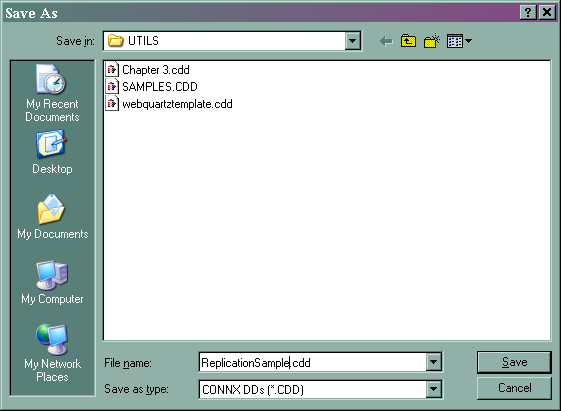
Name your CDD and select the appropriate folder to save it in. Click Save.
Close the CONNX Data Dictionary Manager.