
|
Creating a CDD for Adabas to Adabas Event Replication using the CONNX SQL Engine is the first step in getting data replicated. This includes:
Create a CDD for Adabas to Adabas Event Replication using the CONNX SQL Engine if:
After you create a CDD for Adabas to Adabas Event Replication using the CONNX SQL Engine you will be ready to:
|
The Open Systems Event Replicator needs a CONNX Data Dictionary (CDD) to replicate. Create a new CDD if you do not have an existing CDD that contains both the source and target databases.
On the Start menu, click Programs, click CONNX Driver and then click CONNX Data Dictionary. The Open window appears.
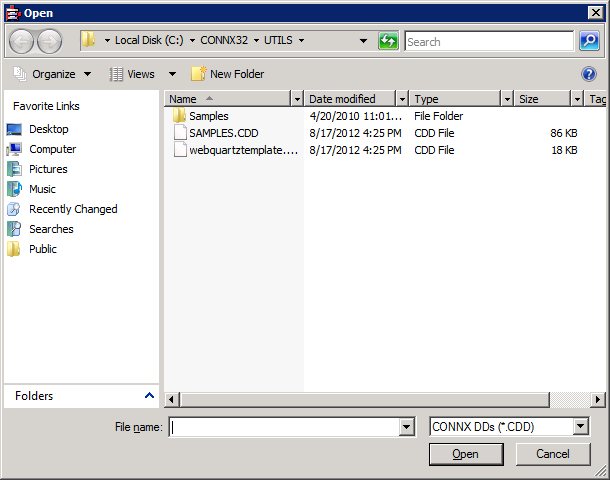
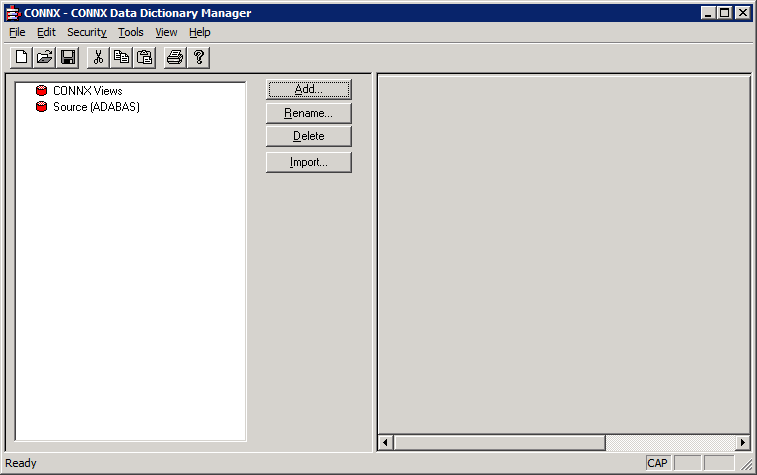
Click Cancel. The CONNX Data Dictionary Manager window appears.
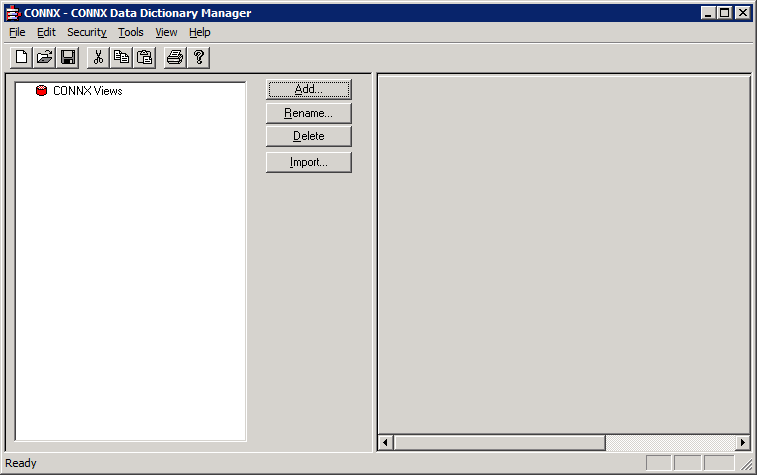
From the Tools menu, select Add Database Connection...
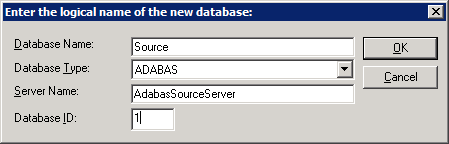
Enter logon information
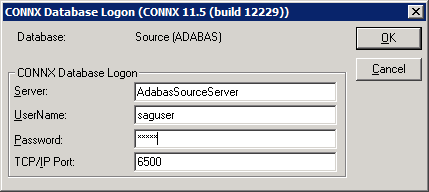
You now have a connection
to the source database defined in the CDD
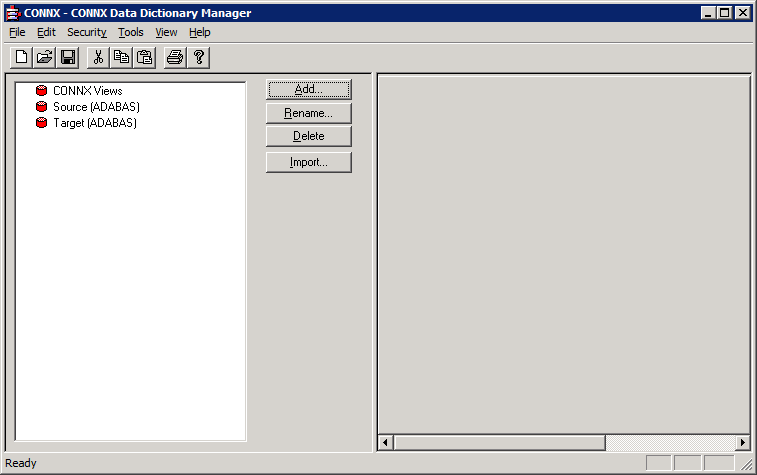
Repeat Step 1 for the target database. You will now have the source and target database connections defined in the CDD
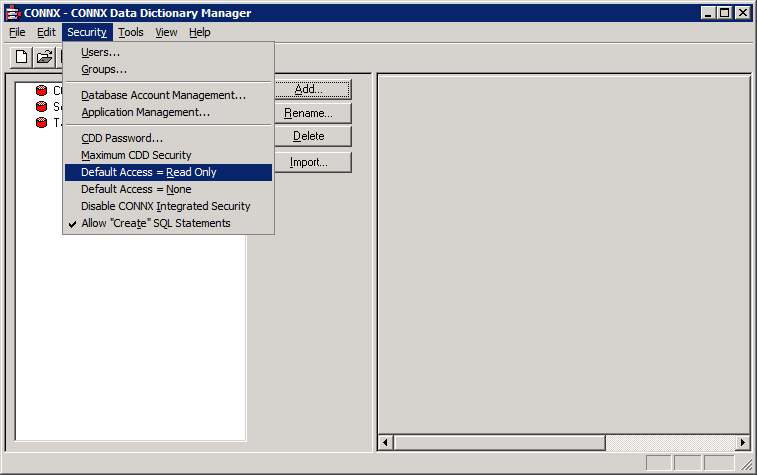
In the Security menu, clear Default Access = Read Only.
In the File menu, select Save As.
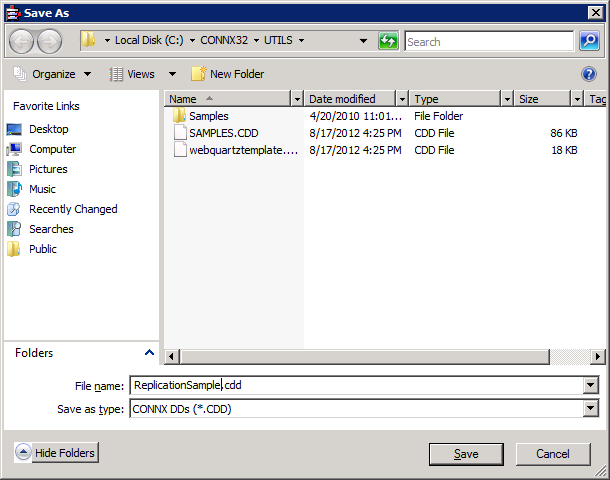
Name your CDD and select the appropriate folder to save it in. Click Save.
Close the CONNX Data Dictionary Manager.