
|
Adding new column mappings includes:
Add new column mappings if:
After you add a new column mappings you will be able to:
|
A target table is considered to be "new" if it does not exist on the target data base and it has not been created or deployed.
By default, when a new target table is defined, all source table metadata is duplicated in the target table metadata. You can add column maps to a new non-Adabas Target Table. The additional target maps can map to any Source Columns, including SQL expressions.
Warning: Since the Event Replicator cannot create Adabas Target Tables, you cannot map columns to a new Adabas Target Table. All Adabas Target Table changes must be done using Adabas, not the Event Replicator.
Note: Column mapping does not change the structure of the Source table or an existing Target table. The Add Row, Delete Row, Row Up and Row Down buttons are only available when mapping to a new target table. If you are mapping to an existing target table and wish to change the structure of that table, you will need to press the "Drop Target Table" button (available when mapping to an existing table). This will drop the target table and allow you to re-create it with the new structure. Warning: Only do this if you intend to physically drop and re-create the target table. All data in the existing table will be lost.
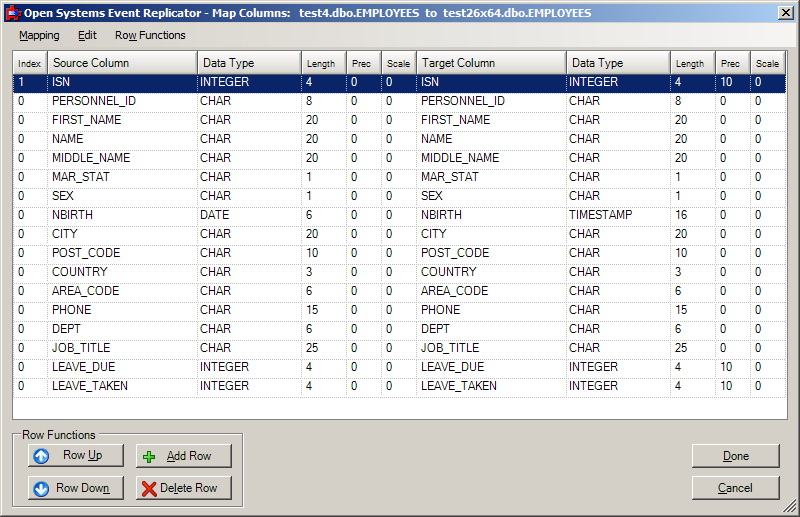
Select a Target Table to add rows to. Click Map Columns. The Map Columns window appears.
To add a row to the Target Table
Click somewhere in the data and click Add Row. A new row appears at the end.
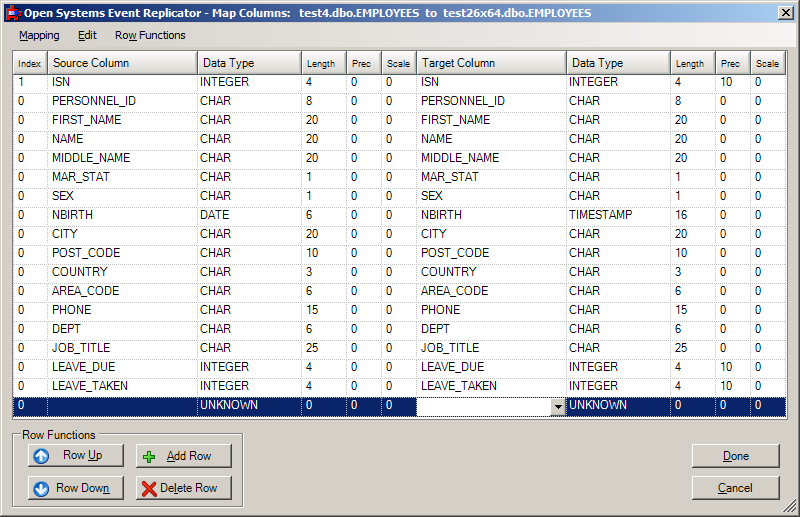
Use Row Up or Row Down to place the row in the correct position.
Click the Source Column box for the row you have added. A drop down arrow appears. Click on the arrow and a list of available source table columns appears.
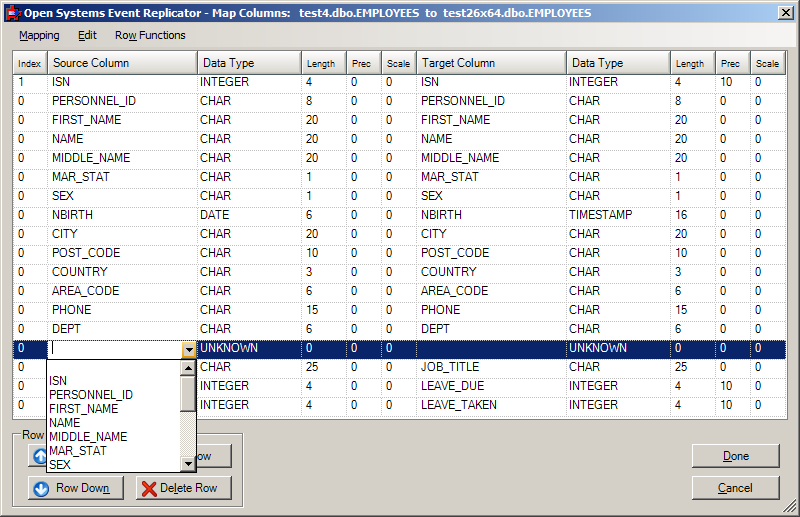
Select the source table column to be added.
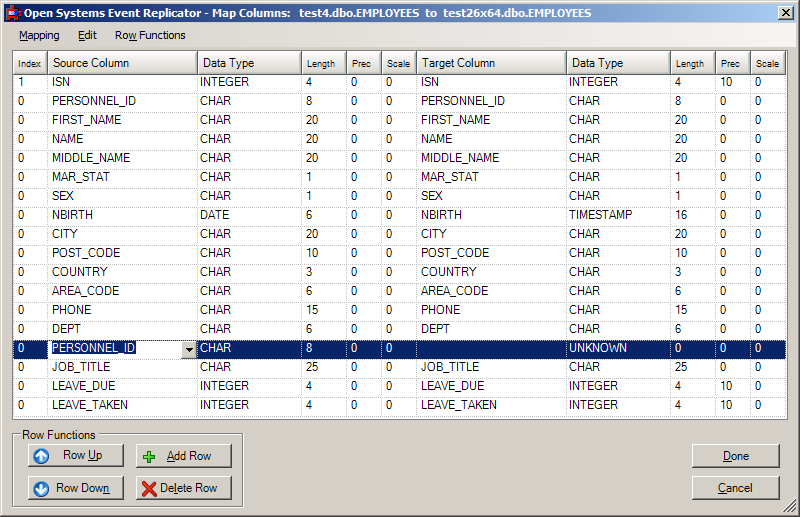
Click the Target Column box for the row you have added. A drop down arrow appears. Click on the arrow and a list of available target table columns appears
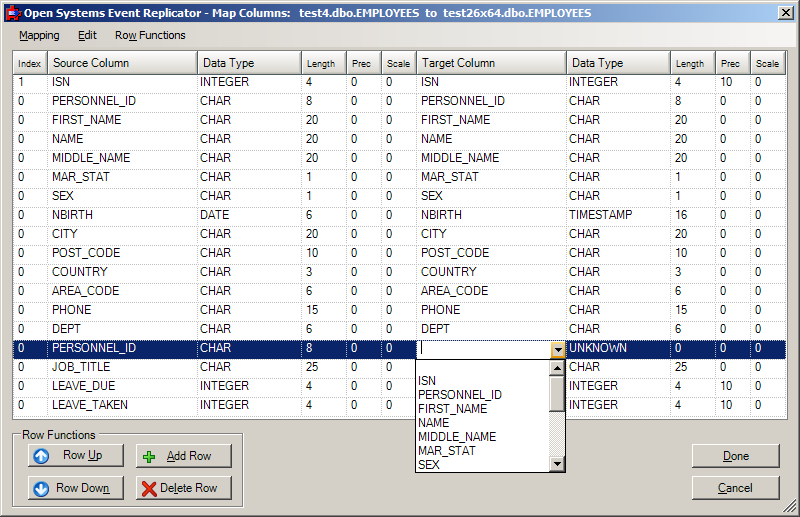
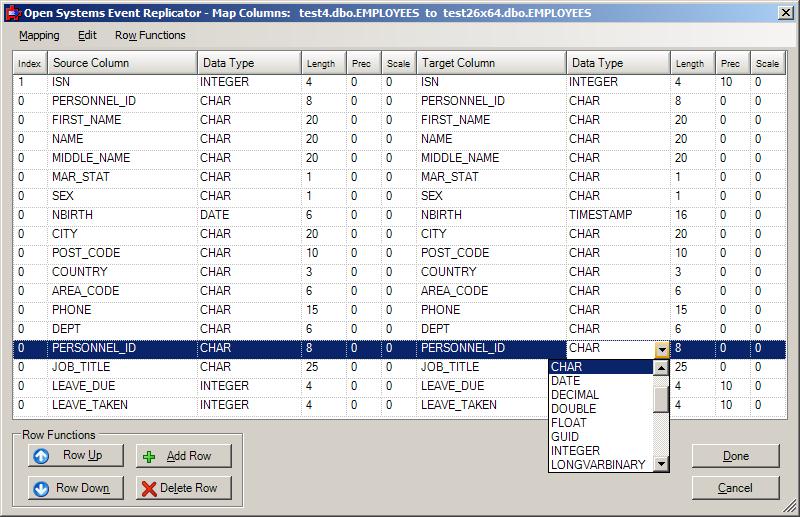
Select a target column name from this list or enter another target column name in Target Column.
Select the desired Data Type of the target column and fill in the Length, Precision and Scale.
Note: The ISN field is always shown in the column map because replication requires a unique key present to work and if there are no other unique keys on the table the ISN can then be used. The ISN is shown even if the table was built with a Create Table statement that did not specify an ISN.