
Select a computer on which the CONNX Administrator component is installed. Click the Start button, and then point to All Programs. Point to CONNX Driver and then click CONNX Server Setup. The CONNX Server Component Installation dialog box appears. Select the UNIX/Linux tab.
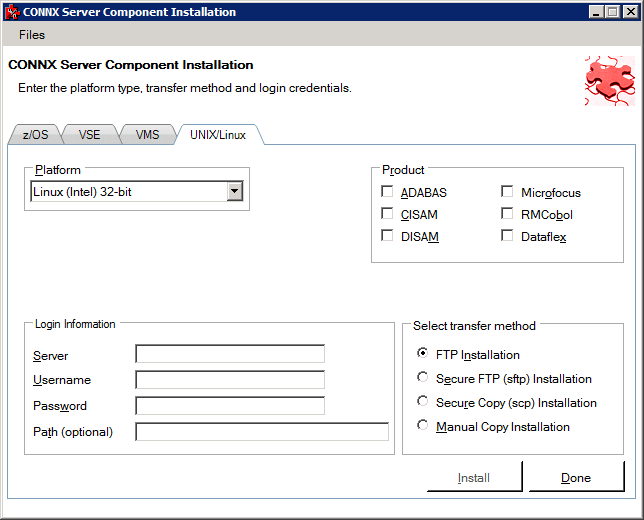
Select your system's platform
from the Platform drop-down
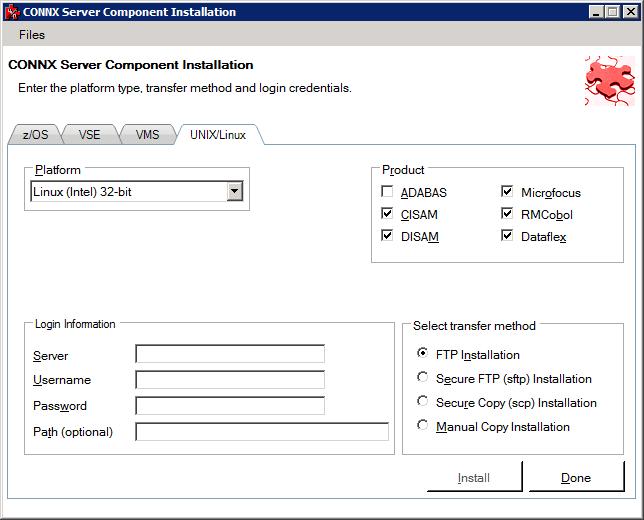
box. Select the C-ISAM, DISAM,
RMCobol or Micro Focus check box in the Product
area.
If the target system has
an FTP, SFTP or SCP server enabled, skip to step 5.
If the target system does
not have an FTP, SFTP or SCP server enabled, select the Manual Copy
Installation option and click the Begin Client Installation button.
This option will create the necessary install files in the <database
type>\TEMPINST subdirectory of the CONNX installation directory.
Move these files via an alternate copy method to the Unix server
and then proceed to step 12 below.
Select the desired transfer method and then in the
Server text box, enter the
TCP/IP host name or address for your system platform.
In the User
ID text box, enter a privileged user account name. In the Password text box, enter a user
account password.
By default, the C-ISAM,
DISAM, RMCobol or Micro Focus data is sent to your home directory.
If you wish to send it to another location, enter the name of the
alternate directory in the Installation
Information Install Path text box.
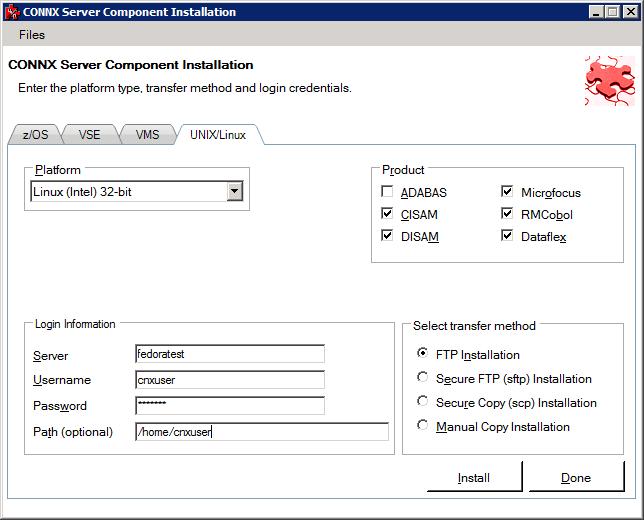
Click the Install
button. This action starts an FTP, SFTP or SCP session and copies
the selected components to the target server. Progress will be displayed
at the bottom of the screen.
An ftp window appears
saying the files were successfully copied to the system.
If the C-ISAM, DISAM,
RMCobol, Dataflex or Micro Focus server is not installed, an error
box appears. Select Files
from the menu. The sub menu has options to view the FTP log
as well as the FTP script. The FTP logs have a timestamp appended
to the name. Select the appropriate log file and check for errors.
If the resolution to the problem requires a call to technical
support, please provide the log file as well as the script file to
the support representative.
Note: If the files fail to
copy via the Client Installation's FTP, SFTP or SCP session, please
use the Manual Copy Installation as outlined in step 4 above.
Note: If you get this screen, you must use the chmod command to set the execute permissions for the installconnx shell script.

Example
chmod 550 installconnx
To run the installconnx
shell script, start a terminal emulator on the UNIX server and type
the appropriate user name and password.
There are three possible command-line options for installconnx:
-h = Print Help.
-s = Yes | No enhanced security.
-p = Default
CNXRUNPORT.
Type ./installconnx and then press <Enter>. Press <Enter> to install to current directory or enter a new install path at the prompt. The contents of the compressed files are unzipped to a CONNX directory in the install directory.
When asked whether you wish to get enhanced security, type <y> Enhanced security enables UNIX user names/passwords to be verified using UNIX logon security. You will be prompted for a root password.
The final output should read:
CONNX UNIX Installation
Complete.
If it reads as follows:
CONNX UNIX Installation Not Complete.
check the preceding error message.
Close the telnet server session.
If you are installing the DISAM component, ensure that the risamsrv daemon is running.
Click the Done
button.
Note: All UNIX instructions
must be entered as lowercase characters.