
The following procedure describes how to create a CONNX client installation record file in preparation for silent CONNX client installation. This file serves as a template for future installations of CONNX.
Copy the contents of the CONNX installation medium to a location on the network. Silent client setup is run from this location.
Select a client computer for the first silent installation.
Click Start
on the taskbar, and then select Run.
In the Open text box, type N:\ServerName\Connx\Disk1\Setup.exe -r
where N represents a network
drive. (A UNC path may be substituted for the network drive
name; e.g., \\UNCPath\CONNX\Disk1\Setup.exe
-r).

Click the OK button.
The Welcome to the InstallShield Wizard window appears. Click the Next button.
After you have read the License Agreement on the License Agreement screen, click the I accept the terms of the license agreement radio button, and then click the Next button.
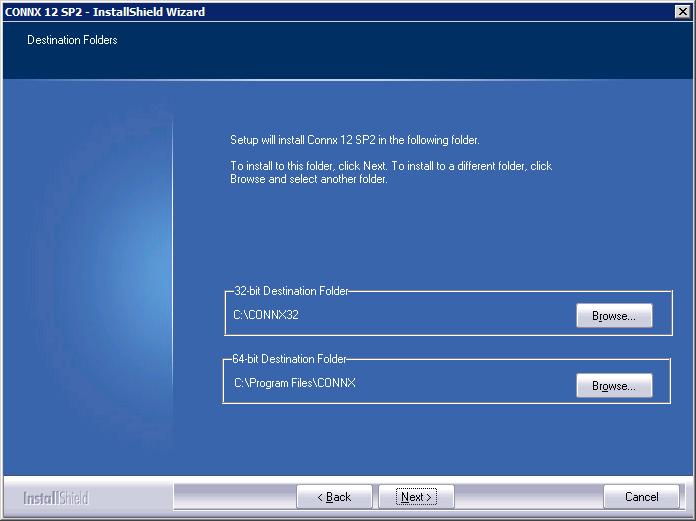
The CONNX Location window
appears. Click the Browse
button to modify the destination folder for the program files. Click
the Next button to continue.
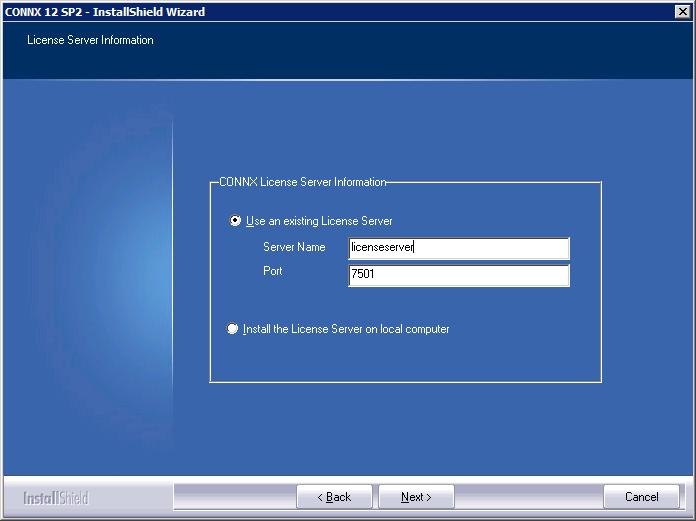
The License Server Location screen appears. Click the Use an existing License Server radio button and enter the name of your CONNX license file license server. The default Port number is 7501. Click the Next button to continue.
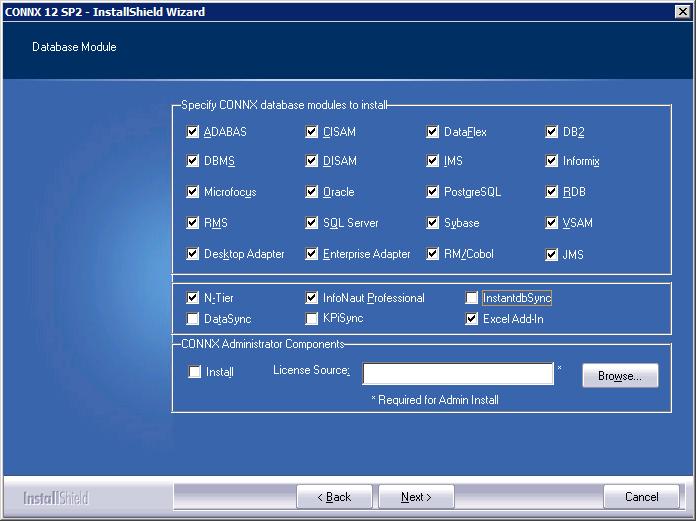
The Database Module screen
appears. Select the databases for which you have a valid license code.
If you are running databases other than VMS databases, specify the
location of the license files. Do NOT check the DataSync
check box. Uncheck the Install
check box in the CONNX Administrator
Components frame. Click the Next
button to continue.
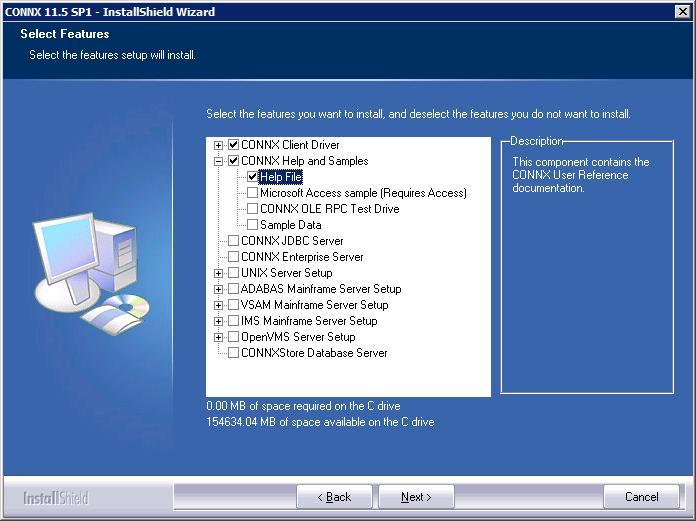
The Select Features window appears. The following should be checked:
CONNX Client Driver
CONNX Help File and Samples
Click the plus sign to the left of the CONNX Help File and Samples to open the list of subcomponents available
Momentarily uncheck the CONNX Help File and Samples checkbox to uncheck all subcomponents (sample files are not available for client machines)
Check the Help File subcomponent. This will re-check the CONNX Help and Samples checkbox
Leave all other checkboxes under the CONNX Help File and Samples heading unchecked
Click the Next button to continue
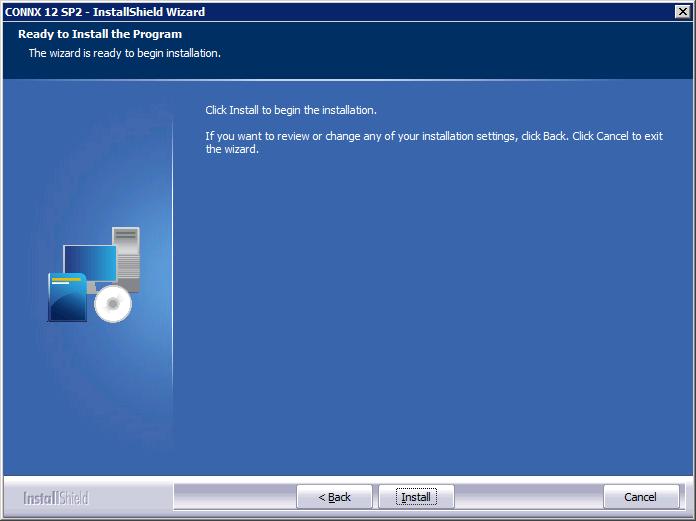
When the Ready to Install the Program screen appears, click the Install button to begin the installation.
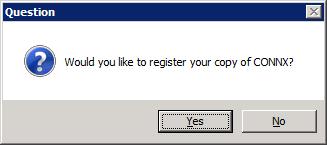
Before setup completes,
you are asked if you would like to register your copy of CONNX. Click
No.
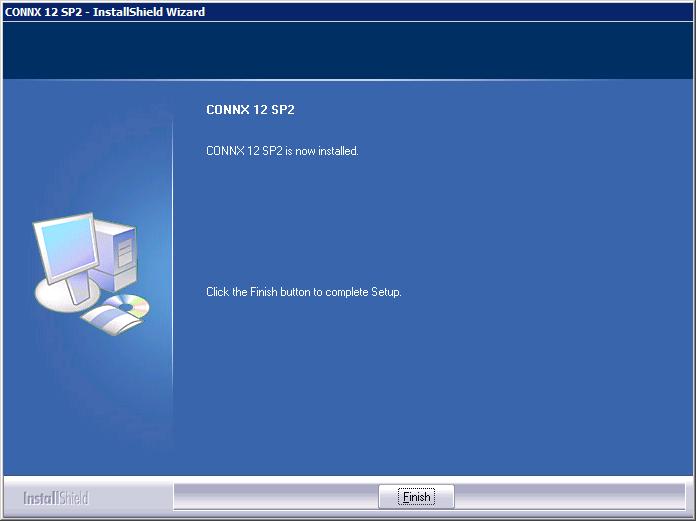
The Setup Complete window appears. Click the Finish button.
The record file you created is located at: C:\WINDOWS\Setup.iss. You MUST move the file to make it available for other silent installations. The most common location is a shared network location. Copy the record file C:\Windows\Setup.iss to a network server location; for example, N:\CNX\All\Setup.iss. You may also rename *.iss files to distinguish them from one another.
CONNX installation files. To facilitate client installation in instances where there are several or several hundred users, you may choose to copy all of the setup files from the CONNX installation medium into the same shared network folder as the *.iss files. A shortcut can then be sent to users via email. Each user could then execute the setup files for a silent client installation. See To create a shortcut to CONNX setup for instructions on how to create a shortcut.
Repeat this procedure for all configurations and types of CONNX installations.