
When using SSL certificates created by an internal corporate Trusted Root Authority, the following prerequisite steps are required:
We recommend that the SSL certificate should have subject alternative names such as:
Localhost
<servername>
<servername>.<fully qualified domain name>
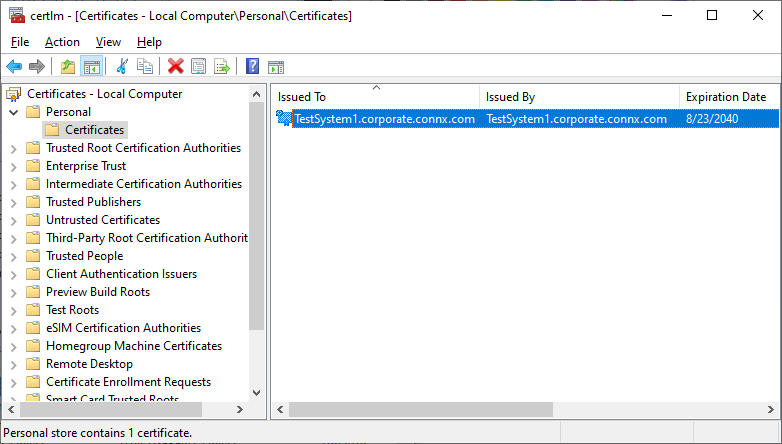
2.1. Type in ‘certlm.msc’ and right mouse click on the item and select “run as administrator”.
2.2. Expand ‘Personal’ in the left pane, right click on ‘Certificates’,
select ‘All Tasks’ and then ‘Import’.
2.2. Follow the steps in the ‘Certificate Import Wizard’ to complete the certificate installation.
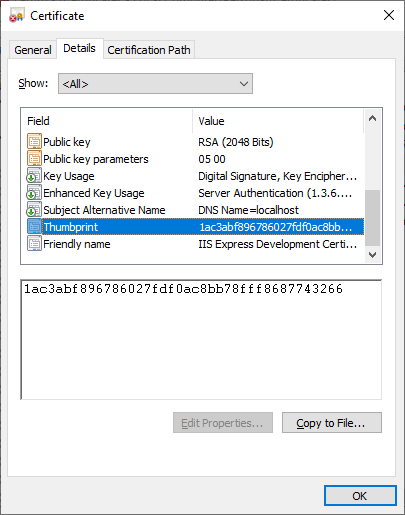
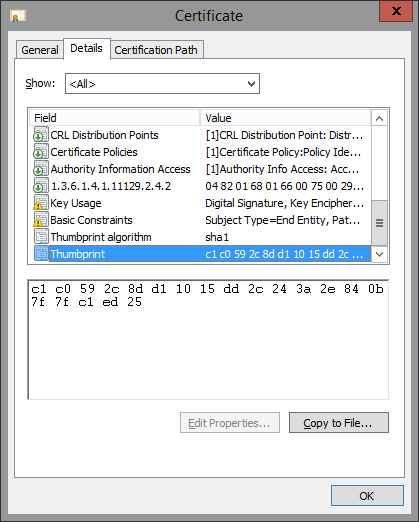
3.1. Double click on the installed personal certificate and select Details. Scroll to the bottom of the details list where you will see a field named Thumbprint. Select Thumbprint and you will see the thumbprint value expanded in the text window. Depending on the version of Windows, there may be spaces between each byte of the thumbprint. Copy and paste the thumbprint into a text editor. If there are spaces in the thumbprint, remove them in the editor.
Example of thumbprint without spaces:
Example of thumbprint with spaces:
3.2. Prior to attempting to bind the certificate to port 9500, check to make sure there isn’t a certificate already bound. Note that if the CONNX installation program was run prior to following these instructions, a self-signed certificate will have been created and automatically bound to port 9500. To check for previous bindings start a Windows DOS command prompt as Administrator and run the following command:
netsh http show
sslcert ipport=0.0.0.0:9500
If this command shows a binding that has a Certificate Hash (thumbprint) other than the one you intend to use, the binding needs to be deleted. This will be the case if the CONNX installer already created and bound a self-signed certificate. To delete the binding, run the following command from the same Windows DOS command prompt:
netsh http delete
sslcert ipport=0.0.0.0:9500
3.3. Start a Windows DOS command prompt as Administrator (or if step
3.2 was needed, use the command prompt already open) and run the following
command to bind the certificate to the port 9500.
netsh http add
sslcert ipport=0.0.0.0:9500 certhash=THUMBPRINT_FROM_PREVIOUS_STEP appid={87c9b46f-ae61-4a10-be41-52c7b89956fa}
Note: if you need to replace the certificate, you will first need to unbind this one. To do this, issue the netsh http delete command from step 3.2 above.
You should now be able to connect to the CONNX DataSync server with your browser without receiving any warnings. As stated earlier, if the Trusted Root Certificate is self-signed, the Firefox browser will still issue a warning.