Using standard RACF commands, create a new CICS user ID = CNXDEV01.
Define two profiles to RACF:
rdefine surrogat cnxdev01.dfhinstl uacc(none)
rdefine surrogat cnxdev01.dfhstart uacc(none)
Activate the SURROGAT class:
setropts classact(surrogat) raclist(surrogat)
Execute RACF permit commands to authorize the default CICS USER ID = CICSUSER to the surrogate user profiles:
permit cnxdev01.dfhinstl class(surrogat) id(cicsuser)
permit cnxdev01.dfhstart class(surrogat) id(cicsuser)
Refresh the SURROGAT class:
setropts raclist(surrogat) refresh
Open the CONNX Data Dictionary Manager window. Select the Import button. Type the user ID CNXDEV01 and a valid password, IP address and port.
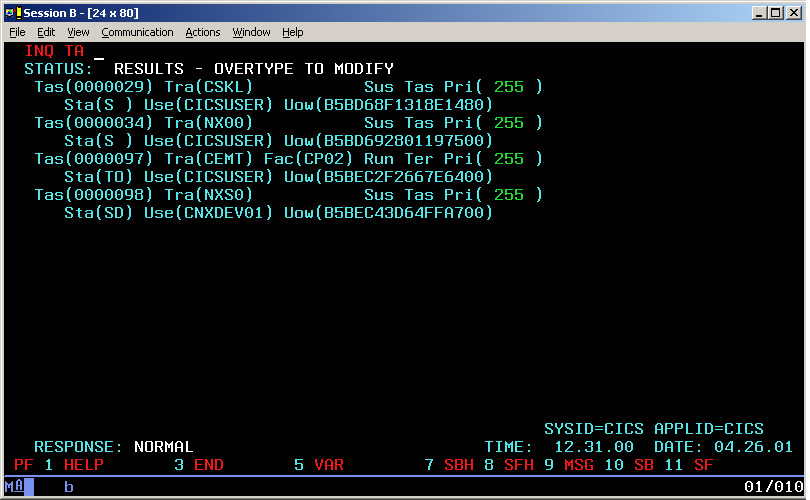
Note that CONNX Listener Transaction NX00 was previously started by USERID = CICSUSER; Transaction NXS0 is started by transaction
NX00 with USERID=CNXDEV01.

Note: Refer to the following links for more information on CICS and RACF security:
http://publibz.boulder.ibm.com/cgi-bin/bookmgr/BOOKS/DFHJAT53/2.5
http://publibz.boulder.ibm.com/cgi-bin/bookmgr/BOOKS/DFHJAT53/2.5.2