
DataSync offers the ability to do transformations by selecting the transformation tab on the DataSync window. When Transformations is selected, all of the Transformations that have been currently been saved are listed, along with information relating to the last synchronization. The Transformation Name lists the name of the Transform. By default the Transformation Name will be Transformxxx where xxx = a number starting with 1. The Target Table will be a three part name consisting of:
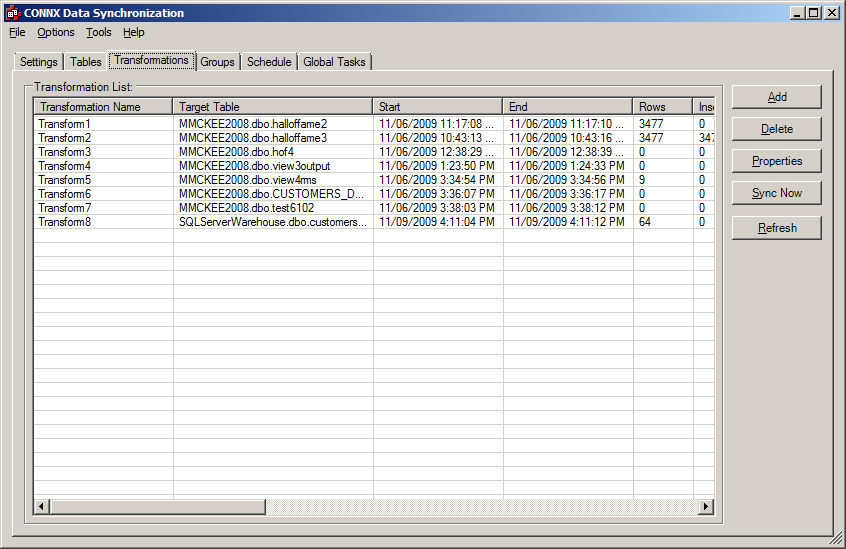
Adding a Transform is accomplished by selecting the Add button. A new window will be created that invokes the Transformation Wizard.
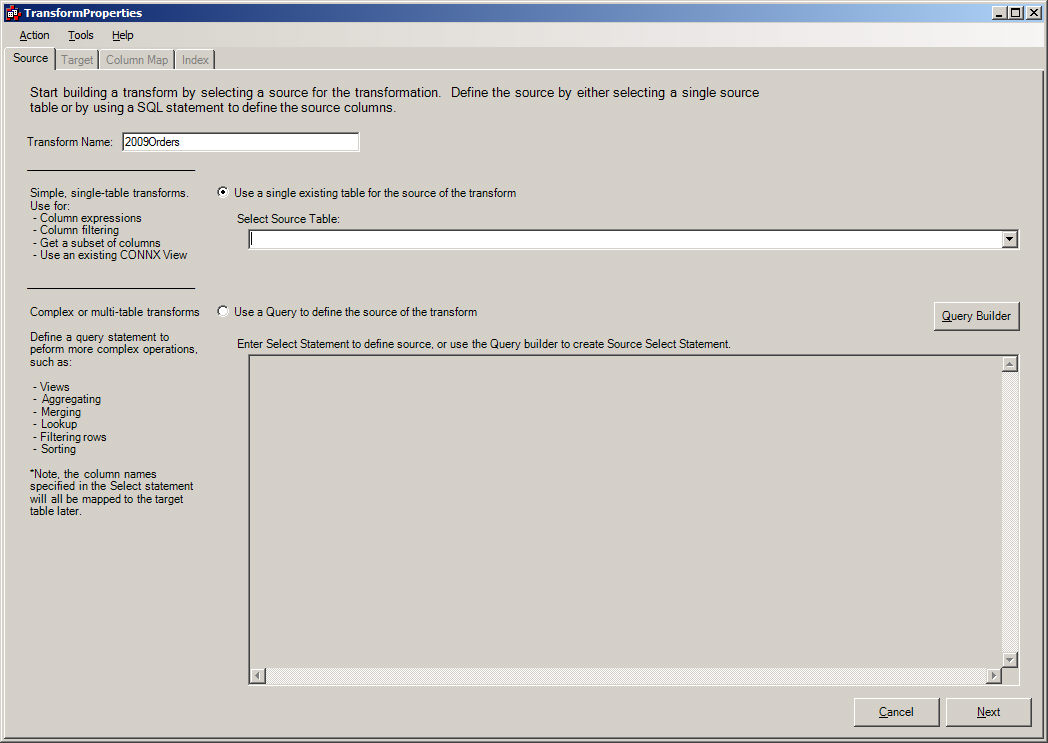
The first part of the multiple tab wizard is the Source Tab. The Source Tab is responsible for the following:
Selecting Transform Name
The Transform Name represents the name that will be applied to the Transform. The ETL Designer should describe something the relates to the transform.
Selecting the type of Transform
Depending on the type of transform desired, there are three options (Simple Source Table, Free-From SQL, Complex Transform using QueryBuilder) to choose from. The table below helps identify which type is appropriate based on the transformation desired.
| Transform Type | Simple Source Table Transform | Free From SQL | Complex Transform via QueryBuilder |
| Selecting Subset of Table or Tables | x | x | x |
| Translating coded values (e.g. Changing the Source column from a 1 to Male) | x | x | x |
| Calculated Values (e.g. OrderAmt * 1000) | x | x | x |
| Filtering | x | x | |
| Sorting | x | x | |
| Joining Multiple Tables (e.g. Lookups) | x | x | |
| Aggregation | x | x | |
| Unions | x | x |
When the Transformation Type has been selected, the user should press the NEXT Button to continue creating the Transformation. The NEXT Button will advance the user to one of the three choices: