|
Enabling a CDD for Adabas to Adabas Event Replication is the first step in getting data replicated. This includes:
Enable a CDD for Event Replication if:
After you enable the Event Replicator you will have a CDD with replications that are ready to be:
|
The Event Replication Controller is designed to use a single CDD. When designing a set of replications create one CDD that includes all the desired source tables and target databases.
Caution: Replications from two separate CDDs cannot be deployed to the same Controller; if you attempt to do so, the replications from the second Data Dictionary will replace the replications from the first.
Caution: Two separate CDDs cannot replicate to the same targets from two different controllers. The Event Replicator is designed to maintain data integrity from the source to the target; any target modifications from more than one controller will result in replication errors, disabling the Event Replicator.
If you do not have a replication CDD created, create one.
On the Start menu, click Programs, click CONNX Open Systems Event Replicator and then click Replication Administrator. If this is the first time the Replication Administrator has been used, the Open the Data Dictionary window appears.
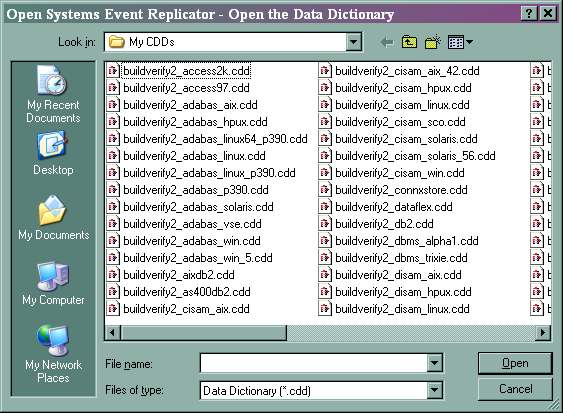
Note: Only CONNX Data Dictionaries (CDD) that contain both the source and target (destination) data bases can be used for replication. Both the source and target database must be for Adabas version 6.3 SP1 or later.
If the Replication Administrator has been used previously, the Open Systems Event Replication window appears. The Event Replicator will normally open the last opened CDD.
If this is the CDD you want, you do not need to re-enable the Event Replicator for this CDD.
If this is not the CDD you want, from the File Menu, click Open CDD. Select a CDD that contains the source tables to be replicated and the target database, and click Open. The Configure Servers window appears
If the Replication Administrator has not been used before, select a CDD that contains the source tables to be replicated and the target database, and click Open. The Configure Servers window appears.
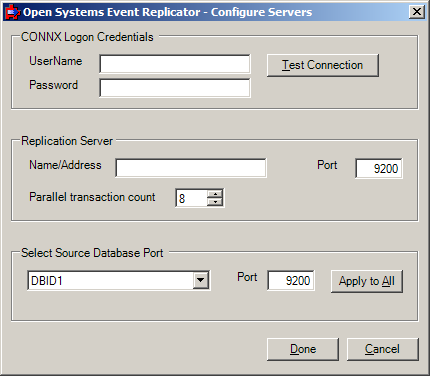
Enter your User Name and Password in CONNX Logon Credentials and click Test Connection. If the data is valid, the following message window appears:
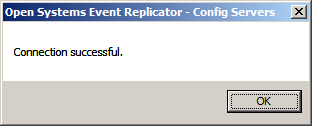
Click OK. The message window closes.
Enter the server name or IP address of the Replication Server in Name/Address and the server port number in Port.
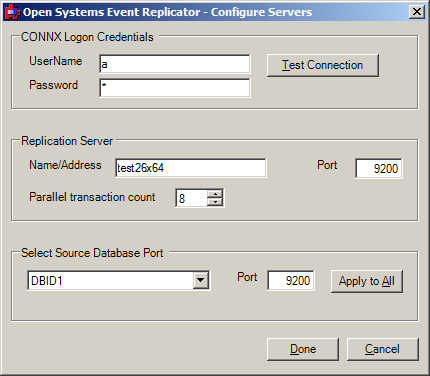
Note: The default port number is 9200.
Click Done. The Add Tables window appears.
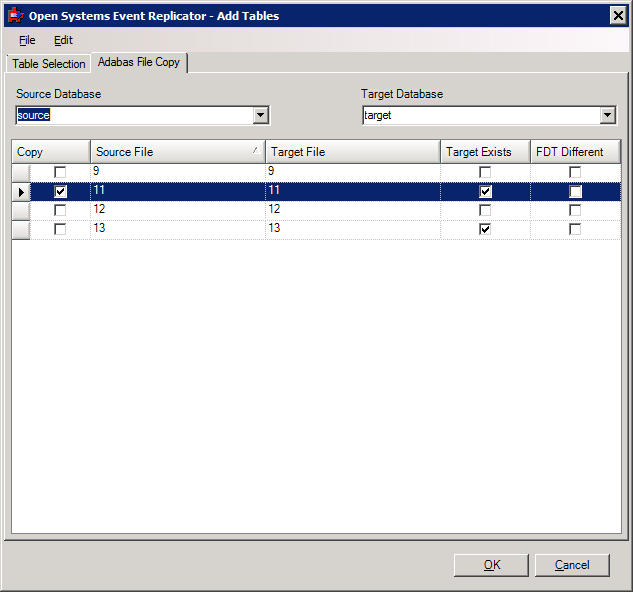
Select
the source file number(s) you wish to replicate.
Note: the target file does
not need to exist, but if a file with the same file number does exist
on the target, the fdt's will be compared and if they are different,
a warning will appear. The target file must have the same file
number as the source, so if there is a conflict it will need to be
resolved prior to continuing.
Click OK. The Open Systems Event Replication window appears.