
XSL stands for EXtensible Stylesheet Language, and is a style sheet language for XML documents. XSLT stands for XSL Transformations.
XSLT can be applied to the response payload of SOA Gateway REST requests.
It is commonly used, but not restricted, to creating HTML pages based on the REST response.
When configured to use XSLT, a SOA Gateway service will (by default) return an XML stylesheet processing instruction embedded in the XML. Therefore, the client consuming this data should be able to load the XSL link, and apply the XSLT to the payload. In some cases, the client may not have the ability to understand XML processing instructions (browsers on mobile devices are a good example). In this case, SOA Gateway has the ability to apply the XSLT on the server side, and send the transformed results. In this case, providing the __xslTransform=server option on the REST request will tell Portus to apply the XSLT before sending the payload, and no XML stylesheet instruction will be included.
E.g http://host/Service?LIST&ID=*&__xslTransform=server
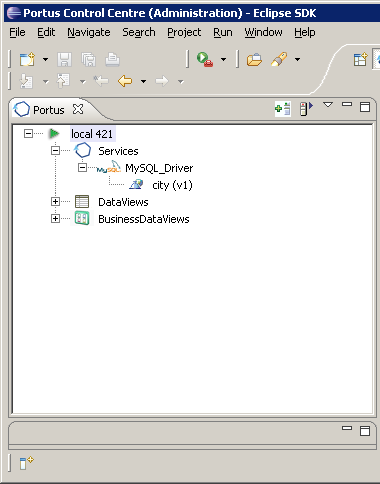
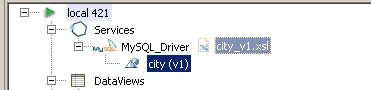
When this step is completed you should have a Service similar to that shown below e.g. a Service capable of accessing the city table.
A generic stylesheet is provided which can be modified to support your Service. Save the following XSL file to disk.
Important:
The name of the saved stylesheet has to be in the format
'ServiceName_version.xsl'. e.g. we will save our file as
city_v1.xsl
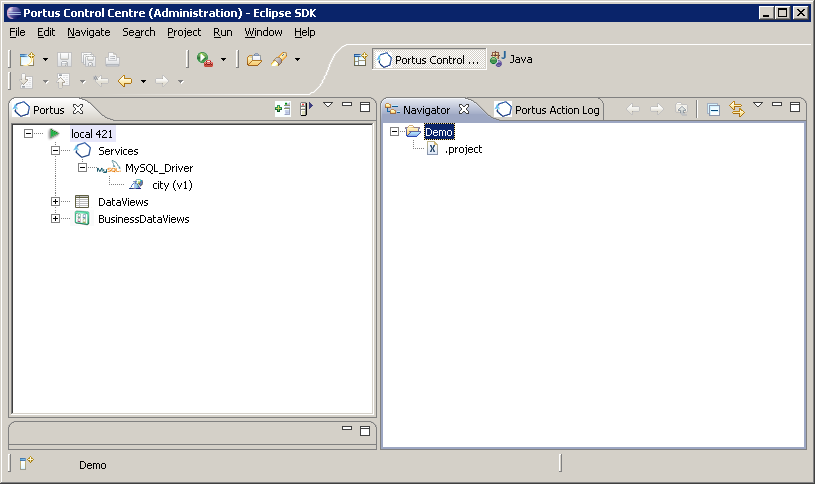
If you do not already have a project created see here on how to do so. In our case we have created a project named Demo. If this is not visible open Window -> Show View -> Navigator You should have a view similar to this:
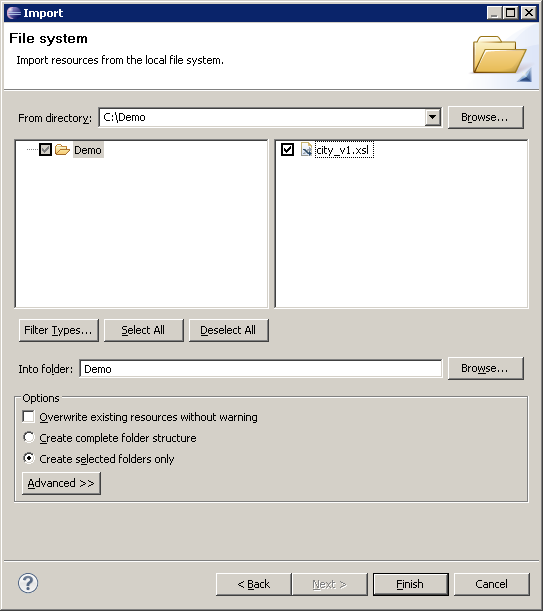
Right-click your project in the Navigator View and select
Expand and select File System. Click
Click and select the directory where you saved the above XSL. Check the XSL, and click
Double-click your XSL file to open it for editing in a default editor or right-click on the file and select Open With... to choose your own editor.
Right-click on your Service in the Servers View and select Edit DataView.
You should now have a view similar to this:
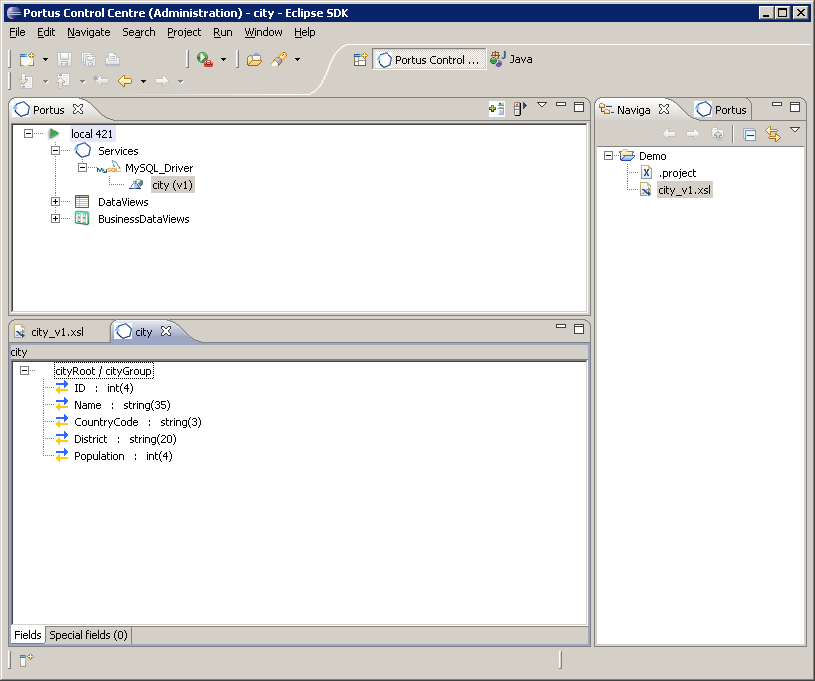
The DataView provides us with 3 important items which are required when we come to edit the stylesheet:
The ROOT name: e.g. cityRoot.
The GROUP name e.g. cityGroup.
The element names e.g. ID, Name, CountryCode, District and Population.
Select the XSL tab to edit its contents.
Find the entry <xsl:template match="changeThisRoot"> and modify changeThisRoot to your root name.
Find the entry <xsl:template match="changeThisGroup"> and modify changeThisGroup to your group name.
Find the entry ColumnHeader1. It should be wrapped in TR tags as follows:
<TR>
<Td><font color="#3333FF">ColumnHeader1</font></Td>
</TR>
Create as many Td tags entries within the TR tag as there are elements in your DataView e.g. in this case 5.
Change each ColumnHeader1 value to the element names. For headers these do not have to match the element names but for simplicity we will do so here e.g.
<TR>
<Td><font color="#3333FF">ID</font></Td>
<Td><font color="#3333FF">Name</font></Td>
<Td><font color="#3333FF">CountryCode</font></Td>
<Td><font color="#3333FF">District</font></Td>
<Td><font color="#3333FF">Population</font></Td>
</TR>
Find the entry XRDElementName1. It should be wrapped in tr tags as follows:
<tr>
<td><xsl:value-of select="XRDElementName1" /></td>
</tr>
Create as many td tags entries within the tr tag as there are elements in your DataView e.g. in this case 5.
Change each XRDElementName1 value to the element names.
Important:
These must match the element names exactly e.g.
<tr>
<td><xsl:value-of select="ID" /></td>
<td><xsl:value-of select="Name" /></td>
<td><xsl:value-of select="CountryCode" /></td>
<td><xsl:value-of select="District" /></td>
<td><xsl:value-of select="Population" /></td>
</tr>
Save the XSL (Ctrl+S).
In the Navigator View left-click the XSL file and, holding down the left button, drag and drop the file onto the Service as shown:.
You should see a message similar to this in the SOA Gateway Action Log:.

Select the Service in the Servers View. If the Properties View is not open select Window -> Show View -> Properties.
Select the 'WSDL URL is ...' entry in the Properties View which should open a browser window.
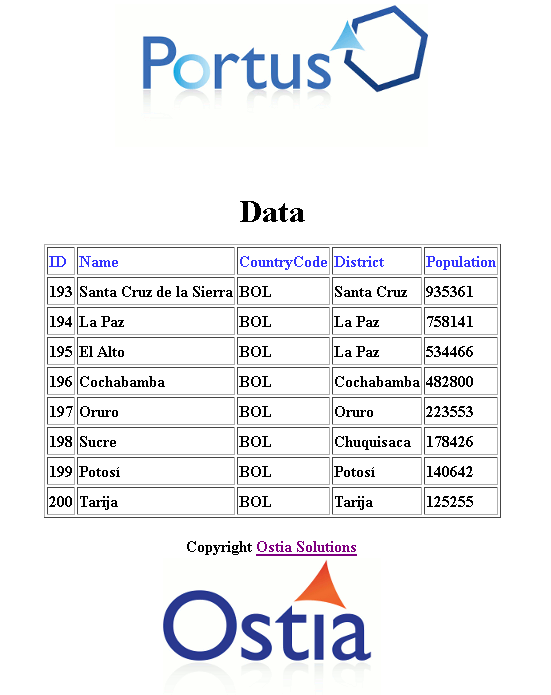
In the browser window change ?WSDL to ?LIST&CountryCode=BO* e.g. http://localhost:56005/city?LIST&CountryCode=BO* and hit enter.
The results should be displayed as follows:
Congratulations! You have now created a stylesheet for your Service.