Logs Searching

The searching of the logs is done based on chosen view and by adding additional search criteria. The available search criteria can be different for different layouts and depends on connected database.

To search the logs the following steps shall be done:

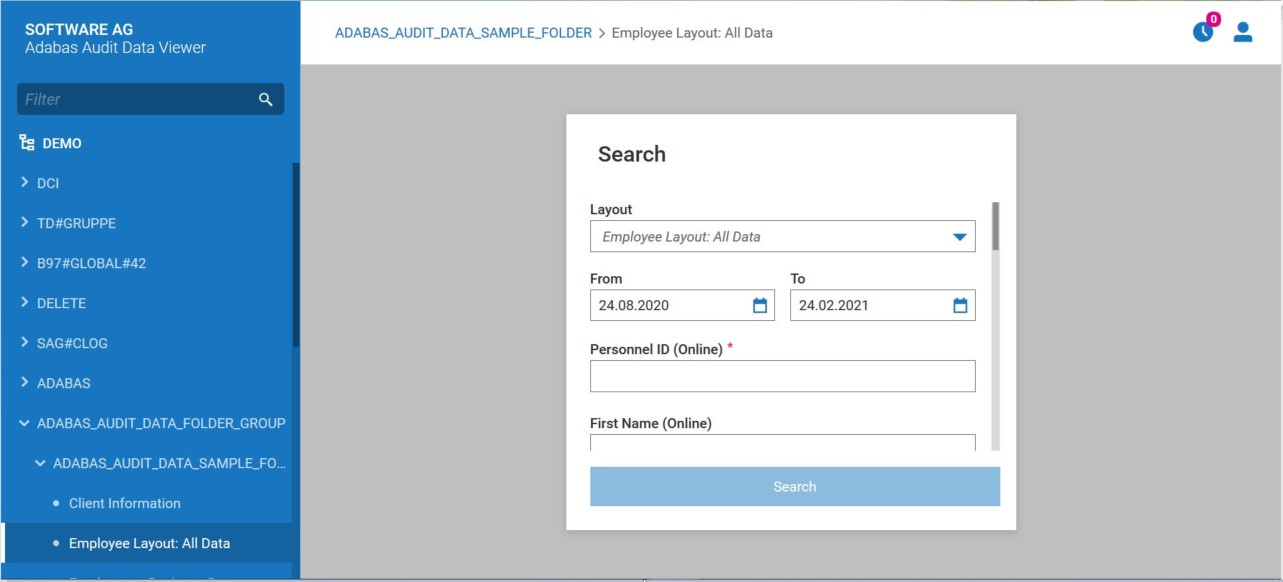
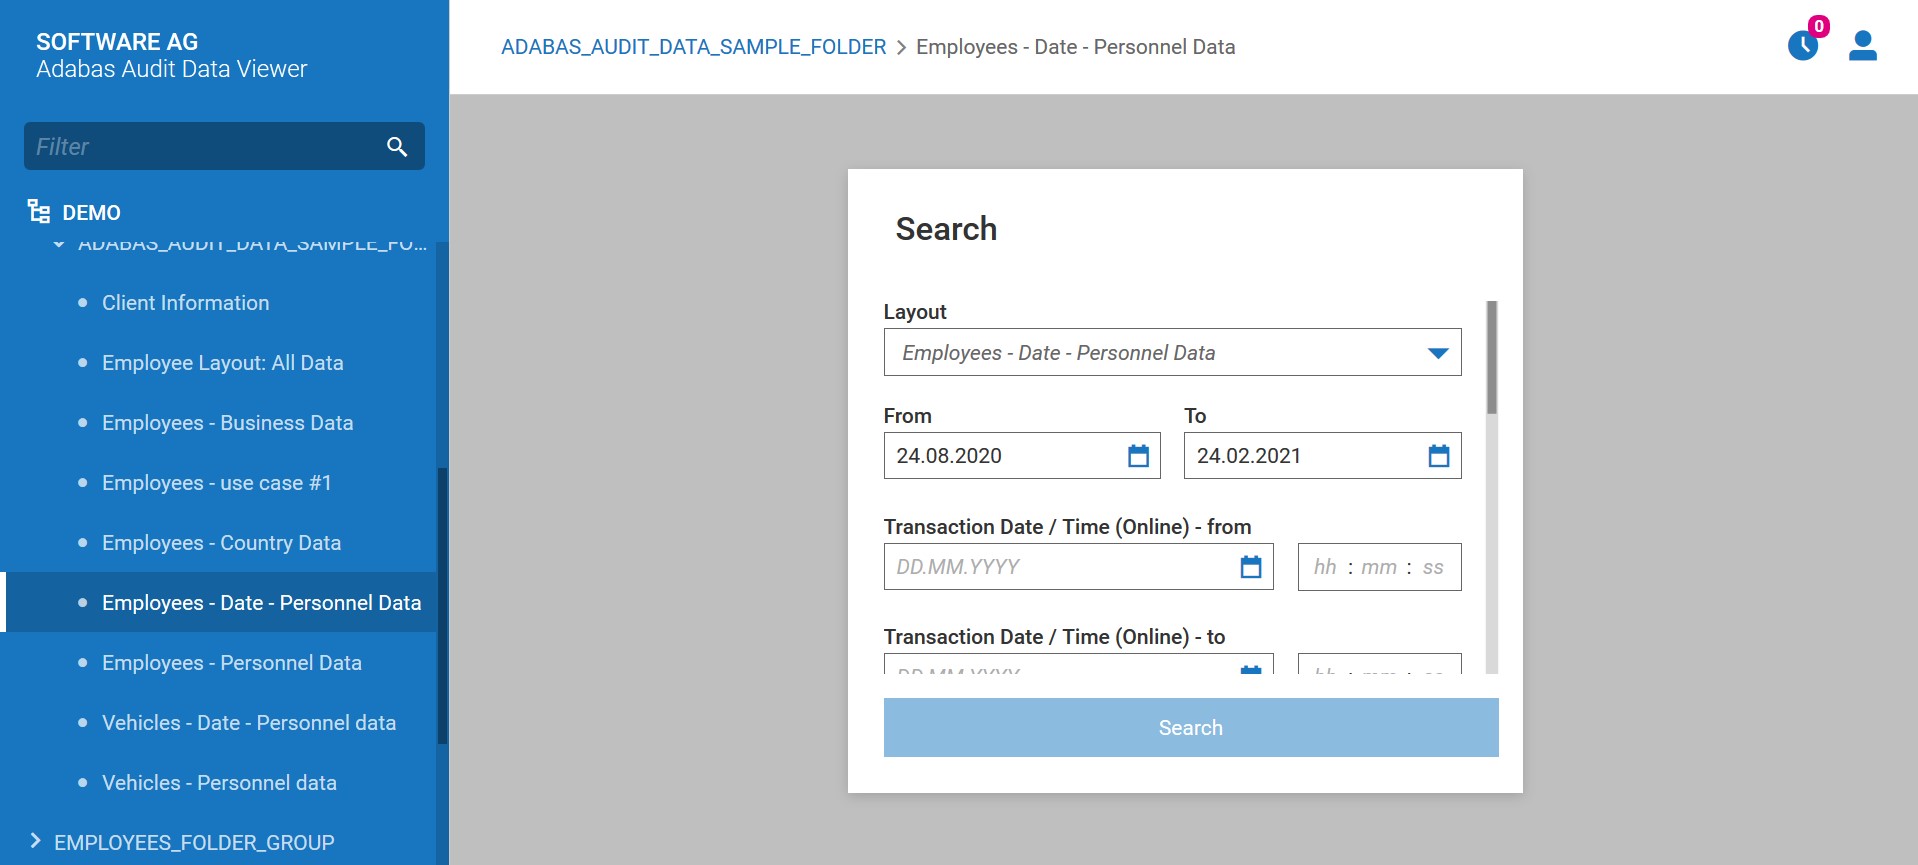
  1. Choose the view from the list.

  2. AAV displays the screen, which allows to add additional search criteria (different for different layouts).

    6_SearchCriteria.JPG

    6_SearchCriteria2.JPG

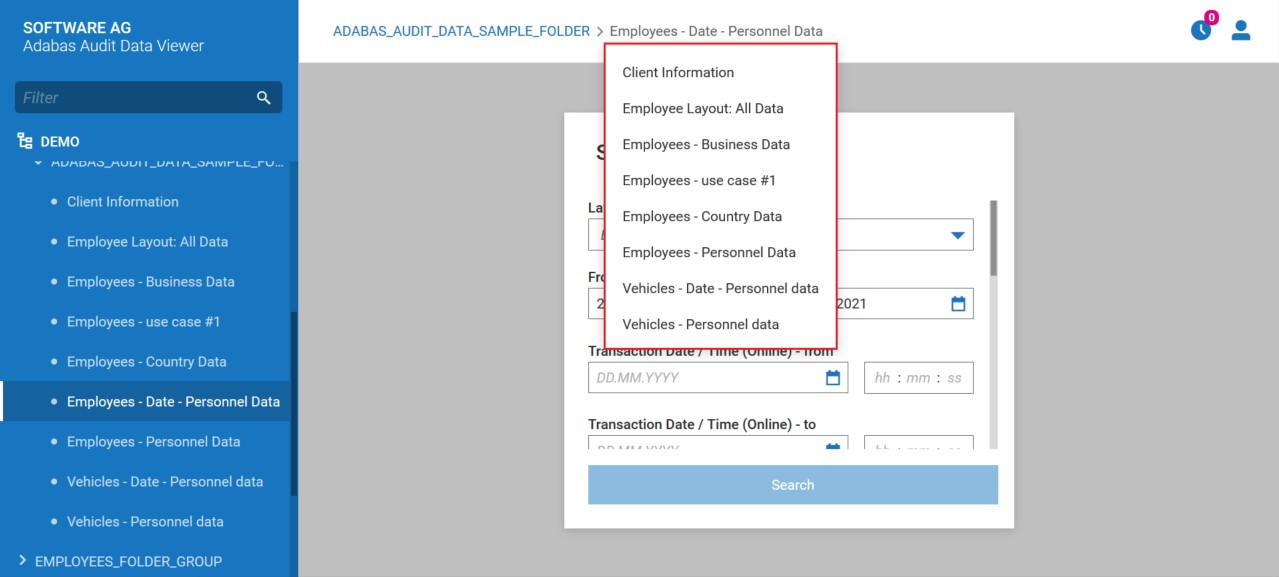
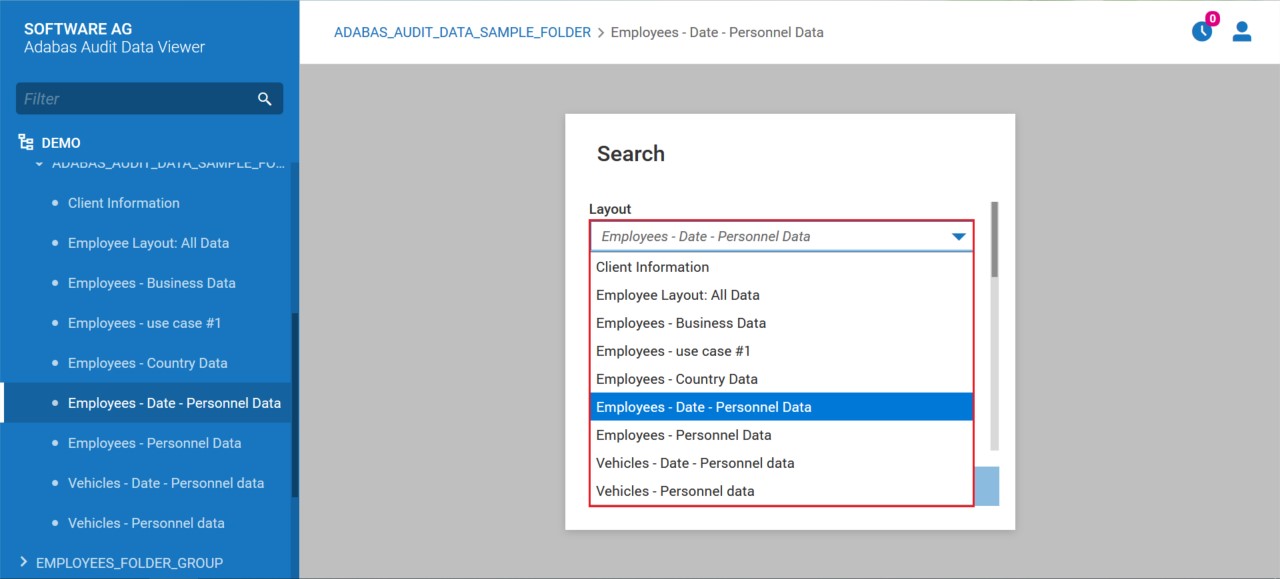
    The user can change the layout using one of the following methods:

    • by choosing layout from menu,

      6_LayoutFromMenu.JPG

    • by choosing layout from Search Criteria screen.

      6_LayoutFromScreen.JPG

    Remarks:

    • AAV does not allow to execute the searching without adding at least one additional criteria, besides Date From/Date To,
    • The mandatory fields are marked with “*”,
    • In Personnel ID field it is not allowed to add the following characters: “,’.
  3. Add search criteria and press Search button.

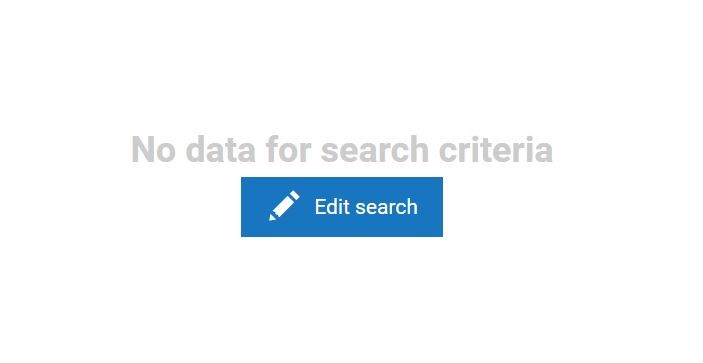
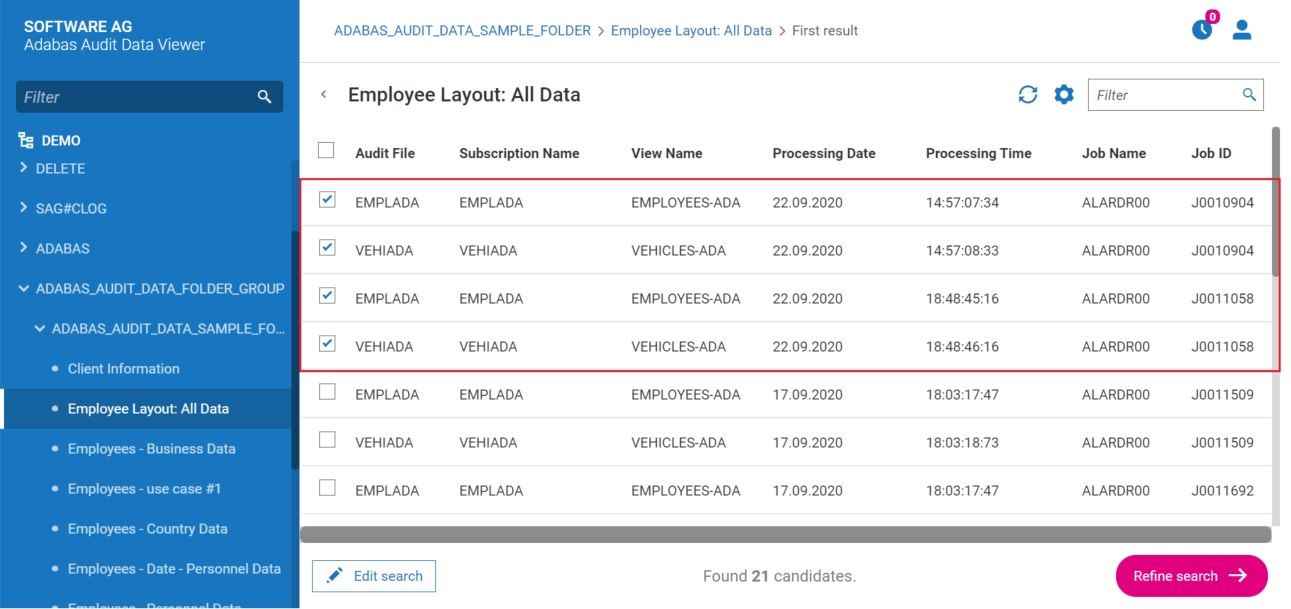
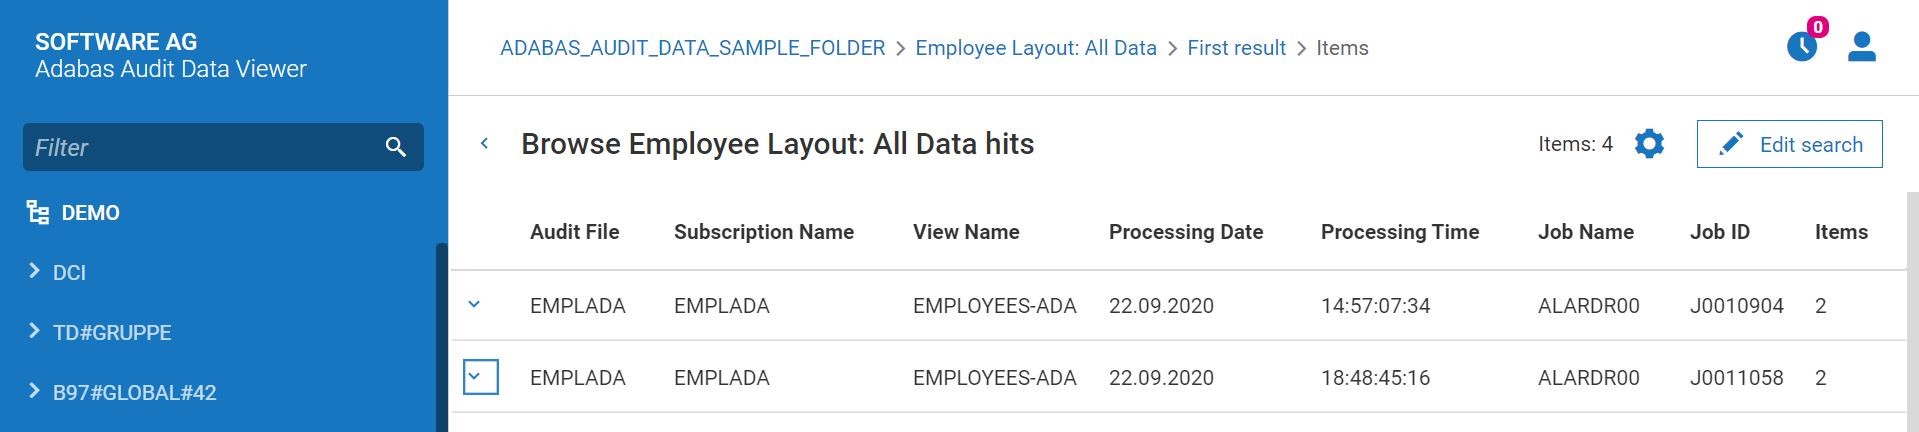
  4. AAV presents the search result:

    6_SearchResult.JPG

    • by choosing Refresh button, the user can reload the search result, for example after update of List size limit (function described in chapter 4 User Profile):

    6_RefreshButton.JPG

    • by pressing Settings button, the user can define the columns(and their names), which will be presented in search result and row height:

    6_Settings.JPG

    6_FieldsNaming.JPG

    • by adding text in Search field, the user can find candidates, which match the text:

    6_SearchText.JPG

    • by pressing Edit search button, the user can go back to search criteria (see point 2) and change search criteria:

    6_EditSearch.JPG

    • if there is no data for search result for provided search criteria, then AAV presents the message:

    6_NoSearchResult.JPG

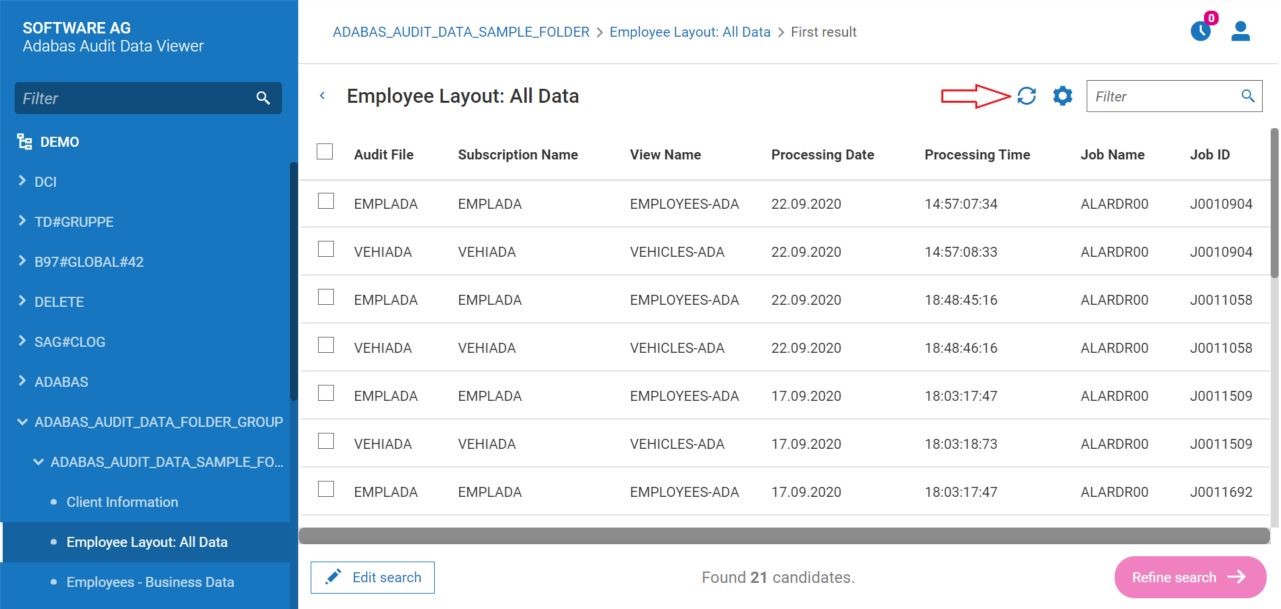
  5. The user can refine the search result by choosing the list(s), adding additional search criteria and pressing Refine Search button.

    6_RefineSearch.JPG

  6. AAV presents screen, where the user can add more search criteria.

    At this step it is possible to start new search. It can be done by changing the layout. 6_RefineCriteria.JPG

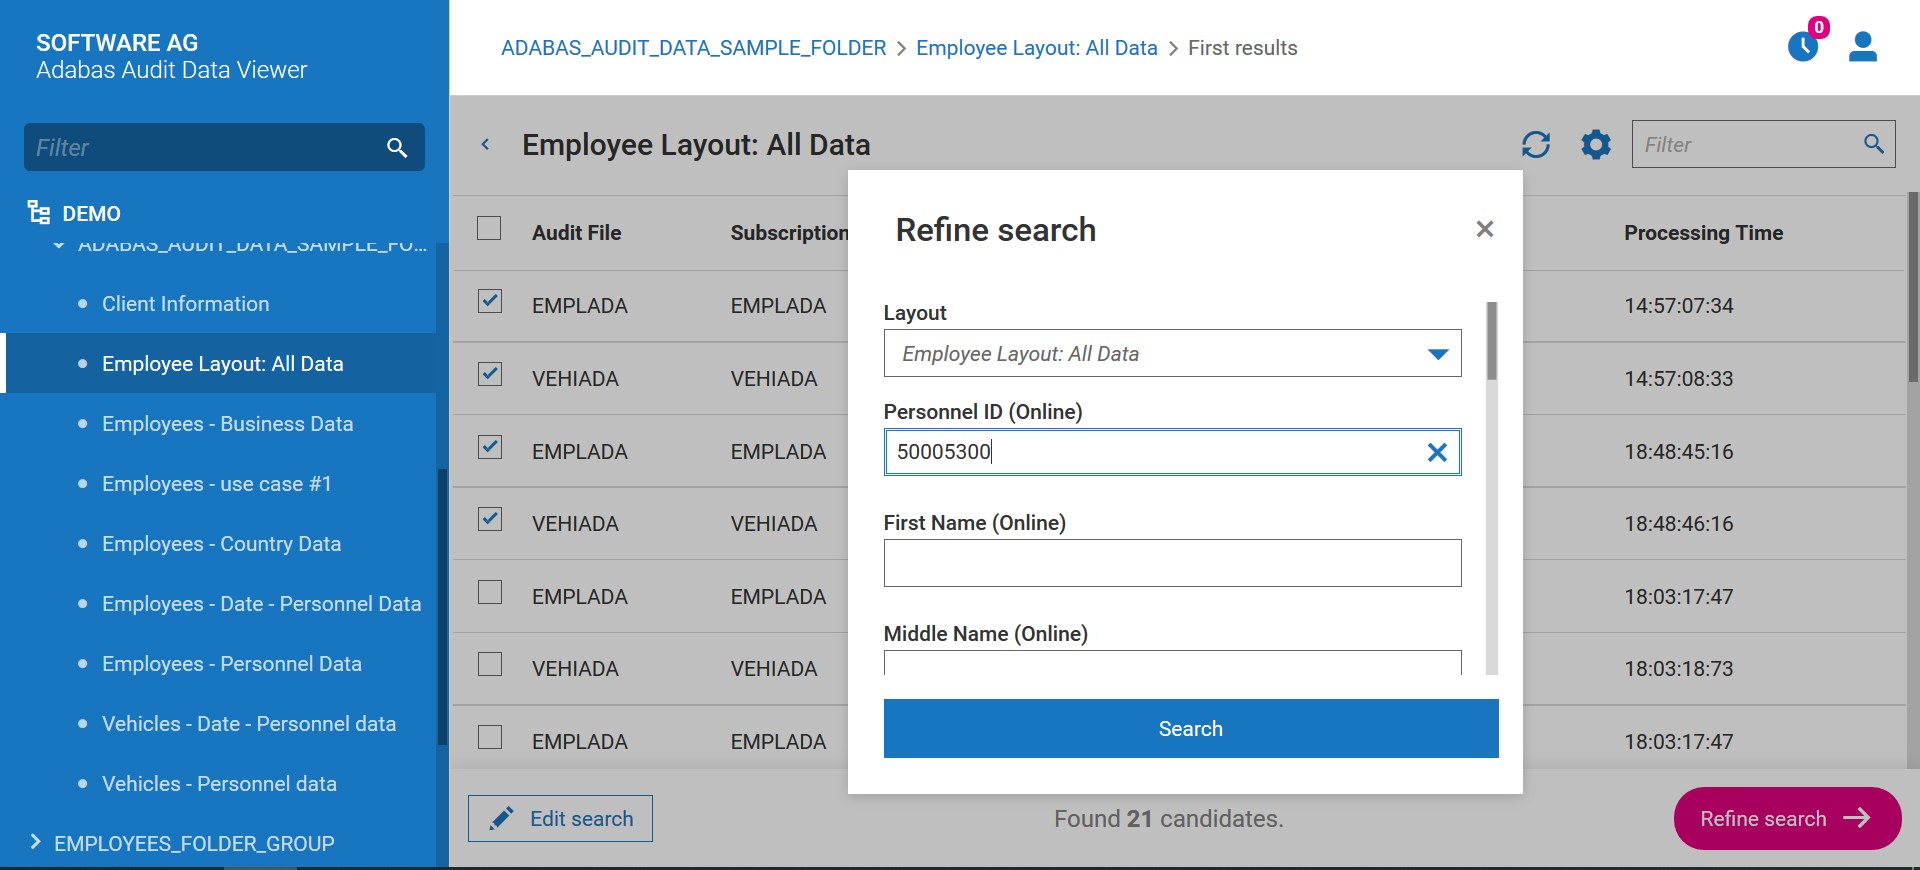
    If the user marks the option Hide all disabled (greyed out) fields and:

    • one Audit File was chosen (it can be a multiple selection of one file as in example below), then AAV presents only fields which can be filled,
    • different Audit Files (for example EMPLADA and VEHIADA) were chosen, then only Personnel ID field will be presented.

    6_HideGrey.JPG

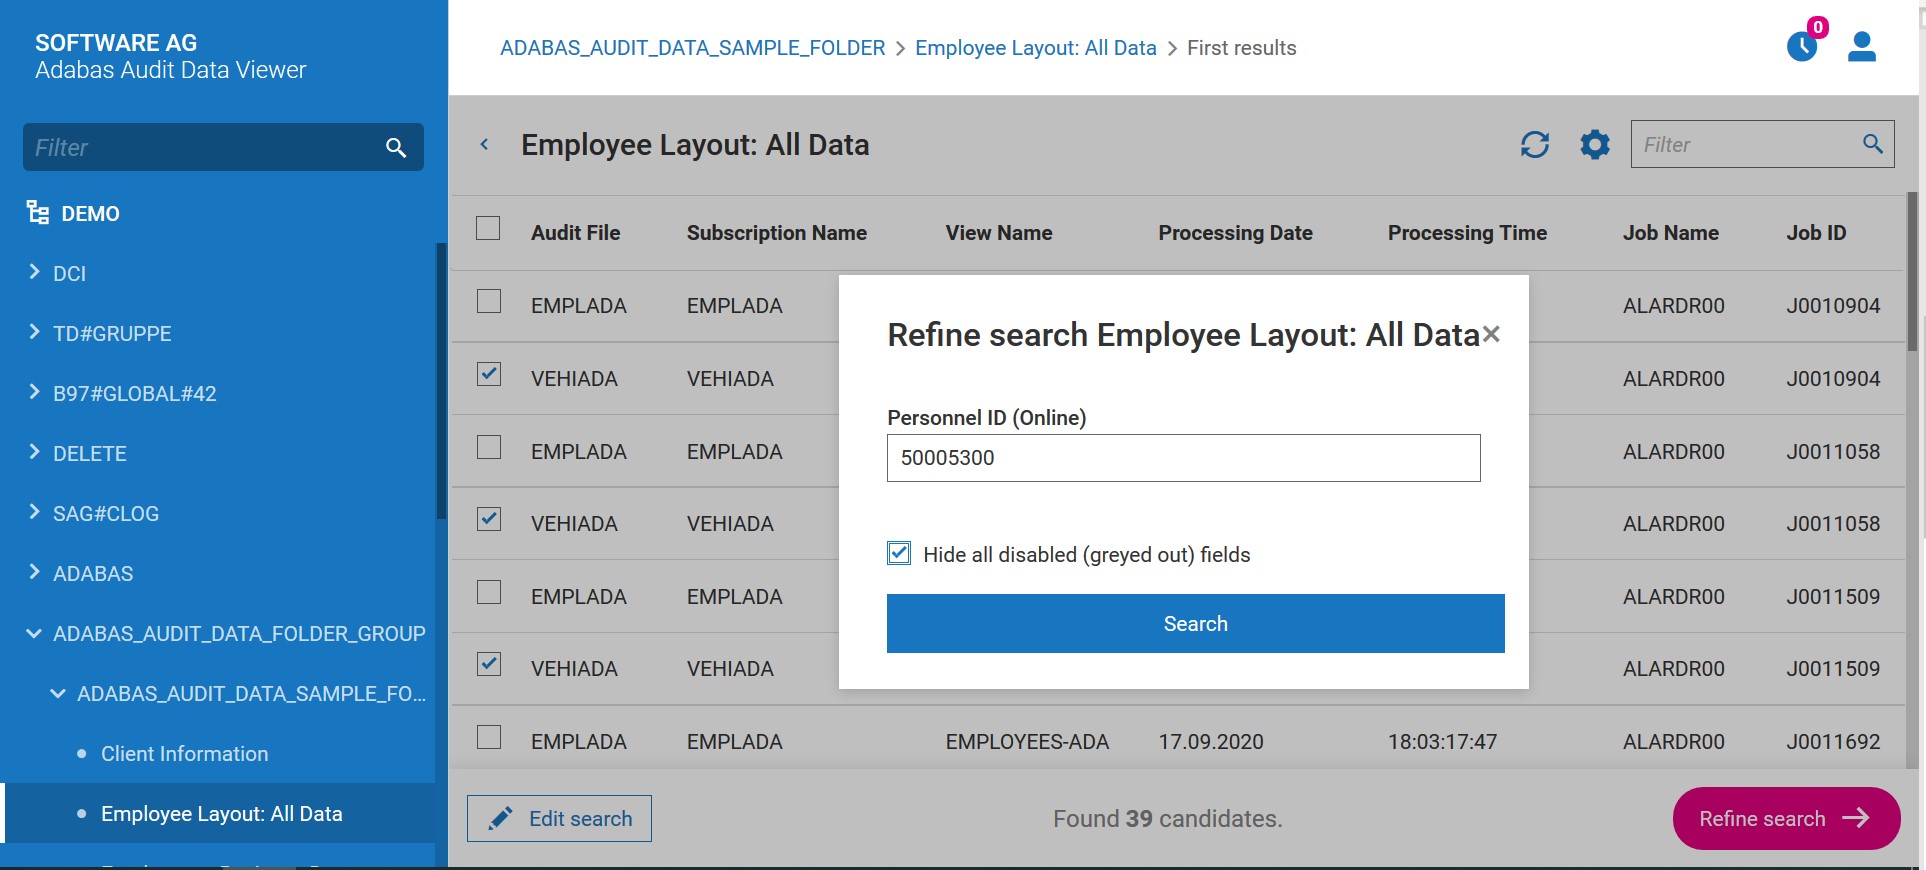
  7. After adding additional search criteria, the user shall press Search button.

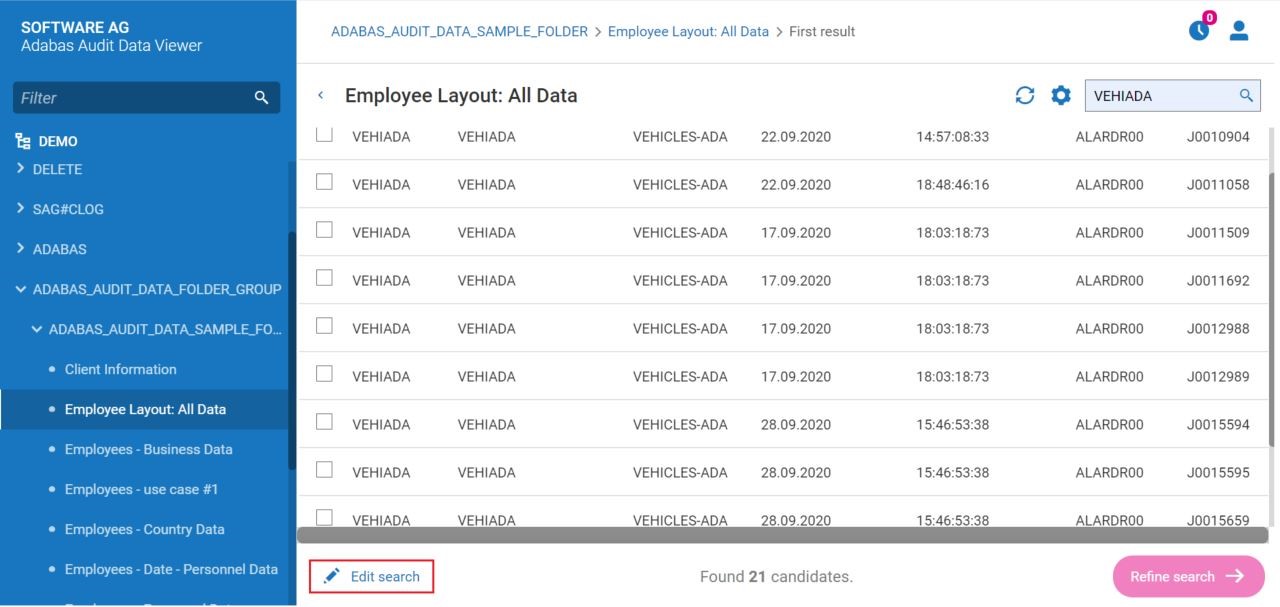
  8. AAV presents refined search result.

    6_RefinedSearchResult.JPG

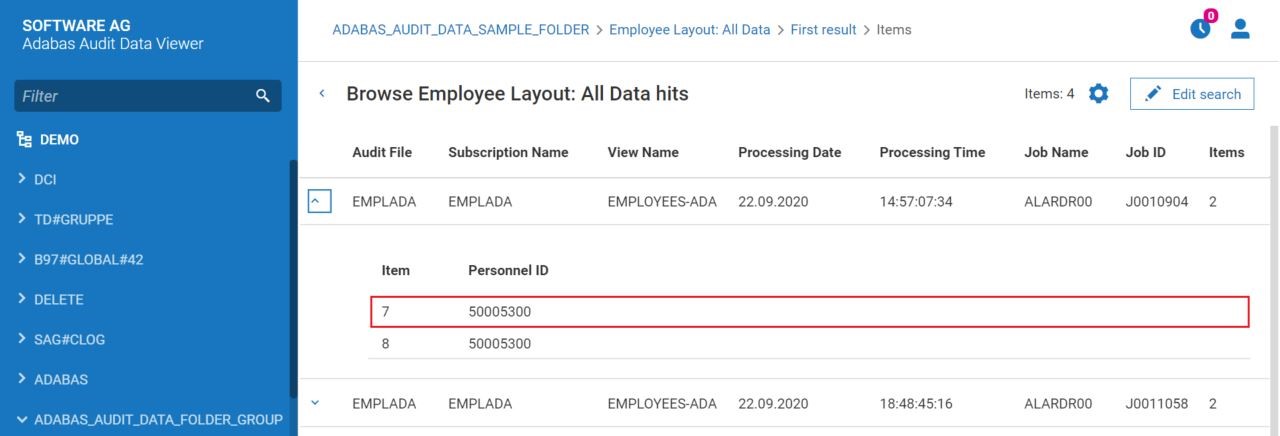
  9. To view the details of given list from refined search result, the user shall click on this list.

  10. AAV presents the details of chosen list, where the user can:

    • view the items, by choosing them from the list:

    6_ViewItem.JPG

    After the first chosen item was presented, the user can also navigate between items from the list using Prev and Next buttons:

    6_PrevNext.JPG

    • check the details of each item corresponding to a given list:

    6_ViewItem2.JPG

    6_ViewItem3.JPG

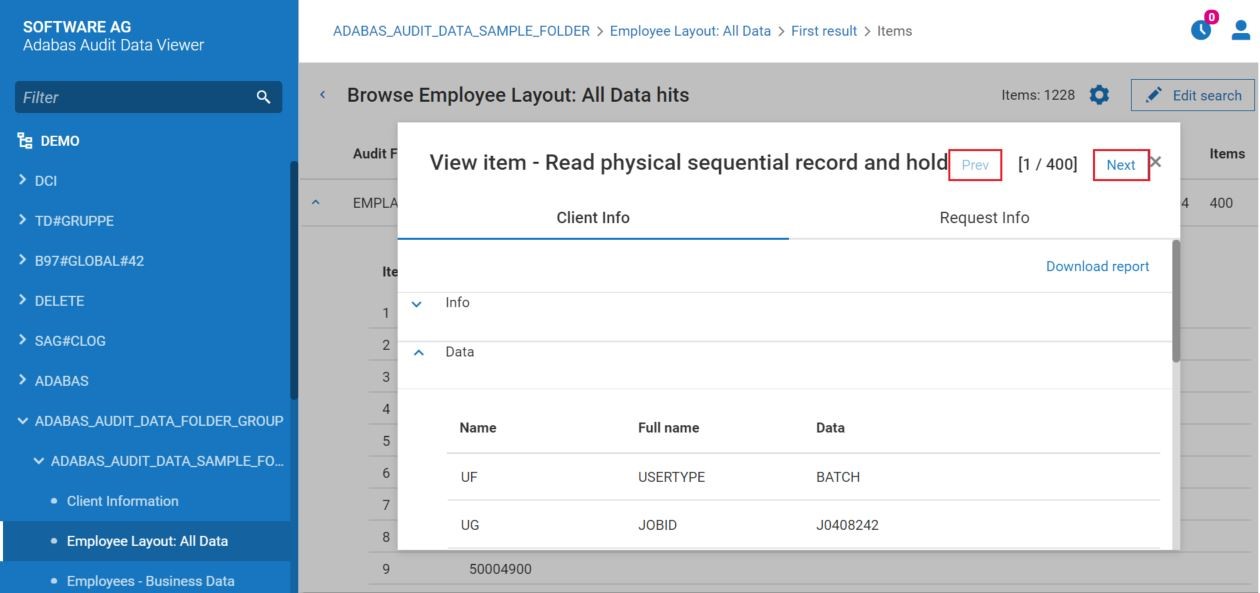
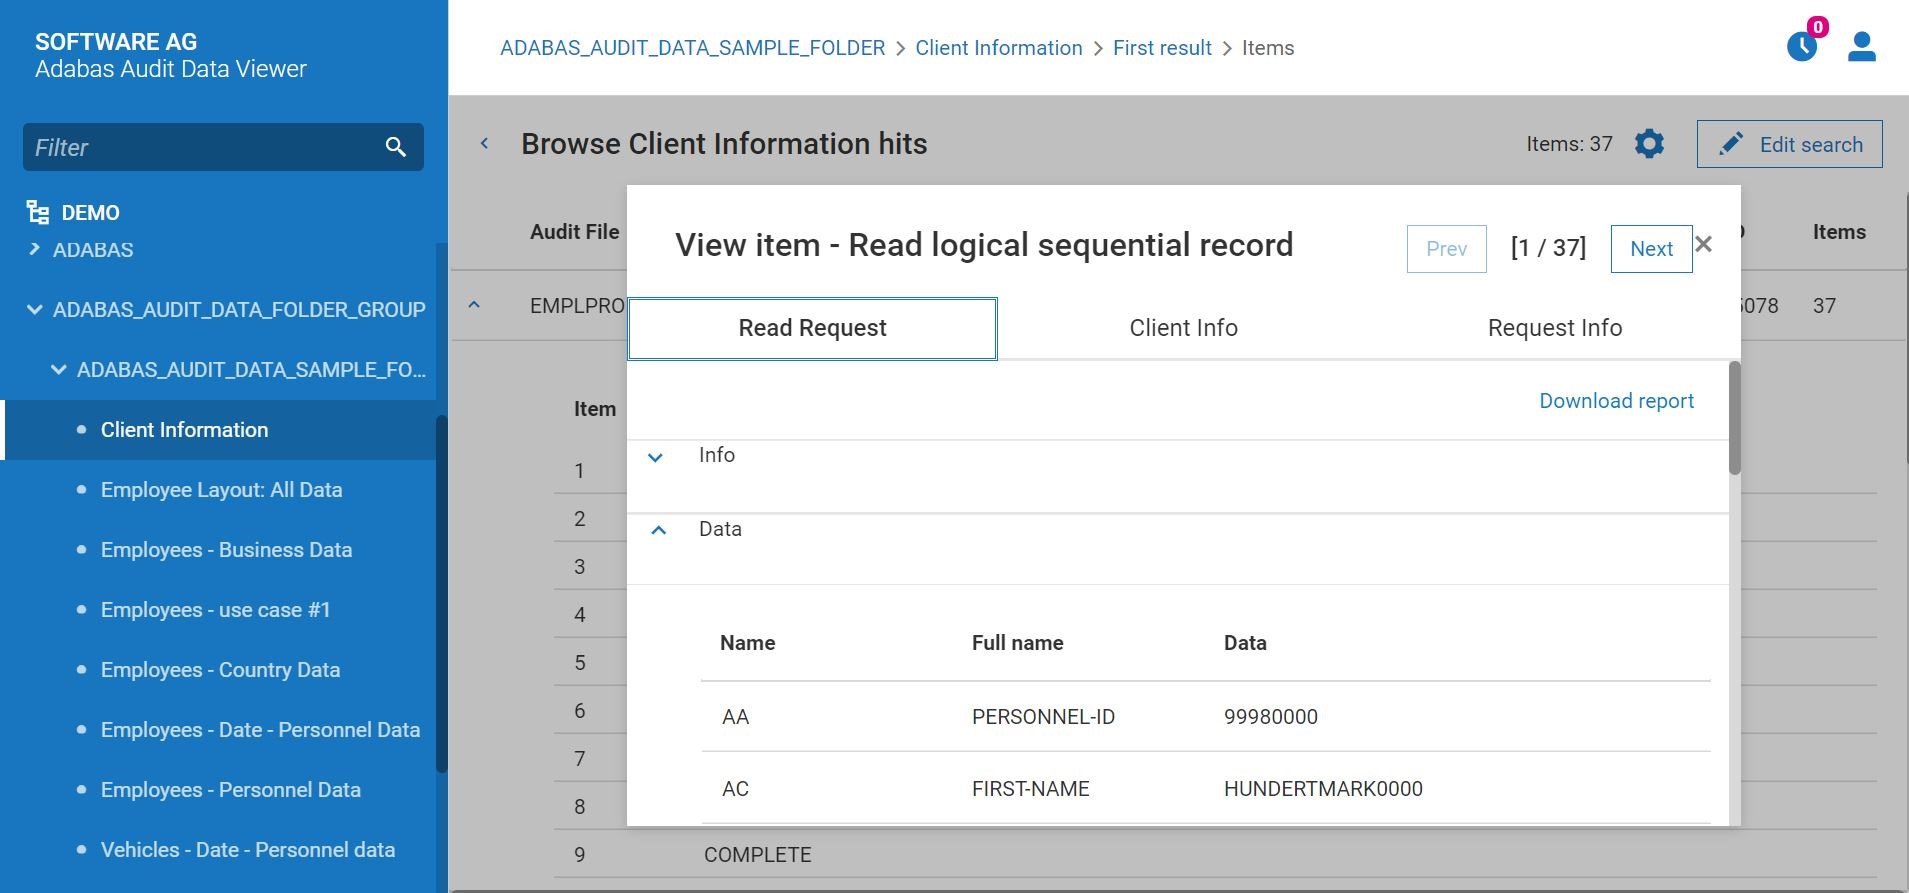
    In this view, the following Tabs may be presented:

    • Read Request
    • Data Before Image
    • Data After Image
    • Client Info
    • Request Info

    • download the report which contains search result related to given list:

    6_DownloadReport.JPG

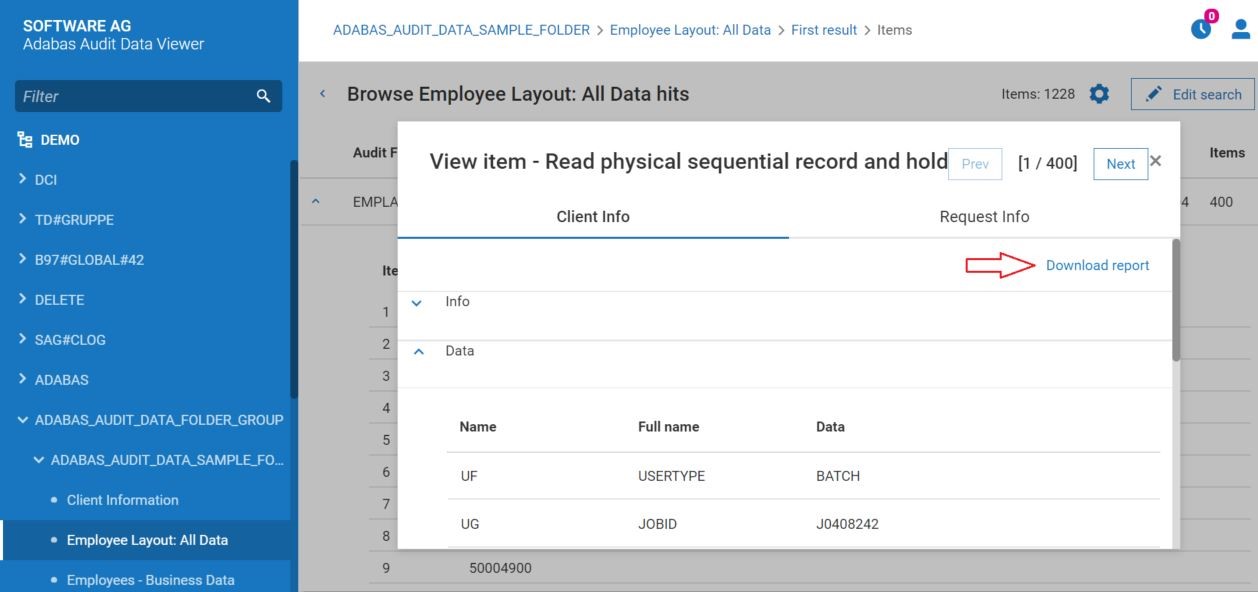
    The report is downloaded as a binary file. The name of the file is defined based on schema AAV_report_etoken_currentDate_currentTime.alog.

    The previewing of binary file is not supported by AAV.