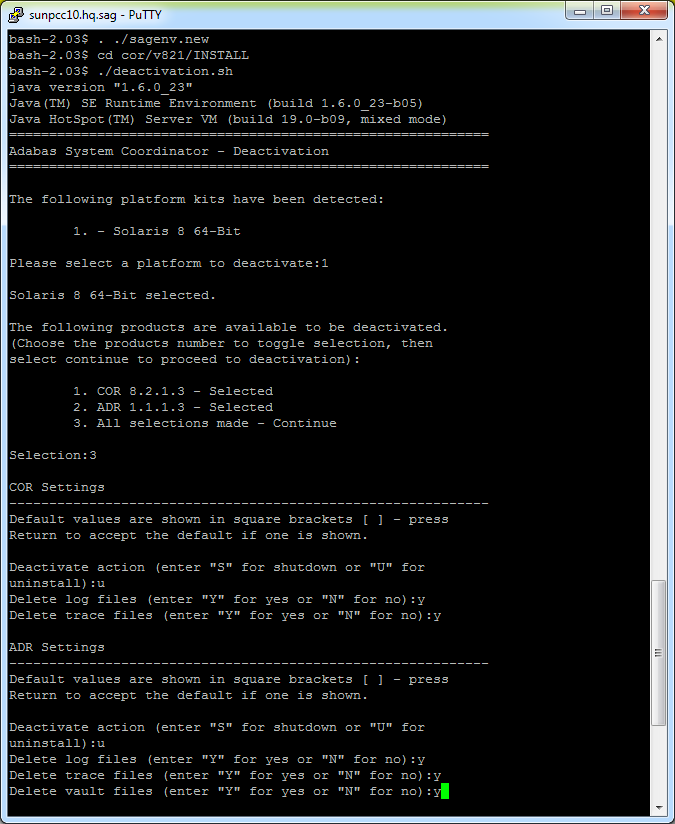
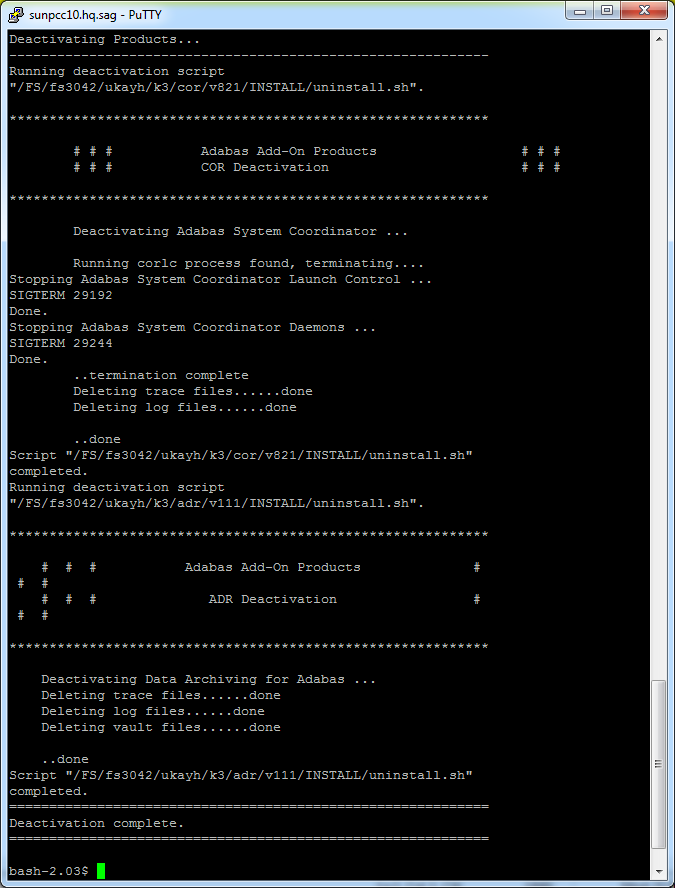
This document describes how to deactivate components and to optionally uninstall them too.
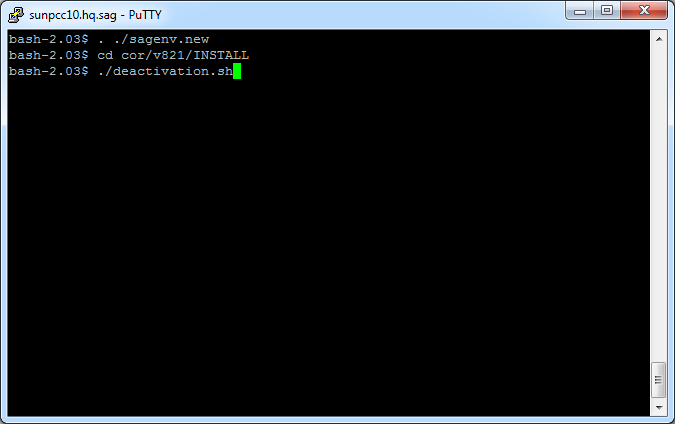
Execute the deactivation script in the install directory as follows:
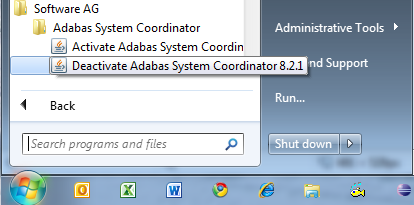
The Installer creates a Start menu entry for deactivation; execute as follows:
Select the platform and products you wish to deactivate or uninstall, the example below shows Windows:
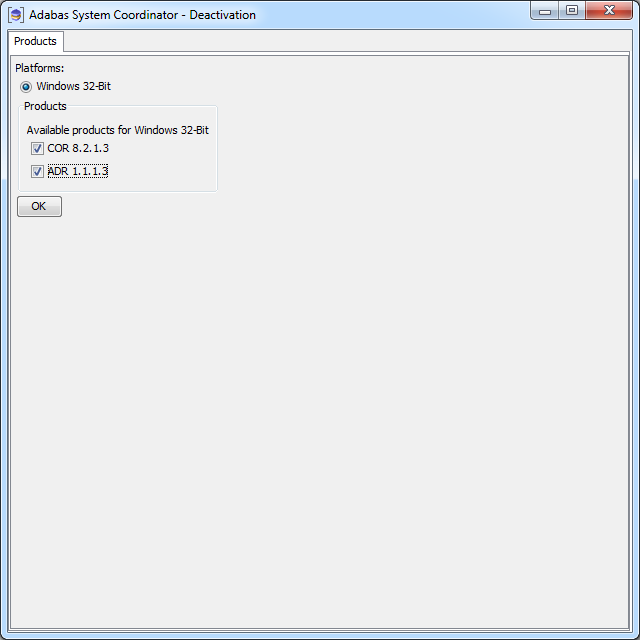
On this tab, choose if you wish to do shutdown or if you also wish to uninstall too. In addition, indicate if log files (etc) are to be removed:
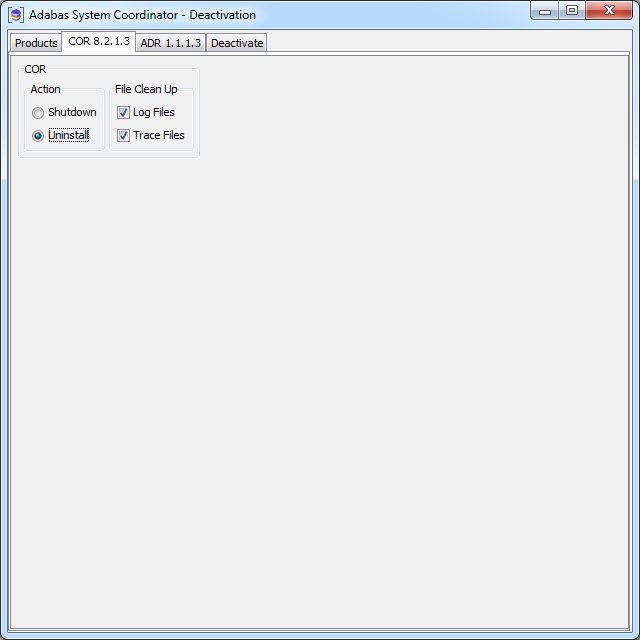
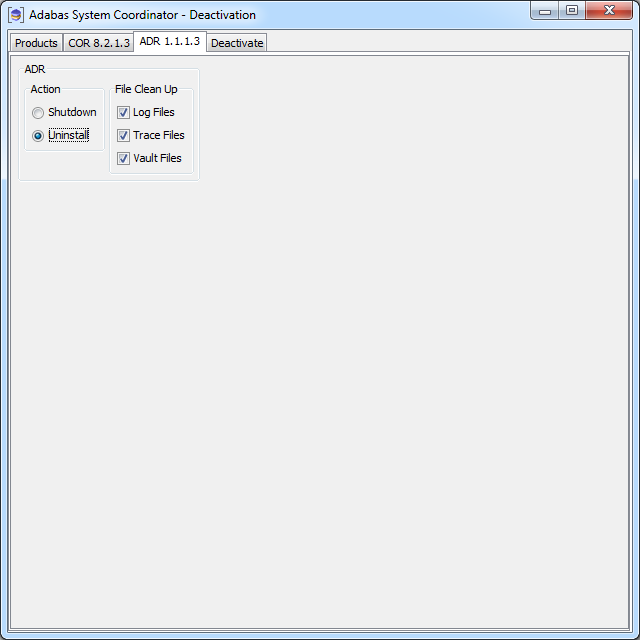
On this tab choose if you wish to do shutdown or if you also wish to uninstall too. In addition, indicate if log files (etc) are to be removed:
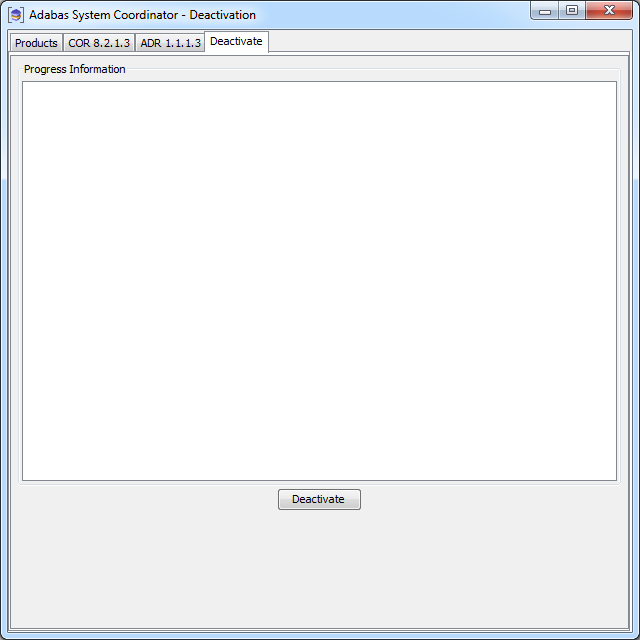
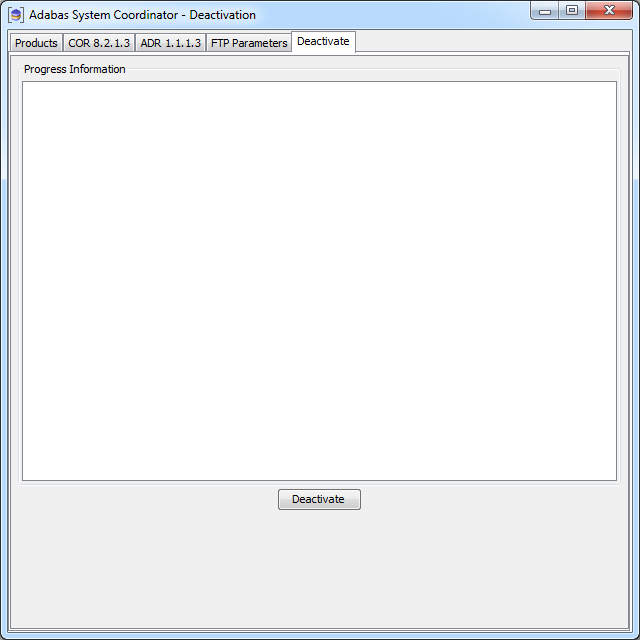
The deactivation tab shows the empty log screen where you can click to deactivate:
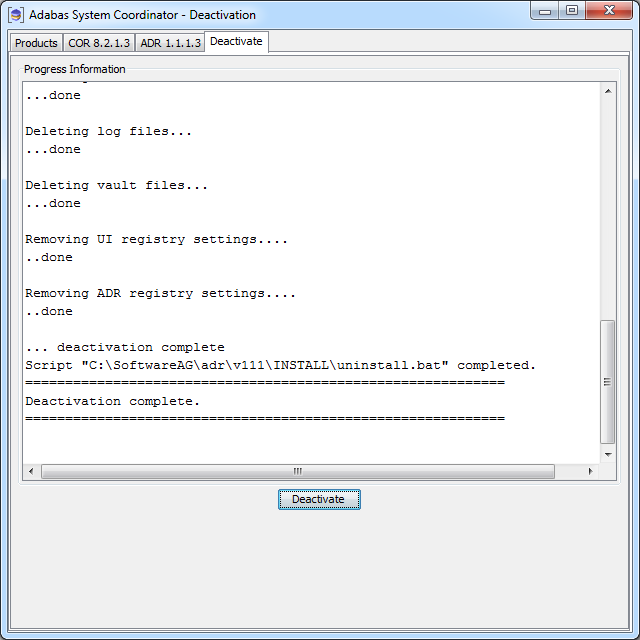
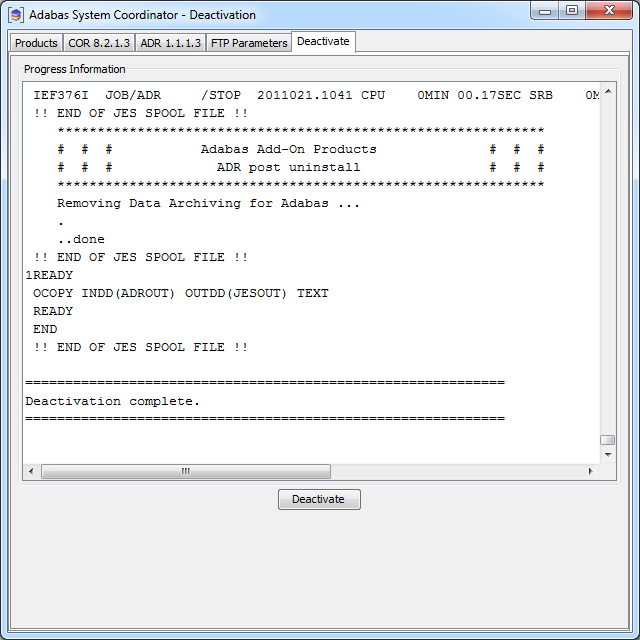
The deactivation displays log information while running, the following shows a successful run:
The start-up is the same as in Windows or Unix above.
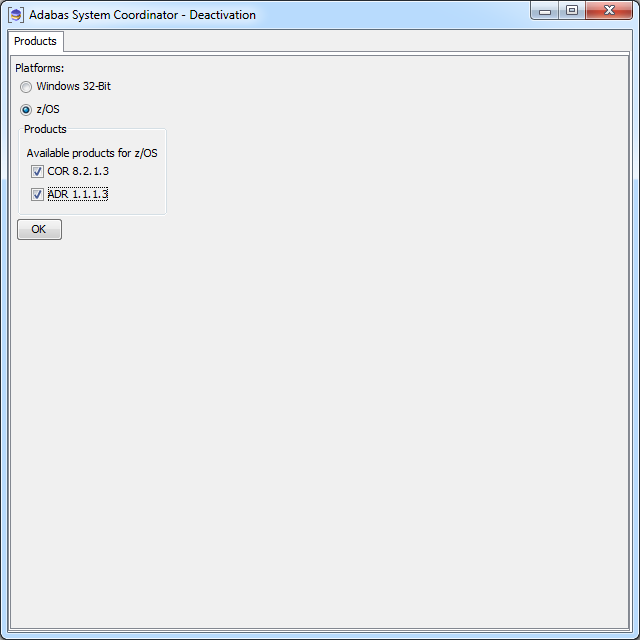
Select the platform and products you wish to deactivate or uninstall, the example below is taken from Windows:
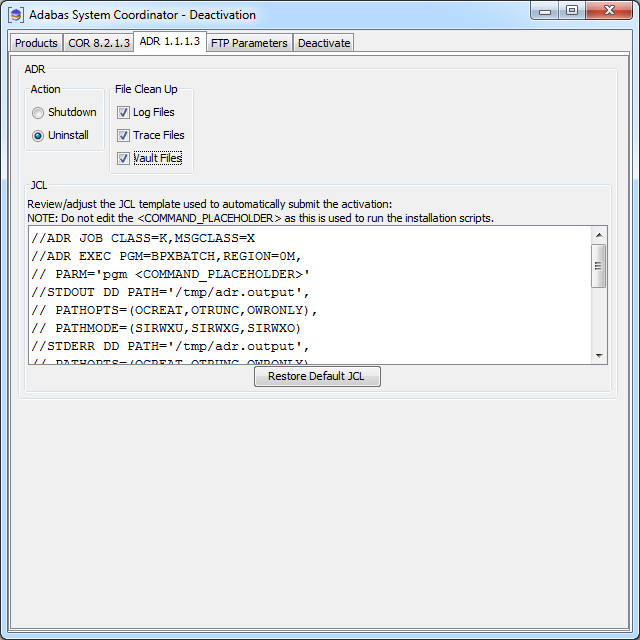
On this tab, choose if you wish to do shutdown or if you also wish to uninstall too. In addition, indicate if log files (etc) are to be removed and adjust the JCL for your site:
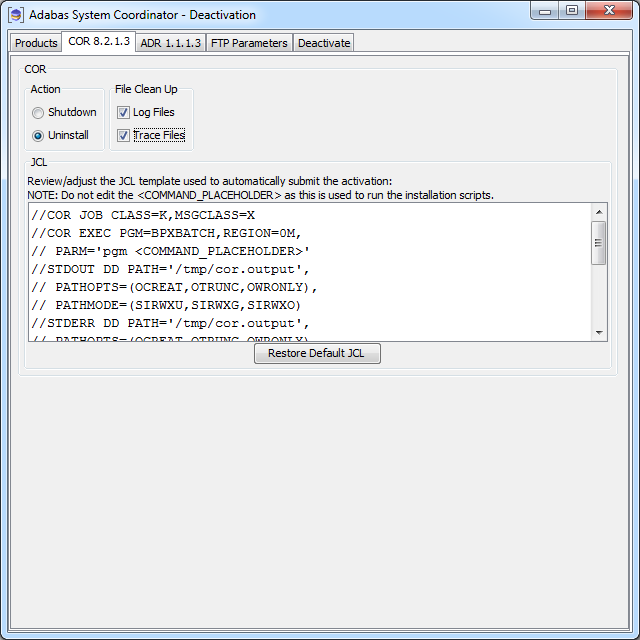
On this tab choose if you wish to do shutdown or if you also wish to uninstall too. In addition, indicate if log files (etc) are to be removed, and adjust the JCL for your site:
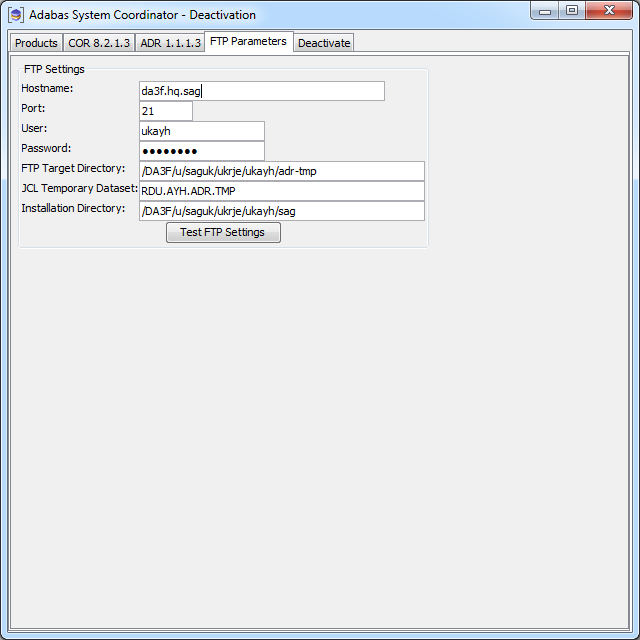
The FTP parameters tab requires that you supply your FTP details:
The deactivation tab shows the empty log screen where you can click to deactivate:
The deactivation displays log information while running, the following shows a successful run:
You can perform deactivation/uninstall from the console too using the script deactivation.sh.
