This section provides you with the information necessary to install and to configure Adabas Manager on UNIX platforms.
The following main topics are described:
This section describes the prerequisites for installing Adabas Manager and how to perform the Adabas Manager installation on UNIX.
This section contains the following topics:
Before you start installing Adabas Manager make sure that you meet the prerequisites for your environment as described below.
For the installation of Adabas Manager, the following hardware requirements apply:
| Hardware Prerequisites for Linux | |
|---|---|
| Processor: | x86, EM64T and AMD64 (at least Intel Pentium III 300 MHz) |
| RAM: | 1GB |
| Disk space: |
Installing Adabas Manager requires approximately 85MB. |
| CD-ROM drive: | A CD-ROM drive to install the software. |
For the installation of Adabas Manager, the following software requirements apply:
| Software Prerequisites for Linux | |
|---|---|
| Operating System: |
SUSE Linux Enterprise Server 10 (x86, EM64T, AMD64). |
|
Red Hat Enterprise Linux 4 and 5 AS (x86, EM64T, AMD64).
|
|
| Remote Access: |
Entire Net-Work Client 1.3 or above is required for remote access to mainframe machines. |
Note:
It is recommended to use the file system ext3 on Linux.
For the installation of Adabas Manager, the following hardware requirements apply:
| Hardware Prerequisites for IBM zLinux | |
|---|---|
| Architecture: | IBM zSeries (s390x) |
| RAM: | 1GB |
| Disk space: |
Installing Adabas Manager requires approximately 85MB. |
| CD-ROM drive: | A CD-ROM drive to install the software. |
For the installation of Adabas Manager, the following software requirements apply:
| Software Prerequisites for IBM zLinux | |
|---|---|
|
SUSE Linux Enterprise Server 10 |
|
| Operating System: |
Red Hat Enterprise Linux 4 and 5 AS
|
| Remote Access: |
Entire Net-Work Client 1.3 or above is required for remote access to mainframe machines. |
In this section the following is assumed:
The user account for the administrator of Software AG products is called "sag".
The group to which the administrator and all users of Software AG products are assigned is called "sag".
The home directory for the user "sag" is /opt/softwareag.
The root directory for Software AG products is /opt/softwareag.
![]() To perform these steps, use an appropriate system administration
tool (e.g. smit).
To perform these steps, use an appropriate system administration
tool (e.g. smit).
Create one administrator's account and one group for all Software AG products when you install your first Software AG product.
Define an administrator account to which all of the Software AG products installed at your site belong. Since all environment definition files for the products are written for the Bourne shell, this shell is required as the login shell for the administrator account.
Define a group to which the administrator and all users of Software AG products belong.
Create a login directory for the user "sag".
It is assumed that user and group accounts are defined in the respective files in /etc.
The following is a possible entry in the system file /etc/group:
sag:*:21:sag
The following is a possible entry in the system file /etc/passwd:
sag::100:21:SAG - Product Administrator:/opt/softwareag:/bin/sh
SAG
environment variable
The environment variable "SAG" defines the default location under which the directory trees of installed Software AG products are located. In the Bourne shell you can define it like this:
SAG=/opt/softwareag ; export SAG
The Adabas Manager software will be installed in, and under the subdirectory ama of the location specified by $SAG.
Once you have set up your installation environment as described above, you can proceed with the installation itself, which will only take a few minutes.
The Adabas Manager installation offers the possibility to install the product with or without Event Replicator Administration. If you choose not to install Event Replicator Administration during the installation procedure, you can add it at a later stage by re-running the Adabas Manager installation procedure.
The installation procedure examines the environment variable
DISPLAY to determine whether to run in graphical
or interactive text-oriented mode. If the environment variable
DISPLAY points to an active X-Server, the
graphical installation mode starts, otherwise the interactive text-oriented
installation mode starts. There is also a batch mode available (see
Batch Installation for further
information).
Note:
If you run the installation procedure in character mode, at each
command prompt, you must type in the exact wording (for example:
"accept" for "accept", not just
"y" or the ENTER key).
![]() To set the
To set the DISPLAY environment
variable
Enter the following shell commands (this example is for Bourne shell):
DISPLAY="<machine_name>:0"
export DISPLAY
replace "<machine_name>"by the name of your terminal device.
Note that the graphical mode can only start if there is an X-Server currently active.
![]() To install the Adabas Manager product
To install the Adabas Manager product
To perform this step, you must be the user "sag" with "su" or "sudo" privileges.
You need to have superuser permissions for some parts of the installation procedure. You can choose between entering the password of the root user and entering your own password if the third party tool "sudo" is installed and configured.
Mount the installation CD (in the following it is assumed that the mountpoint is "/cdrom").
Start the installation procedure from a writable working directory.
Enter the command:
/bin/sh /cdrom/setup.ux
The setup program is started and guides you through the installation.
Since Linux S/390 systems usually do not have a CD-ROM drive, it is necessary to perform the following preparations prior to the actual installation:
![]() To copy the CD-ROM contents to a zLinux system and prepare the
installation
To copy the CD-ROM contents to a zLinux system and prepare the
installation
Load the CD-ROM on a Windows or UNIX machine that has a network connection to the zLinux system.
Copy the file AMA763n.tgz that is located in the root directory of the CD-ROM to a temporary area such as /tmp/cdrom in your zLinux environment, using for example ftp in the binary mode.
Unpack the tgz file using the command
tar -xzvf AMA763n.tgz, where "n" is the number of
the Adabas Manager patch level. Now follow the
subsequent instructions for the main installation process.
![]() To install the Adabas Manager product on a zLinux system
To install the Adabas Manager product on a zLinux system
To perform this step, you must be the user "sag". Do not perform this step as the user "root".
Start the installation procedure from a writable working directory. We recommend $SAG/INSTALL.
Enter the command:
sh <AdabasManagerRoot>/setup.ux
The setup program is started and guides you through the installation.
The following screen shots show an installation made on a Linux machine - please note, that the exact number of the patch level may differ from the actual patch level that you are installing.
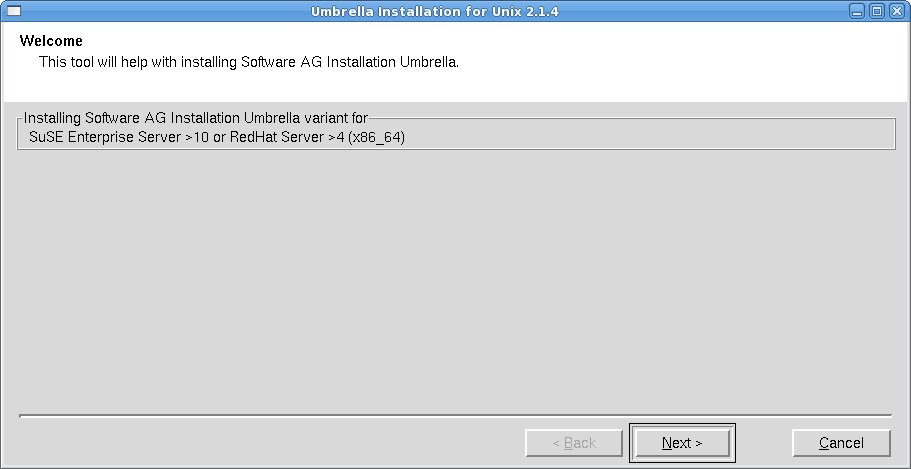
Choose to continue.
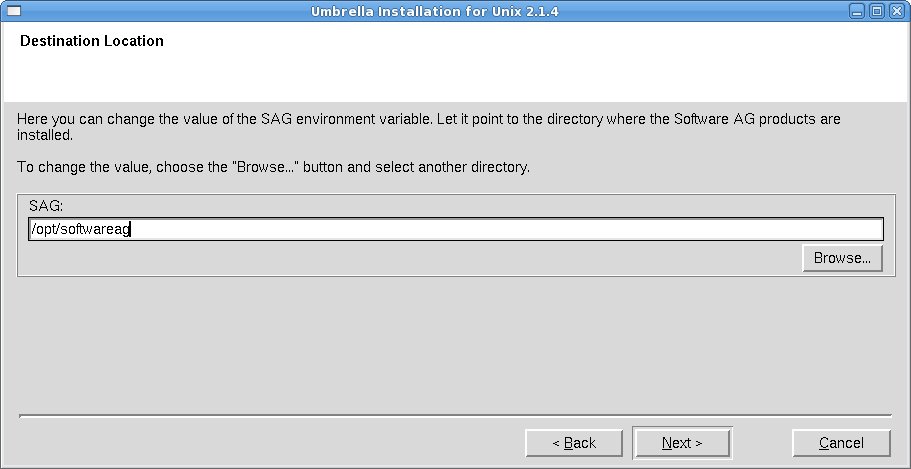
The dialog box is displayed. Enter the value of the directory of the $SAG environment variable, or browse to a SAG directory if you already have one. If the destination you specify does not exist, you will be asked if you want to create it. Choose to continue.
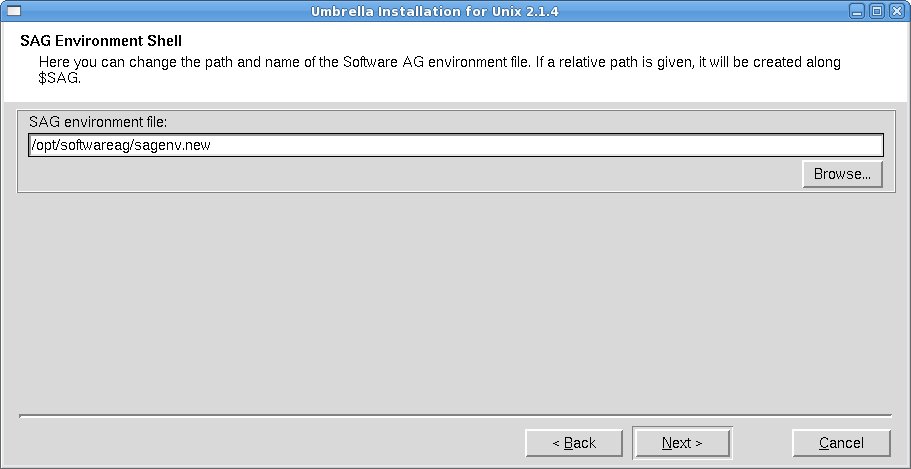
The name of the environment settings file generated by the installation in the SAG directory will be sagenv.new.
Choose to continue with the installation.
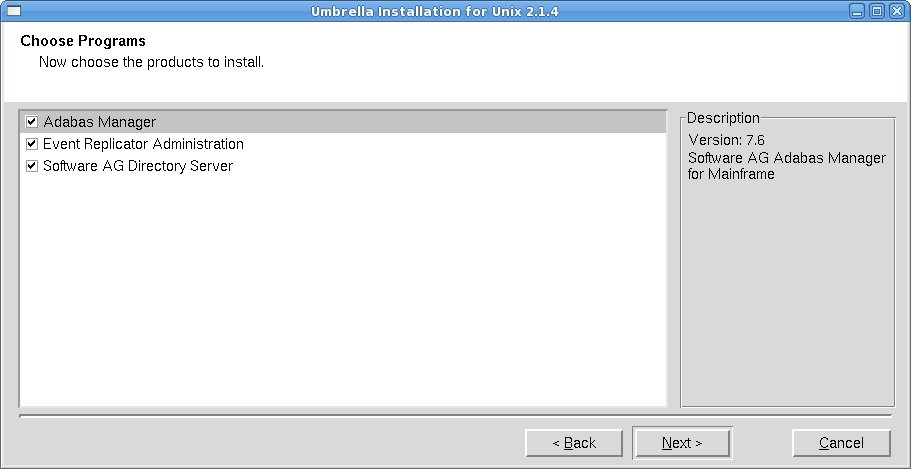
Select the products you want to install. You can install Adabas Manager with or without Event Replicator Administration. If you choose not to install Event Replicator Administration now, you can add it at a later stage by re-running the Adabas Manager installation procedure.
Note:
If Software AG Directory Server is not
already installed on your system and you have selected it for installation, it
will be installed at this point of the process before the Adabas
Manager installation continues. Installation of the
Directory Server also includes installation of
System Management Hub (for more information see
section Installing
Management Components in the Entire Net-Work
Client Installation and Administration documentation).
Choose to continue.
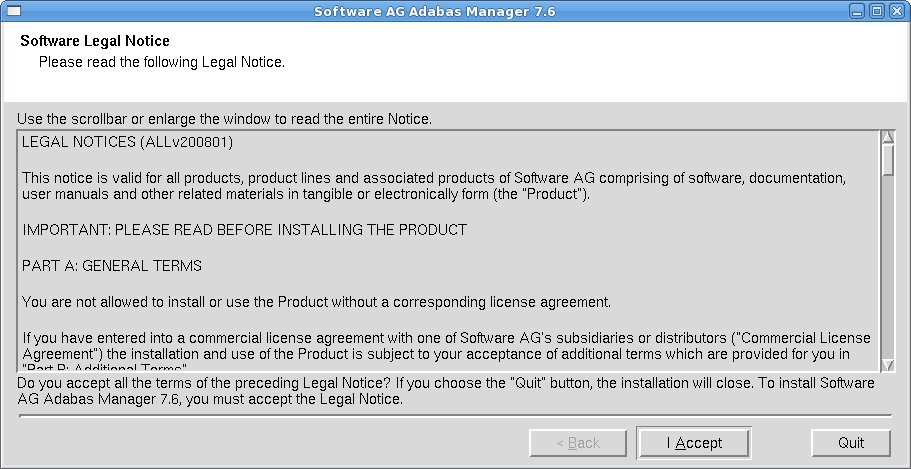
The Software AG Legal Notice is displayed. After reading the text, choose to continue with the installation.
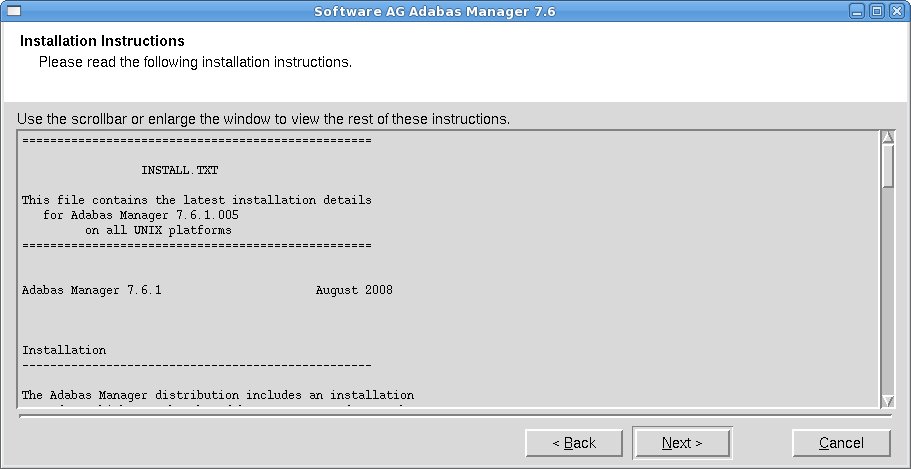
The Adabas Manager Installation Instructions are displayed. After reading the text, choose to continue with the installation.
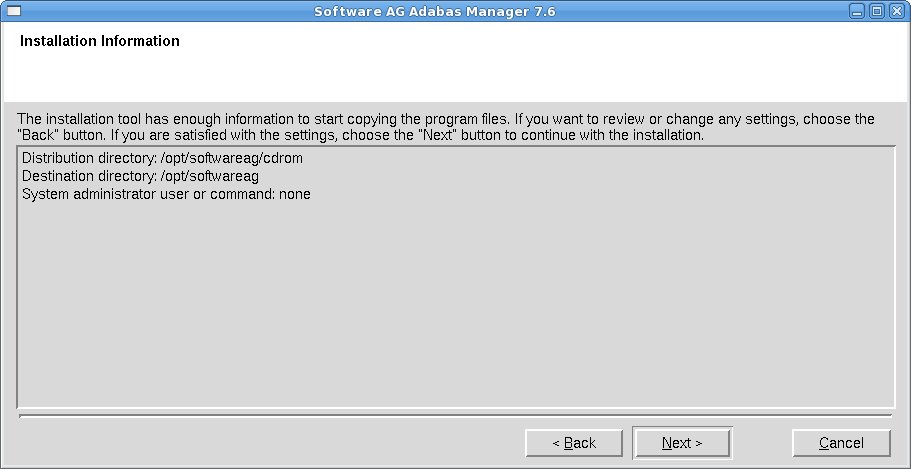
The settings you have selected are now displayed. Choose to change the settings, or choose to start extracting the files.
Note:
If you did not install the Software AG Directory
Server with System Management Hub
during this installation, the system will check at this point if
SMH is available and install it if this is not the
case.
The system will also check if Entire Net-Work
Client is available and install it at this point if this is not
the case.
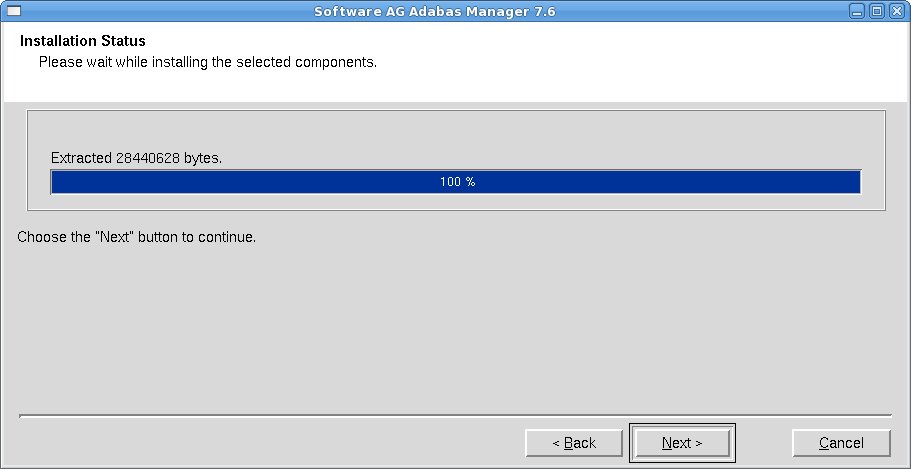
Choose to continue.
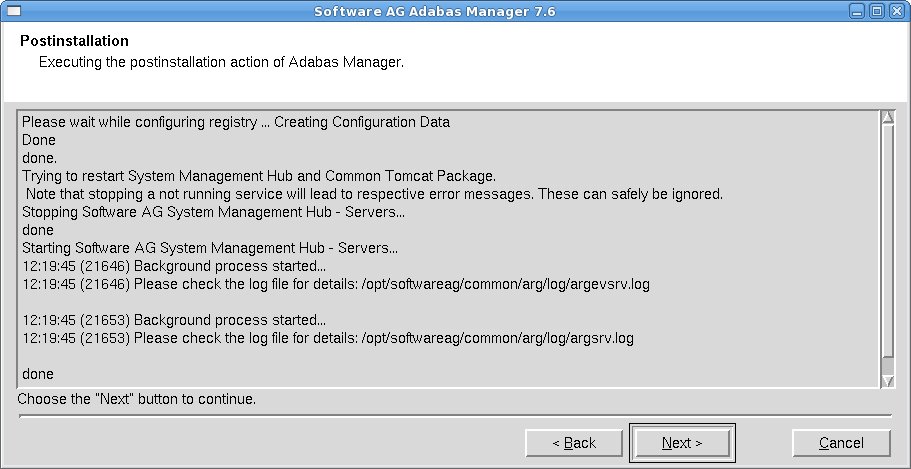
The postinstallation actions of Adabas Manager are displayed. Once they have finished, choose to continue.
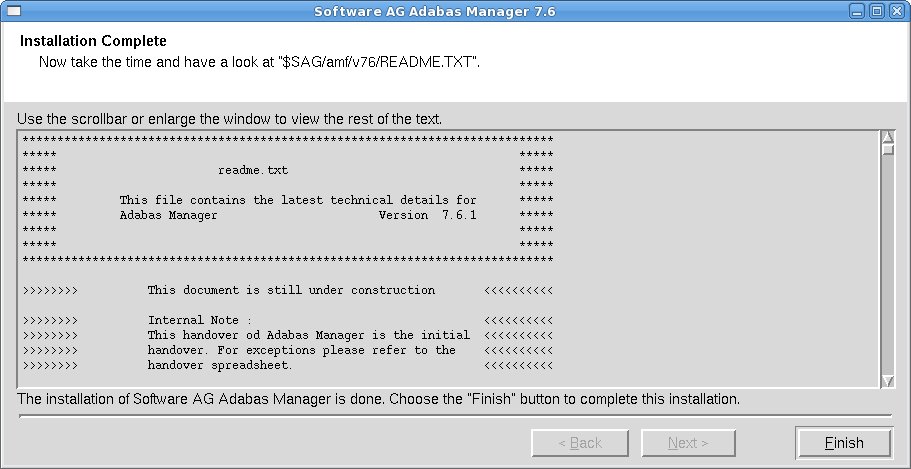
Once the installation has completed, the readme file is displayed. Choose to complete the installation.
If you have choosen not to install Event Replicator Administration, the Activate Installed Products screen is displayed. Otherwise, the Event Replicator Administration installation process will start directly after the Adabas Manager installation has been completed:
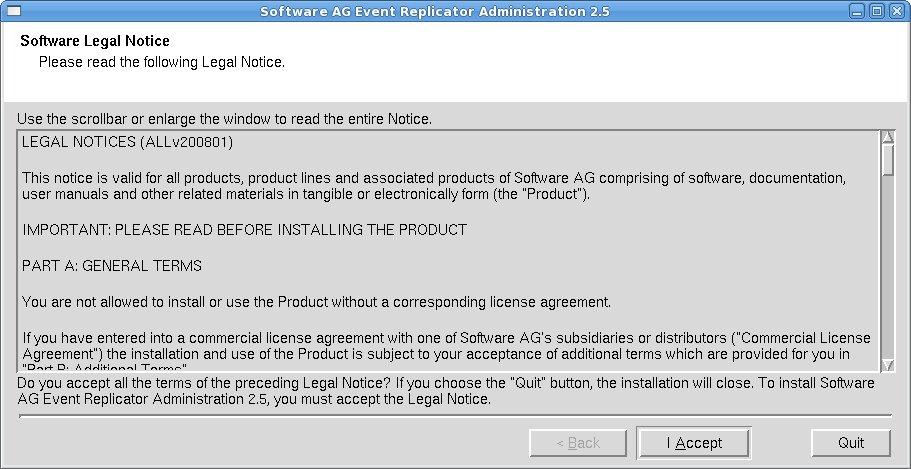
The Software AG Legal Notice is displayed. After reading the text, choose to continue with the installation.
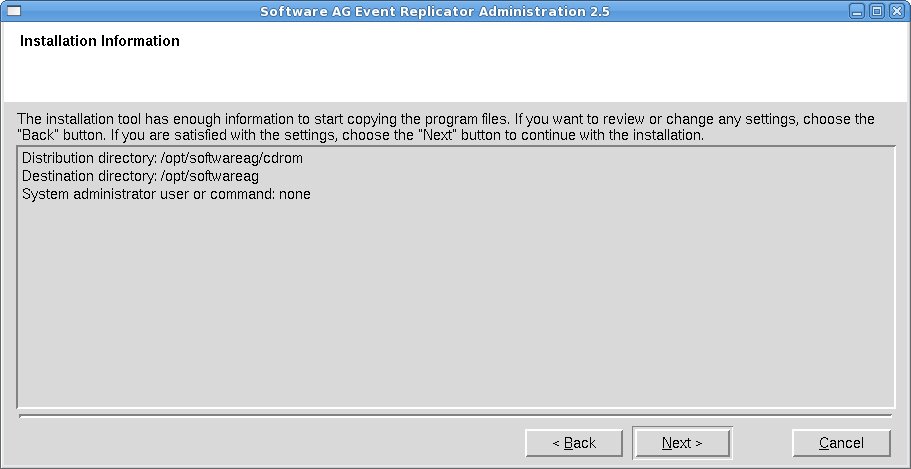
The settings you have selected are now displayed. Choose to change the settings, or choose to start extracting the files.
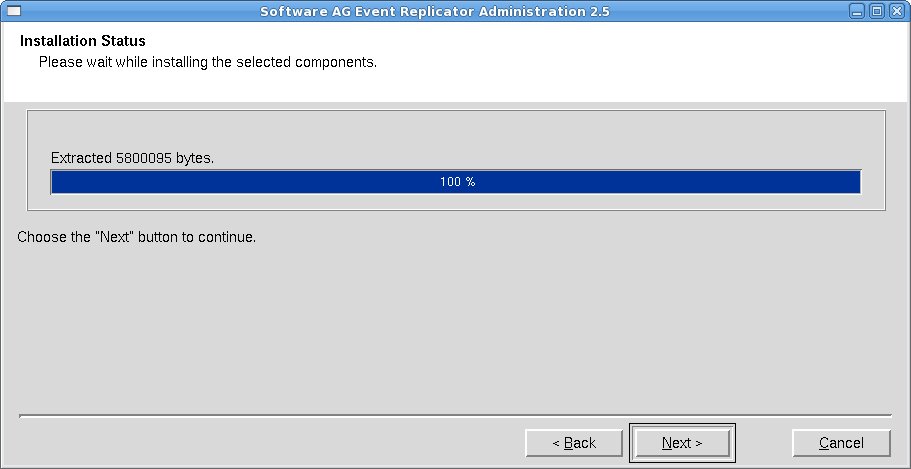
Choose to continue.
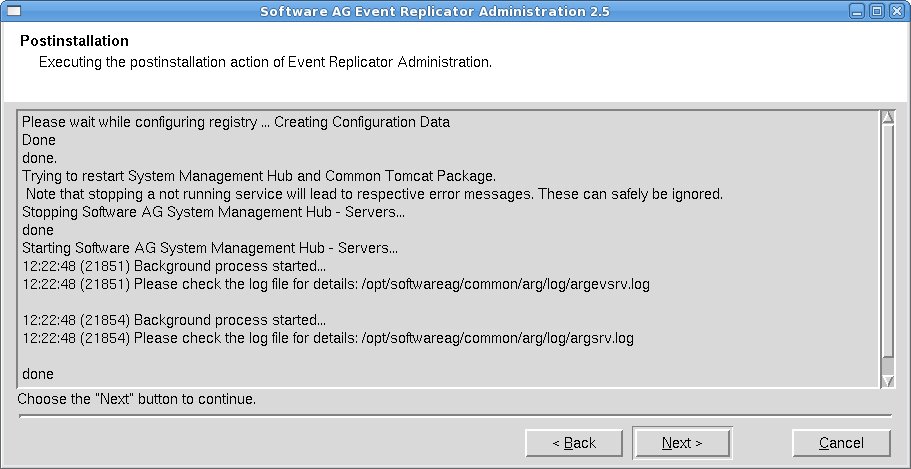
The postinstallation actions of Event Replicator Administration are displayed. Once they have finished, choose to continue.
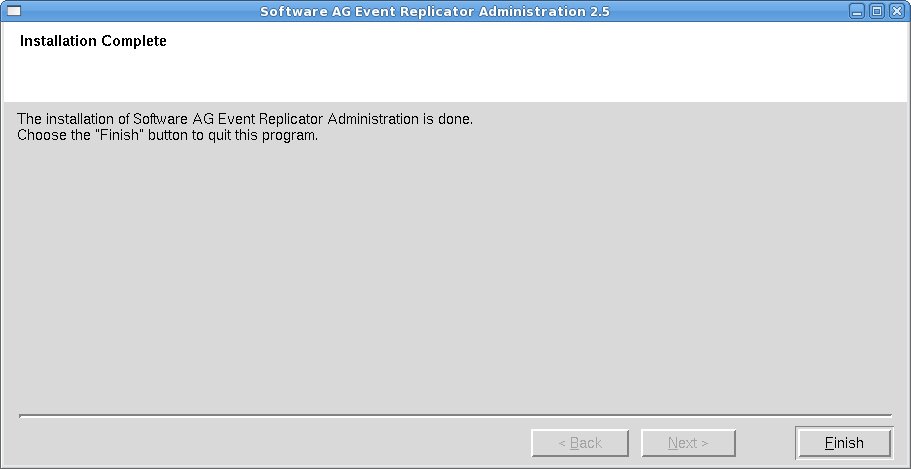
Choose to complete the installation of Event Replicator Administration.
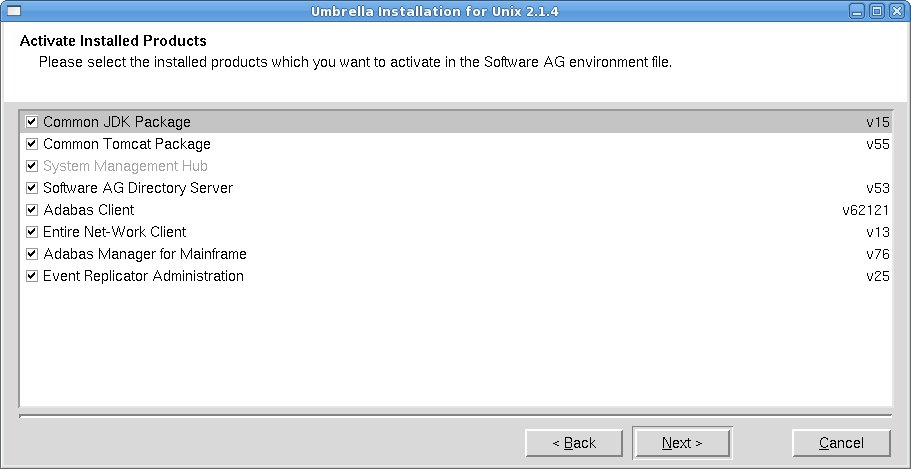
The Activate Installed Products screen is displayed. Select the products you want to activate in the Software AG environment file and choose to continue.
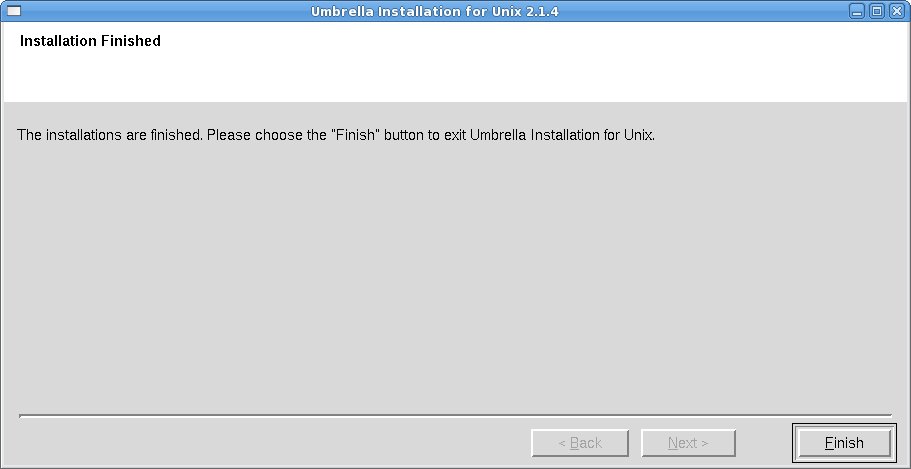
The installation process is completed. Choose to leave the installation program.
When Adabas Manager is installed, the log file AMFv76Inst.log is written, and another file, AMFv76Inst.sh, which contains the batch installation settings of this particular installation, is written to $SAG/amf/v76/INSTALL. This file can then subsequently be executed as a shell script. An example is shown below.
Note:
Corresponding files are written for Event Replicator Administration
(ARMv26).
If you install the product in character mode, the option
-batch can be used to execute the installation program without
further user interaction. If user input is required, the default values are
used; if these values are not appropriate, the correct values have to be set
using the corresponding options in the command line. The available command line
options can be displayed by calling the installation program with the
-help option.
| Warning: Since the value of $SAG cannot be set using an option, it must already have the correct value in the calling shell. |
All prerequisites and parameters are checked for correctness: missing or invalid values will cause the batch installation to terminate.
Installation programs that require post-installation actions executed as a system administrator usually have the following three options:
| Variable/Flag Name | Type | Value | Explanation |
|---|---|---|---|
| -user | string | ( ) | Software AG administrator |
| -password | string | ( ) | System administrator password (usage not recommended) |
| -authcmd | string | (none) | System administrator user or command |
It is possible to specify a password for the system administrator (or the user's password in connection with -authcmd sudo) as value of the -password option; however, this should be avoided for security reasons. The password would appear as readable plain text on screen, or be stored in the calling shell script, or, in the worst case, be stored in the user's shell history file. It may also be looked up with ps -ef during the installation's runtime by every user on the system.
# Unsafe, because everyone can see the password:
sh /cdrom/setup.ux -batch -authcmd sudo -password secret
It is recommended to start the installation program using su or sudo, specifying the name of the administrator for the Software AG products as value of the -user option:
# Recommended way to start the installation with super user
# permissions:
su root -c "sh /cdrom/setup.ux -batch -user sag"
This example shows the generated batch file AMFv76Inst.sh for Adabas Manager that was created during installation. The user is sag and does not have a root login on the machine (-authcmd none).
#!/bin/sh
# ----------- <Start of generated batch script> ----------
# -- <Adapt the following lines until end of generated> --
# ------------ < batch script to your needs > ------------
# Make sure that the following Internal Products are installed
# below the same $SAG, before the batch is actually started.
# - arg v411 "System Management Hub"
# You can install the following Software AG products separately
# below the same $SAG, after the batch is successfully finished.
# - wcl v13 "Entire Net-Work Client"
# You will find the batch scripts for the other installations
# in the respective INSTALL/ directories of the products.
#
# You should replace SECRET by the actual password
# or (even better) call this script with superuser privileges.
#
  SAG="/opt/softwareag"; export SAG
  /bin/sh /opt/softwareag/cdrom/setup.ux amf v76 -batch -directory ng64 \
        -user sag \
        -authcmd none \
        -password SECRET \
        -sagenv /opt/softwareag/sagenv.new \
        -packages "" \
        -products "
                cjp v15 : on
                ctp v55 : on
                acl v62121 : on
                wcl v13 : on
                amf v76 : on"
# ----------- <End of generated batch script> ----------
This example shows the generated batch file ARMv26Inst.sh for Event Replicator Administration that was created during installation of Event Replicator Administration. The user is sag and does not have a root login on the machine (-authcmd none).
#!/bin/sh
# ----------- <Start of generated batch script> ----------
# -- <Adapt the following lines until end of generated> --
# ------------ < batch script to your needs > ------------
# You should replace SECRET by the actual password
# or (even better) call this script with superuser privileges.
#
  SAG="/opt/softwareag"; export SAG
  /bin/sh /opt/softwareag/cdrom/setup.ux arm v26 -batch -directory ng64 \
        -user sag \
        -authcmd none \
        -password SECRET \
        -sagenv /opt/softwareag/sagenv.new \
        -packages "" \
        -products "
                cjp v15 : on
                ctp v55 : on
                acl v62121 : on
                wcl v13 : on
                amf v76 : on
                arm v26 : on"
# ----------- <End of generated batch script> ----------
The batch scripts are stored in $SAG\amf\v76\INSTALL and $SAG\arm\v26\INSTALL, respectively, and can be run with the following commands:
sh AMFv76Inst.sh
# or
sh ARMv26Inst.sh
However, the scripts must be adapted before they can be used. If a script is to be run with superuser privileges, the following lines must be removed from the script:
-authcmd su \ (or –authcmd sudo \)
-password SECRET \
If a script is to be run without superuser privileges, i.e., as user sag, the following lines must be removed from the script:
-user sag \
-authcmd none \
-password SECRET \
To run a full installation with batch scripts, the following steps must be executed:
sh CJPv15Inst.sh
su root -c "sh CTPv55Inst.sh"    (or sudo sh CTPv55Inst.sh)
su root -c "sh ARGv411Inst.sh"   (or sudo sh ARGv411Inst.sh)
sh ADIv53Inst.sh
sh WCLv13Inst.sh
sh AMFv76Inst.sh
sh ARMv26Inst.sh
Note that CTP and ARG must always be installed with root privileges. ADI and WCL must be installed with root privileges if they are installed as system services.
Note:
The SAG environment defined in sagenv.new must always be
set before the execution of each script, i.e., the command .
sagenv.new must be executed in a shell which is compatible to the
Bourne Shell.
This section contains information about what to do after the actual Adabas Manager installation. For a summary of bug fixes, known problems and restrictions and last-minute news please see the README.TXT file, which has been copied to $SAG/amf/vnnn. The contents of this file are displayed automatically at the end of the installation procedure.
This section contains the following topics:
By convention, a lock file (install.lock) is written to $SAG during the installation in order to prevent parallel installation into $SAG at the same time.
This may happen if you accidently close XWindows sessions, or if you end your installation/uninstallation process with a kill command.
You must remove this link, because as long as this link exists, it is not possible to install/uninstall into this $SAG. Before you remove install.lock make sure that the process on the machine mentioned in the link no longer exists.
The link below contains the current user, host ip address and process id.
lrwxrwxrwx 1 sag sag 22 Feb 12 10:25 install.lock -> sag@10.20.96.151:26372
Verify your Adabas Manager installation by registering an Adabas database.
![]() To verify your Adabas Manager
installation:
To verify your Adabas Manager
installation:
From a web browser, logon to System Management Hub at http://"<hostname>":49991/smh/login.htm.
The logon screen for the System Management Hub (SMH) appears.
Logon to the System Management Hub...
The System Management Hub main panel appears.
Select the name of the managed host on which Adabas Manager is installed.
Expand the tree-view frame for the managed host by clicking on the plus sign (+) to the left of its name.
Expand the tree-view for Adabas Manager.
Right-click on Adabas Databases in the tree-view.
Select on the drop-down menu.
The Database Registration panel appears in detail-view.
Enter the ID and name of the database to be registered.
Click the button to complete the registration, or the button to quit the registration window without registering the database. Press the button for more information about registering a database.
Note:
If the database is currently unreachable, you will be prompted to
verify that you still want to register it.
If you clicked , a message is eventually returned indicating that the database has been successfully registered. The database appears as an option in tree-view.
Click on the button in detail-view to complete the transaction.
In order to uninstall AdabasManager on UNIX platforms, perform the steps that are described in the following section.
Remove the Adabas Manager files (which were extracted from the installation CD to your machine) and the Adabas Manager product entry in the SAGInst.xml installation catalog.
Note:
If Event Replicator Administration is
installed, it must be uninstalled before the uninstallation of
Adabas Manager.
![]() To remove the Adabas Manager files
To remove the Adabas Manager files
Start the SAGRM utility from the $SAG directory or a directory above it by issuing the following command:
sagrm
Select Adabas Manager for Mainframe. All files which have been extracted from CD will now be removed and the selected product is removed from the SAGInst.xml installation catalog.
![]() To adapt the file sagenv.new
To adapt the file sagenv.new
By default, the script sagenv.new to set up the environments for all Software AG products is generated during installation. This script is not adapted by SAGRM. If you use this script, or any copy of this script or any other script to set up your Adabas Manager environment, remove the instructions which set up the Adabas Manager environment for the uninstalled version, as shown in the following example:
#  Adabas Manager for Mainframe
# -------------------------------------------
if [ -f "$SAG"/amf/v76/INSTALL/amfenv ]; then
  . "$SAG"/amf/v76/INSTALL/amfenv
fi