With the Software AG Update Manager (SUM) you can download and install fixes for Adabas.
 To install a fix using the Software AG Update Manager
Make sure that all Adabas processes and all application accessing Adabas are terminated.
Start the Software AG Update Manager and choose Install fixes from Software AG Empower.
Specify the installation directory and supply your Empower credentials, and choose .
Specify the fix you want to install and choose .
Complete the pre-installation steps that are shown in the readme file, and click on the Pre-installation steps have been completed check box to confirm that you have performed them.
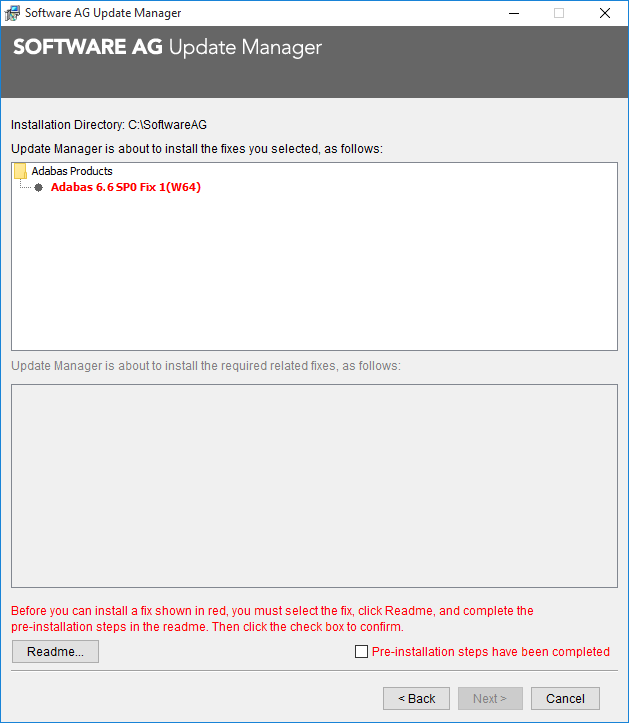
Choose to start the installation of the fix.
注意:
is only enabled after you have
confirmed performing the pre-installation steps.
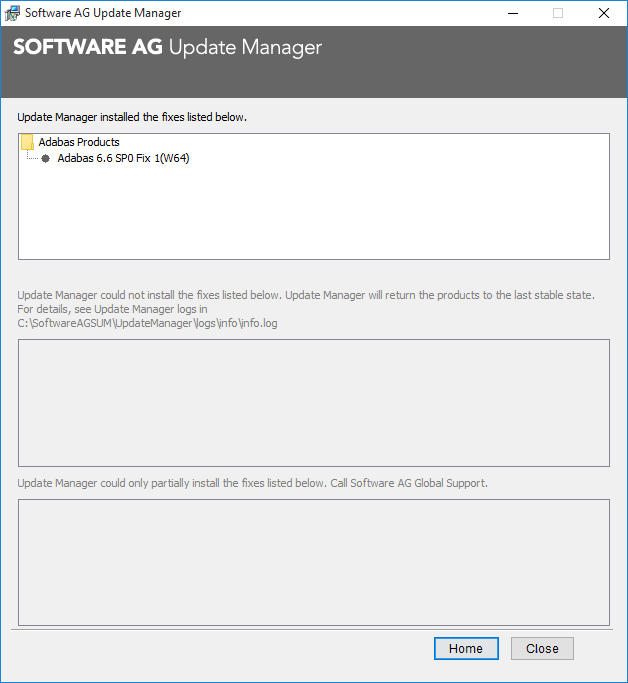
Once the fix has been successfully installed, details of the installation are displayed in the Software AG Update Manager. Choose to terminate the Update Manager, or choose to return to the main screen.
You can verify the version of the installed fix by starting a utility (for example, ADAREP) from the command line; the version number of the fix is displayed in the first line of the output.
You can use the Software AG Update Manager to uninstall a fix and thereby go back to the previous fix version.
To uninstall a fix using the Software AG Update Manager
Make sure that all Adabas processes and all applications accessing Adabas are terminated.
Start the Software AG Update Manager and choose Uninstall fixes , then choose .
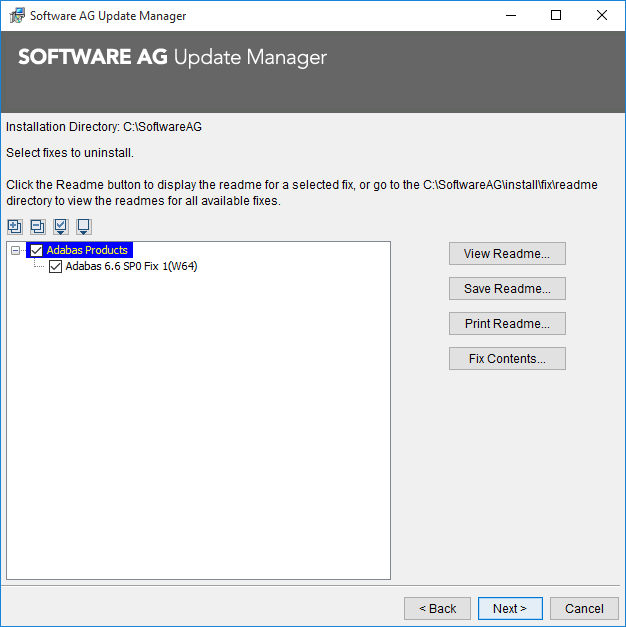
Specify the fix you want to uninstall and choose .
Complete the pre-uninstallation steps that are shown in the readme file, and click on the Pre-uninstallation steps have been completed check box to confirm that you have performed them.
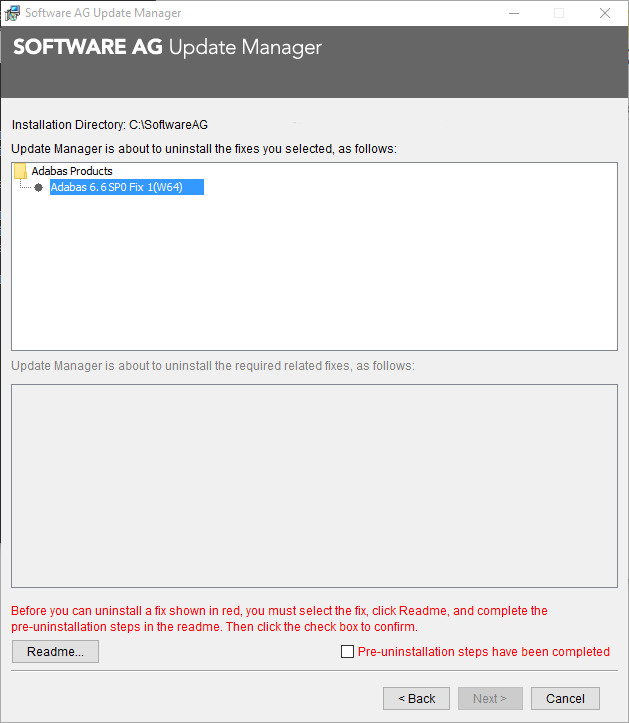
Choose to start uninstalling the fix.
注意:
is only enabled after you have
confirmed performing the pre-uninstallation steps.
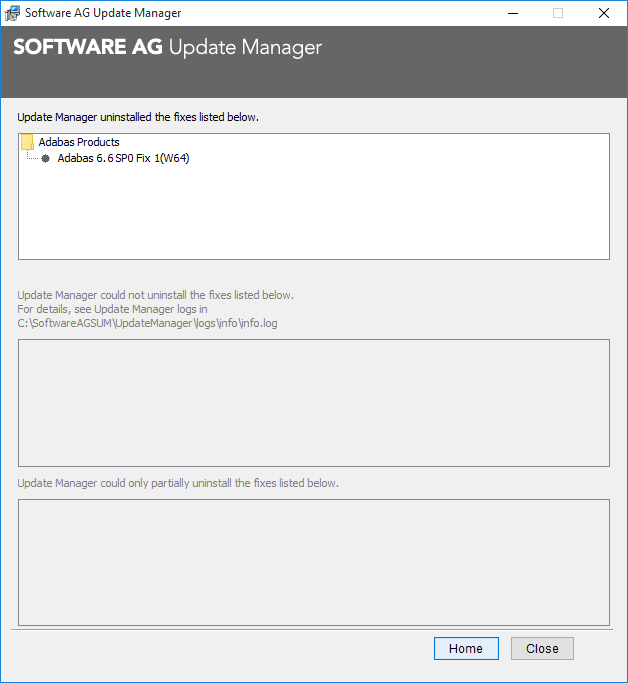
Once the fix has been successfully uninstalled, details of the uninstallation are displayed in the Software AG Update Manager. Choose to terminate the Update Manager, or choose to return to the main screen.